
This article explains how to use SSHFS to mount remote directories via SSH on Ubuntu 24.04.
SSHFS (SSH Filesystem) is a filesystem client that lets you mount a remote directory over SSH (Secure Shell) on your local machine. This means you can make the files and directories on a remote server as part of your local filesystem.
This provides a secure way to access sensitive files, giving you a sense of reassurance and confidence. If you already have SSH on your server, you can use SSHFS without extra configuration.
Once the remote filesystem is mounted, you can open files with any local application, making it easy to edit documents or process data without transferring files back and forth.
Install SSHFS on the client
To mount remote directories using SSHFS, you must first install its packages since they are not automatically available on Ubuntu.
Run the command below to install SSHFS.
sudo apt install sshfs
Once installed, run the command below to create a mount point where the remote directory will be mounted on the client computer.
mkdir ~/sshmnt
Once you finish the steps above, run the SSHFS command below to mount the remote directories to your local client computer.
sshfs svr1.example.com:/home/richard/october ~/sshmnt
- svr1.example.com => remote server with SSH running
- /home/richard/october => remote directory you want to mount
- ~/sshmnt => local mount point created on the client
After mounting the remote directory, you can list the filesystem by running the command below.
df -hT
An output similar to the one below will show the remote directory as mounted.
ilesystem                             Type        Size  Used Avail Use% Mounted on
tmpfs                                  tmpfs       336M  2.0M  334M   1% /run
/dev/sda2                              ext4         49G  9.2G   38G  20% /
tmpfs                                  tmpfs       1.7G     0  1.7G   0% /dev/shm
tmpfs                                  tmpfs       5.0M  8.0K  5.0M   1% /run/lock
svr1.example.com:/home/richard/october fuse.sshfs   40G  9.7G   28G  27% /home/richard/sshmnt
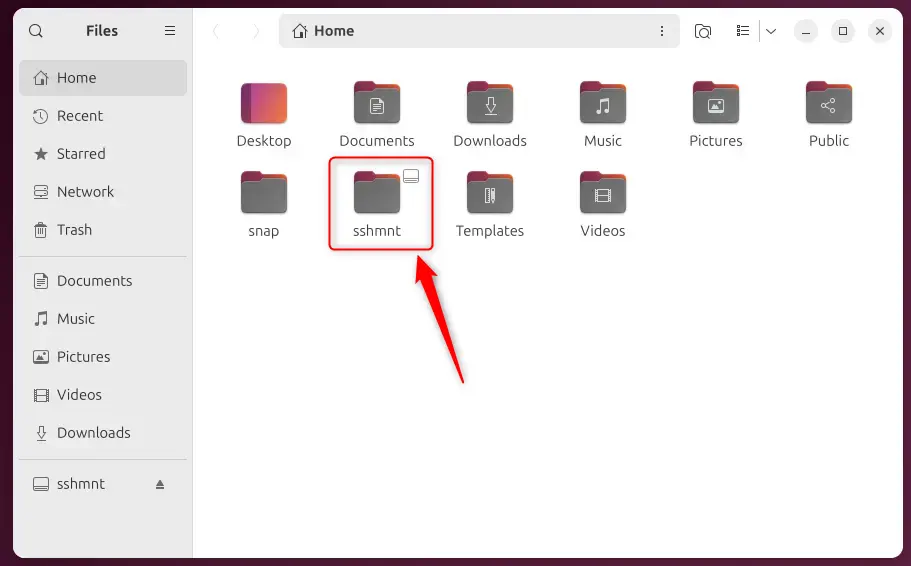
You should also see the mount point in the File Manager.
Unmount
Run the command below if you want to unmount or disconnect the remote directory.
fusermount -u ~/sshmnt
You must exit the mount point to unmount the remote directory.
That should do it!
Conclusion:
SSHFS provides a convenient and secure method to access remote directories seamlessly on your local Ubuntu system. Here are the key takeaways:
- Easy Setup: SSHFS can be installed quickly with a simple command and minimal configuration.
- Direct Access: Once mounted, you can interact with remote files as if they were local, enhancing ease of use.
- Secure Connection: SSHFS relies on SSH to ensure your data transfer remains safe and encrypted.
- Flexible Usage: It’s suitable for various applications, whether for document editing, data processing, or file management.
- Simple Unmounting: You can easily disconnect from the remote directory when done, maintaining cleanliness in your system.
Using SSHFS, you can optimize your workflow when working with remote servers, making file access efficient and secure.
Leave a Reply