This brief tutorial shows students and new users how to install ZesleCP on Ubuntu 18.04 | 16.04.
ZesleCP (Control Panel) is a simple, fast, and secure host control panel platform that you can use to host unlimited domains, emails, databases, and everything from a simple web interface.
ZesleCP comes with many features out of the box, including Server Config, Domains, Email Accounts, SSL, Databases, File Manager, advanced caching, and more.
With its auto-installer, you can install and configure your environment, install Let’s Encrypt SSL, and get common packages and services ready out-of-the-box with a best-in-class GUI interface with one click.
For more about ZesleCP, please visit its homepage.
When you’re ready to install ZesleCP, continue with the steps below:
Configure Ubuntu Local Host Domain
Before installing ZesleCP, you will want to set up your server environment. To set up the server IP and hostname, run the commands below to open the Ubuntu local hosts file.
sudo nano /etc/hosts
Then type in the server address to domain mapping. You can use your public IP address instead of the local one.
127.0.0.1 zeselcp.example.com
It should look like the lines below:
127.0.0.1              localhost
127.0.1.1              ubuntu1804
127.0.0.1              zeslecp.example.com

# The following lines are desirable for IPv6 capable hosts
::1     ip6-localhost ip6-loopback
fe00::0 ip6-localnet
ff00::0 ip6-mcastprefix
ff02::1 ip6-allnodes
ff02::2 ip6-allrouters
Save the file and exit
Download the ZesleCP installer script
ZesleCP has an easy installer script to get the platform working on Ubuntu. To get the installer script, run the commands below
First, update the Ubuntu server by running the commands below: If you don’t already have Curl installed, the commands below also help you install it.
sudo apt update
sudo apt install curl
Then use the commands below to download the script into the /temp directory. You’ll want to use the tmp directory because its content is automatically deleted upon server reboot.
cd /tmp
curl -o latest -L http://release.zeslecp.com/latest
Install ZesleCP
After downloading the script and changing the permissions above, run the commands below to begin the installation.
sudo sh latest
When you do that, you should see a series of prompts to guide you with the installation. Choose the highlighted options below to have a smooth installation.
Verifying archive integrity. All good.
Uncompressing Zesle Installer  100%

	 _____         _        ___           _        _ _
	|__  /___  ___| | ___  |_ _|_ __  ___| |_ __ _| | | ___ _ __
	  / // _ \/ __| |/ _ \  | || '_ \/ __| __/ _` | | |/ _ \ '__|
	 / /|  __/\__ \ |  __/  | || | | \__ \ || (_| | | |  __/ |
	/____\___||___/_|\___| |___|_| |_|___/\__\__,_|_|_|\___|_|


Zesle installation started at: Mon Dec 30 10:29:27 2019!
Installation backup directory: /root/zesle_install_backups/1577723367
This installation will require 5-20 minutes, depending on your hardware.

Please enter admin email address: admin@example.com
Continue
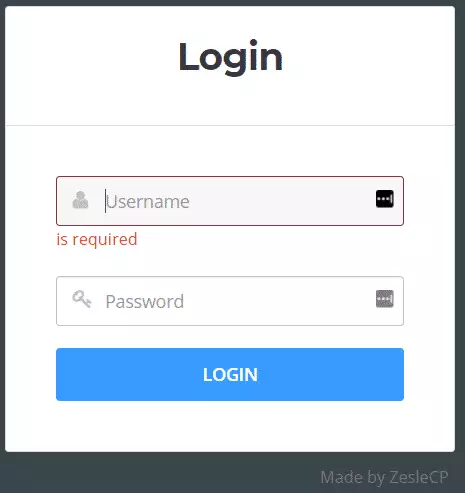
After a few minutes, ZesleCP should be installed and ready to use. You should also see the ZesleCP login screen now. The username “root” and password are your root user password.
Copy the details and log on to the control panel portal.
https://127.0.0.1:2087/
That should bring up the login page when you can log on with the abovementioned admin info.
That’s it! After logging on to the back-end panel, you can set up your host environment and other settings.
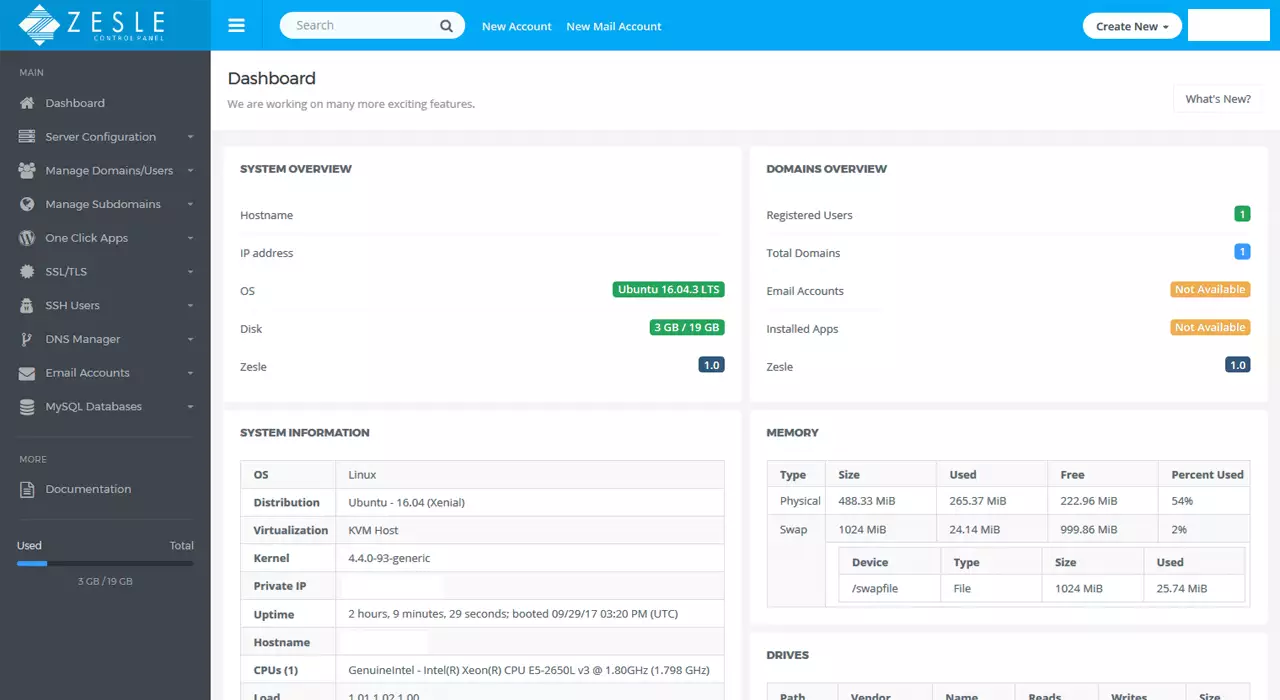
Congratulations! You have successfully installed ZesleCP on Ubuntu 16.04 | 18.04 LTS servers.
You may also like the post below:


Leave a Reply Cancel reply