
This brief tutorial shows students and new users how to install the WinSCP client on Ubuntu 20.04 | 18.04.
WinSCP is a popular program only available on the Windows operating system. If you’re a software user and want to use it in Ubuntu, this post shows you how to do that with Wine.
Most people prefer WinSCP because of its simple and powerful interface. It is mainly used as an FTP client to transfer files between a local and a remote computer and also supports secure FTP (sFTP).
You can use secure FTP, but it also provides for the password, keyboard-interactive, public key, and Kerberos (GSS) authentication and comes with an integrated text editor.
For more about WinSCP, visit its website.
To get started with installing WinSCP on Ubuntu, follow the steps below:
Install Wine
As we mentioned above, WinSCP is a Windows application. It doesn’t support Linux systems, including Ubuntu. To install and use it in Ubuntu, you’ll need to install Wine.
Wine allows users to run applications designed for Windows in a Linux environment.
To install Wine, use the steps below:
Before installing Wine, run the command below to enable the 32-bit architecture.
sudo apt update
sudo dpkg --add-architecture i386
After installing the package above, run the commands below to add the Wine package repository and key.
wget -qO - https://dl.winehq.org/wine-builds/winehq.key | sudo apt-key add -
Add the repository file by running the commands below.
sudo apt-add-repository 'deb https://dl.winehq.org/wine-builds/ubuntu/ focal main'
Now that the repository has been added run the commands below to install Wine.
sudo apt update
sudo apt install --install-recommends winehq-stable
Wine should be installed and ready to use. You can begin installing applications designed for Windows with Wine environment.
Install WinSCP
Now that Wine has been installed download the WinSCP package from its download site.

Most downloaded content is saved in your Downloads folder. Open your terminal, browse the Downloads folder, and execute the installer.
cd ~/Downloads
wine WinSCP-*-Setup.exe
That will launch the installation wizard. When prompted for the install mode, choose Install for all users (recommended).

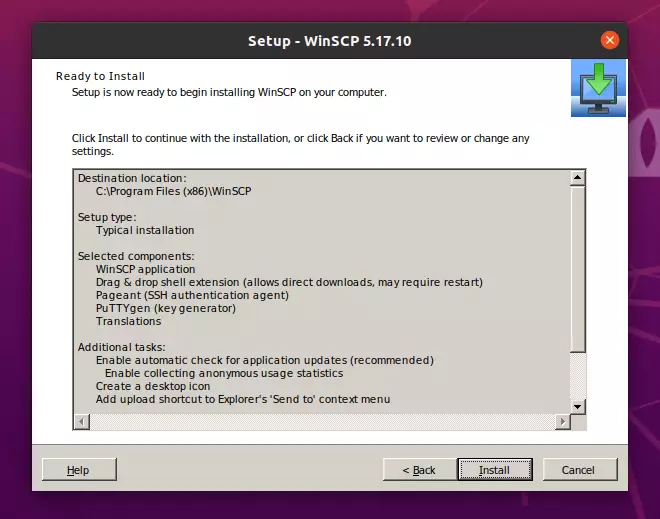
Accept the licensing terms, choose the recommended installation, and continue.

After that, click Install to complete the installation.
An icon should appear on your desktop after the installation. Simply right-click the icon and select Allow Launching.

Finally, launch the WinSCP icon on your desktop to open.

Configuration your connection manager, and you’re done.
Conclusion:
This post showed you how to install WinSCP on Ubuntu via Wine. If you find any error above, please use the form below to report.
Leave a Reply