
This article explains how to install VideoLAN (VLC) media player on Windows 11 and make it the default media player for video and other multimedia formats.
VLC is a free, open-source, cross-platform multimedia player that plays most multimedia files and streaming protocols.
If you need a robust media player when using Windows 11, VLC should be your first app to try. It practically plays almost any media format, including DVDs, Audio CDs, multimedia files, VCDs, and various streaming protocols.
VLC is the most popular media player and works across multiple platforms, including Windows, Linux, and macOS. VLC has fully transitioned to the new Windows 11 design on the Windows system with a more fluent look and rounded corners, support for snaps, and more.
How to install VideoLAN on Windows 11
As mentioned above, VLC makes playing media on Windows and other platforms fun. If you need a free and open-source media player that works, install VLC. The steps below show you how to install it.
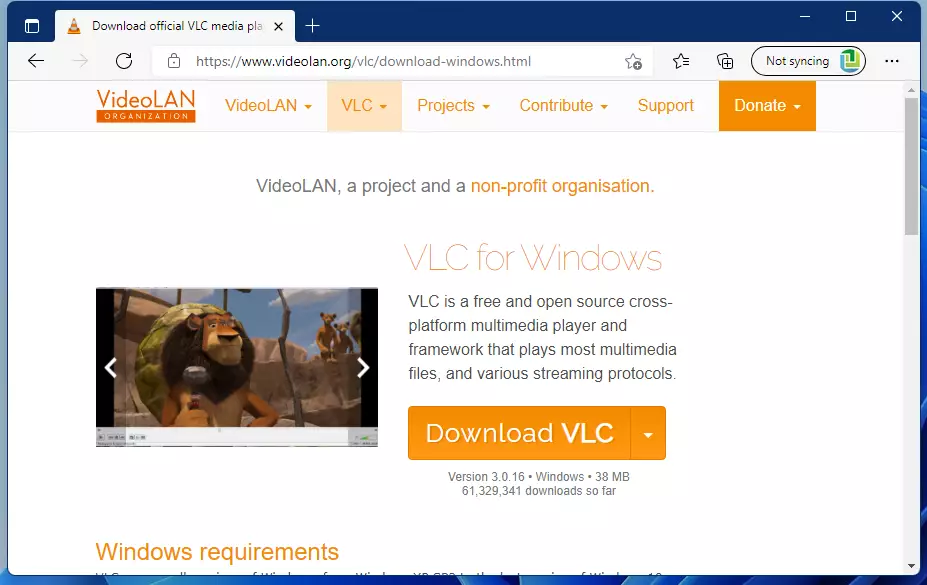
If you haven’t already installed VLC, click the link below to install it.
Click on the Download VLC button to download the app on Windows.
After downloading, go to your Downloads folder, or when prompted to install, click Ok to begin the installation.
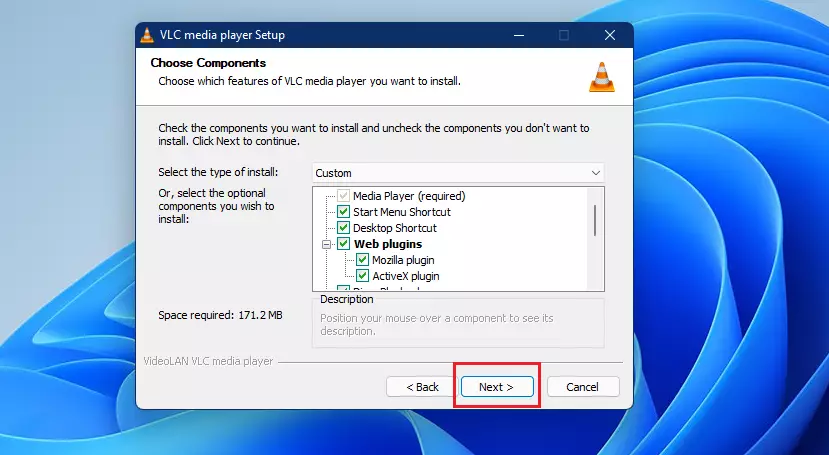
During the installation, choose your language and which features to include with VLC. By default, all are selected, as shown below.
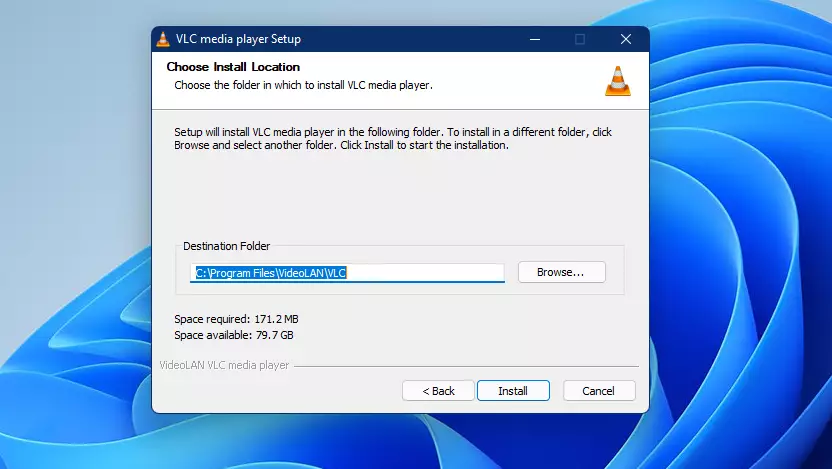
Choose the folder to install the VLC media player on the next screen. By default, it is installed in the C:\Program File\ folder.
Click the Install button to install.
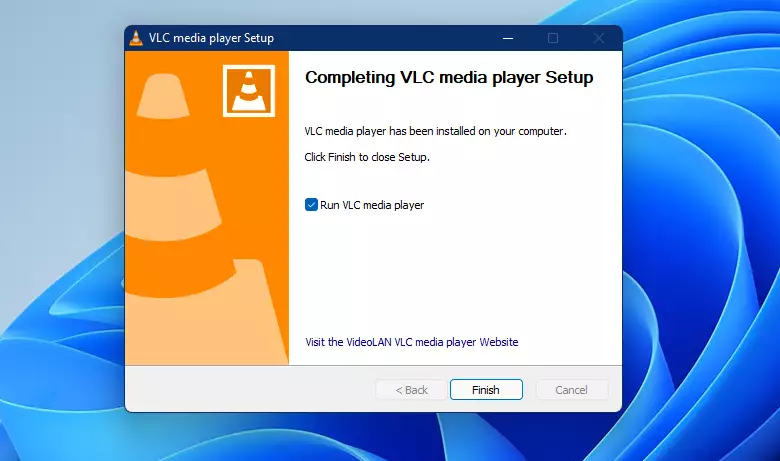
After a few moments, the VLC media player should be installed and ready to use. Click Finish, and VLC will automatically open.
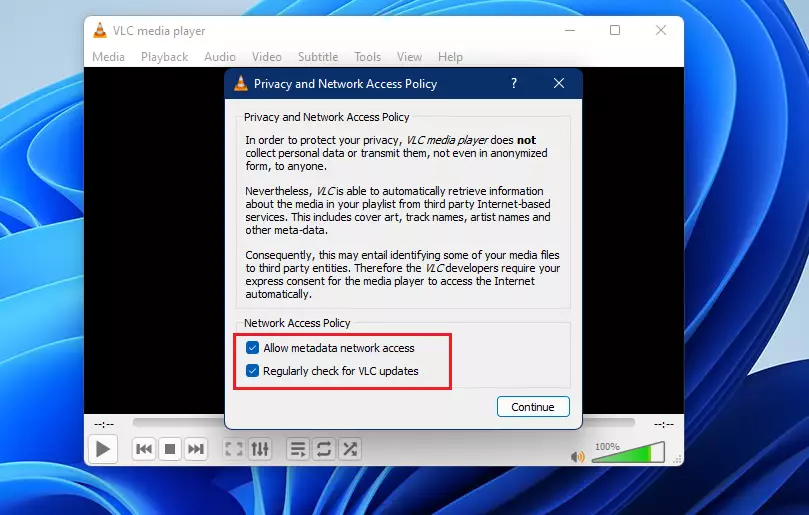
You’ll be prompted with the VLC Network Access Policy on the first launch. Choose two options:
- Allow metadata network access
- Regularly check for VlC updates
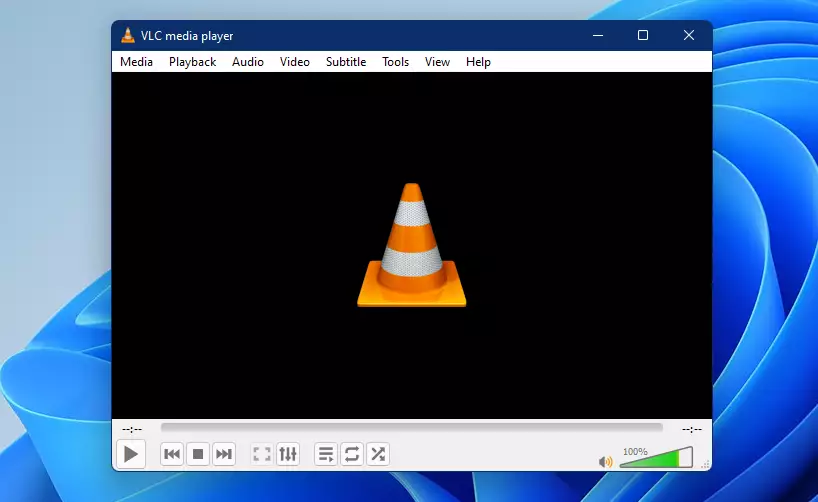
The VLC media player is now ready to play your multimedia formats.
How to make VLC the default media player on Windows 11
Although VLC is installed, it’s not the default media player on Windows 11. When you try to play a multimedia file, Windows will open Windows Media Player instead.
If you want VLC to open for all media formats, follow the steps below.
Windows 11 has a centralized location for the majority of its settings app. From system configurations to creating new users and updating Windows, all can be done from the System Settings pane.
To get to System Settings, you can use the Windows key + I shortcut or click on Start ==> Settings, as shown in the image below:

Alternatively, you can use the search box on the taskbar to search for Settings. Then select to open it.
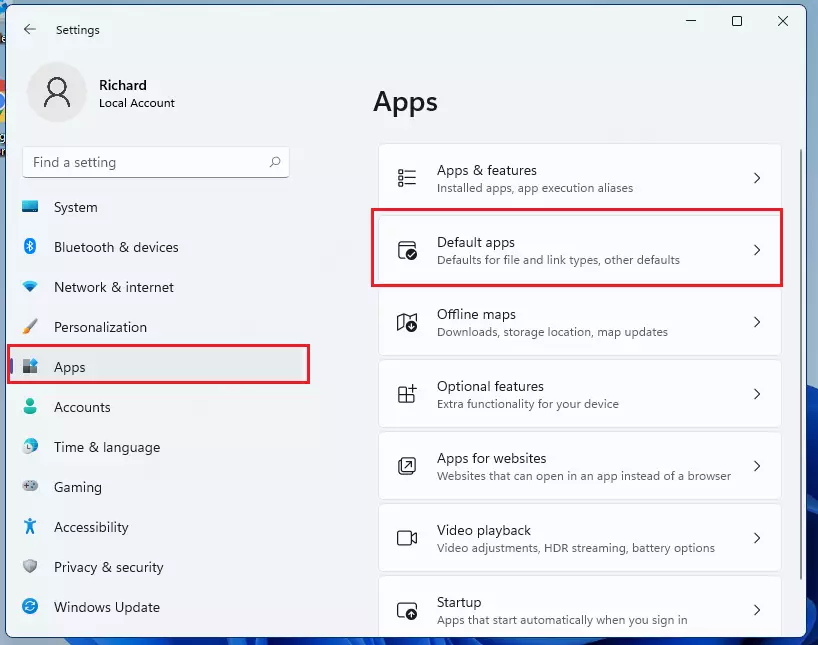
In Windows Settings, click Apps, and select Default Apps on the right pane of your screen, as shown in the image below.
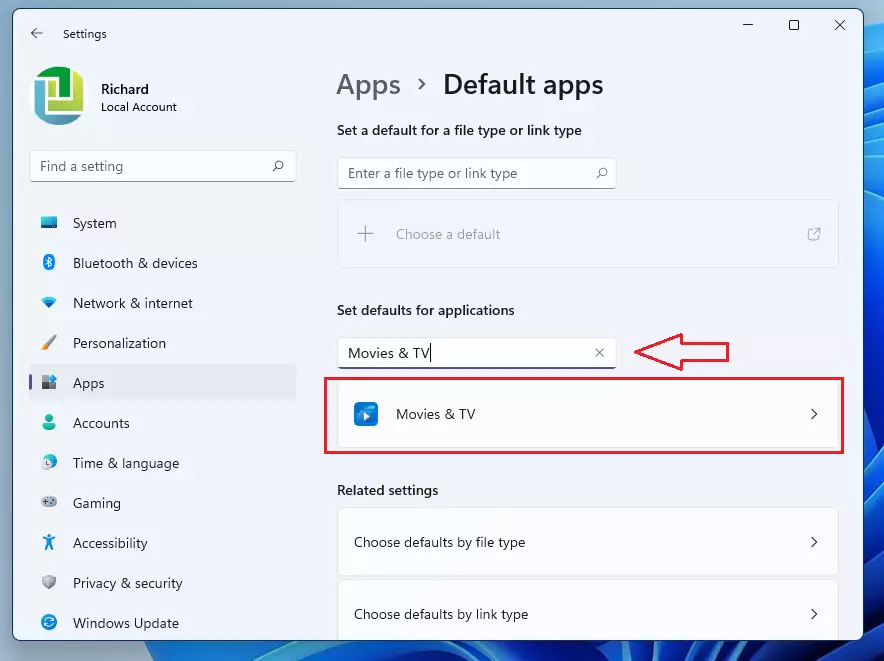
On the Default apps settings pane, under Set defaults for application, use the search box to search for Movies & TV to narrow the app list, or scroll down the list and select Movies & TV.
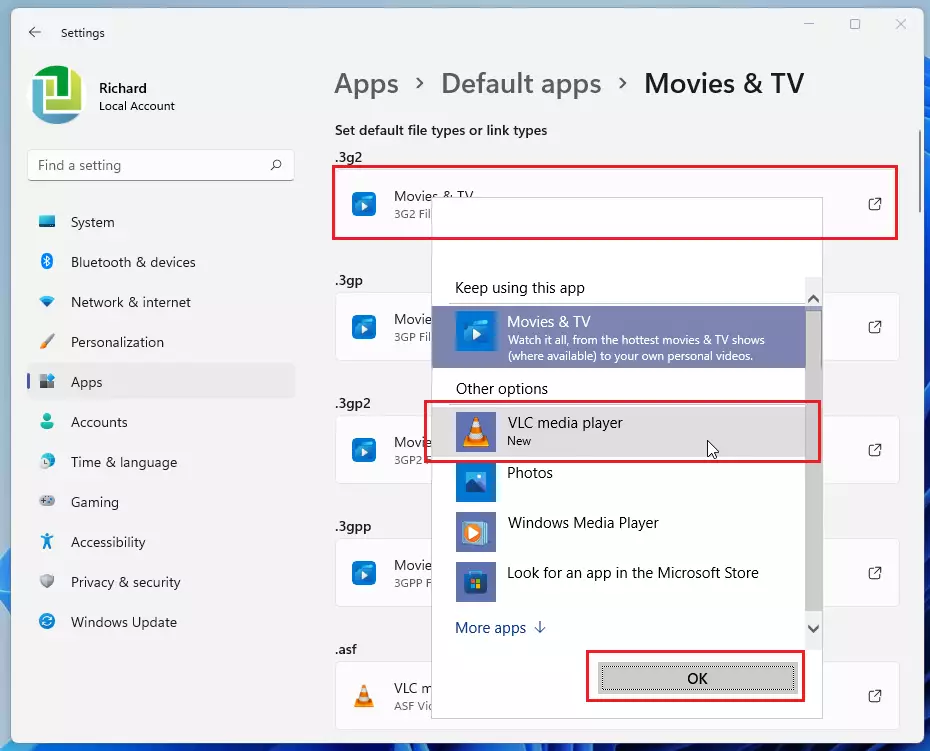
As you can see, Movies & TV is the default app for all media formats. As shown below, you’ll need to switch each media file’s default app to VLC,
Change the defaults for each file type; your list should look similar once you’re done.
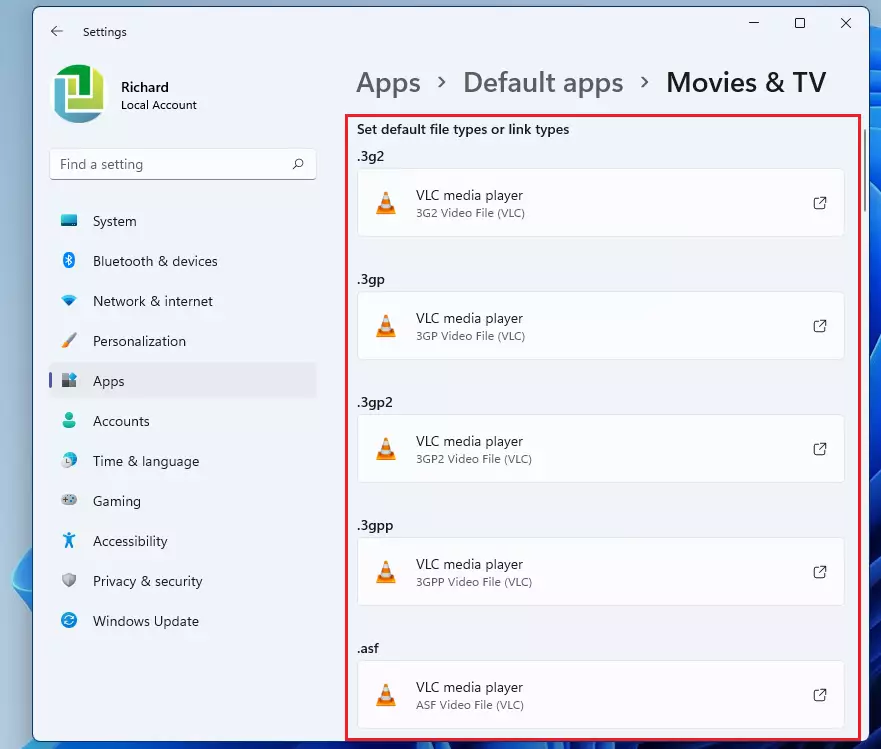
That should do it! All the media types that Movies & TV were the default will be changed to VLC.
Conclusion:
Conclusion:
Following the steps outlined above, you can successfully install the VLC media player on Windows 11 and set it as your default. Here are the key takeaways:
- VLC is a versatile, free, and open-source multimedia player compatible with various formats.
- Installation is straightforward and can be completed in a few simple steps.
- Setting VLC as the default media player ensures all multimedia files open automatically.
- VLC’s user-friendly interface and robust features enhance your media playback experience.
- Regular updates and network access settings improve functionality and performance.
Enjoy your seamless media experience with VLC on Windows 11!
Leave a Reply to Dan Govinsky Cancel reply