This brief tutorial shows students and new users how to install Plex Media Server on Ubuntu 20.04 | 18.04.
Plex is a media server that allows you to create and organize all your video, music, and photo collections and stream them to your mobile devices, TV, and computer from anywhere.
It has two main components: Plex Media Server, a client application that runs on Windows, macOS, Linux, and almost all mobile devices.
In most environments, a Plex server is installed on a computer with a lot of storage space or a NAS attached to it to store and access an extensive collection of various media.
If you’re a student or a new user looking for an easy tutorial to guide you in installing and using Plex, this post should come in handy.
When you’re ready to install Plex Media Server, follow the steps below:
Install Plex Media Server
Plex is proprietary software and is not included in the Ubuntu default repositories. If you need to install Plex in Ubuntu, you must manually download or add its repository.
To add Plex’s repository to Ubuntu, use the commands below to add its APT repository and import the GPG key for the repository.
wget -q https://downloads.plex.tv/plex-keys/PlexSign.key -O - | sudo apt-key add -
sudo sh -c 'echo "deb https://downloads.plex.tv/repo/deb/ public main $(lsb_release -sc) contrib" >> /etc/apt/sources.list.d/plexmediaserver.list'
Once the APT repository and key are added, run the commands below to update the Ubuntu APT package list and install Plax Media Server.
sudo apt update
sudo apt install plexmediaserver
To check and validate that Plex is installed, run the commands below.
sudo systemctl status plexmediaserver
You should see its status info as shown below:
● plexmediaserver.service - Plex Media Server
     Loaded: loaded (/lib/systemd/system/plexmediaserver.service; enabled; vendor preset: enabled)
     Active: active (running) since Fri 2021-06-25 09:45:58 CDT; 1min 36s ago
    Process: 4060 ExecStartPre=/bin/sh -c /usr/bin/test -d "${PLEX_MEDIA_SERVER_APPLICATION_SUPPO>
   Main PID: 4062 (Plex Media Serv)
      Tasks: 109 (limit: 4652)
     Memory: 219.1M
     CGroup: /system.slice/plexmediaserver.service
             ├─4062 /usr/lib/plexmediaserver/Plex Media Server
Also, the commands below can be used to stop, start and enable the Plex media server.
sudo systemctl stop plexmediaserver
sudo systemctl start plexmediaserver
sudo systemctl enable plexmediaserer
Adjust Ubuntu Firewall
If you have enabled the Ubuntu firewall, you will want to adjust the firewall rules to allow the Plex server to be accessed remotely.
The easiest way to adjust the Ubuntu firewall to allow traffic to the Plex server is to create a firewall profile for the Plex server. To do that, run the commands below to create a UFW Plex server profile.
sudo nano /etc/ufw/applications.d/plexmediaserver
Copy the lines below and paste them into the file and save.
[plexmediaserver]
title=Plex Media Server (Standard)
description=The Plex Media Server
ports=32400/tcp|3005/tcp|5353/udp|8324/tcp|32410:32414/udp

[plexmediaserver-dlna]
title=Plex Media Server (DLNA)
description=The Plex Media Server (additional DLNA capability only)
ports=1900/udp|32469/tcp

[plexmediaserver-all]
title=Plex Media Server (Standard + DLNA)
description=The Plex Media Server (with additional DLNA capability)
ports=32400/tcp|3005/tcp|5353/udp|8324/tcp|32410:32414/udp|1900/udp|32469/tcp
Save the file and exit.
Update the firewall profile and apply the new rules.
sudo ufw app update plexmediaserver
sudo ufw allow plexmediaserver-all
Now you can check the firewall rules to see if traffic is being passed to the Plex server.
sudo ufw status verbose
That should output similar lines as shown below:
Status: active
Logging: on (low)
Default: deny (incoming), allow (outgoing), disabled (routed)
New profiles: skip

To                         Action      From
--                         ------      ----
32400/tcp (plexmediaserver-all) ALLOW IN    Anywhere
3005/tcp (plexmediaserver-all) ALLOW IN    Anywhere
5353/udp (plexmediaserver-all) ALLOW IN    Anywhere
8324/tcp (plexmediaserver-all) ALLOW IN    Anywhere
32410:32414/udp (plexmediaserver-all) ALLOW IN    Anywhere
1900/udp (plexmediaserver-all) ALLOW IN    Anywhere
32469/tcp (plexmediaserver-all) ALLOW IN    Anywhere
Now go and create a Plex catalog directory to store its content. We’re creating Plex’s folder for this post in the /opt/plexmedia directory.
sudo mkdir -p /opt/plexmedia/{movies,series}
They give Plex users access to the directory.
sudo chown -R plex: /opt/plexmedia
Access Plex Web Portal
Now that Plex is installed open your browser and browse its portal. You can use the portal to manage your media and other settings.
http://localhost:32400/web/
That should open its portal page.
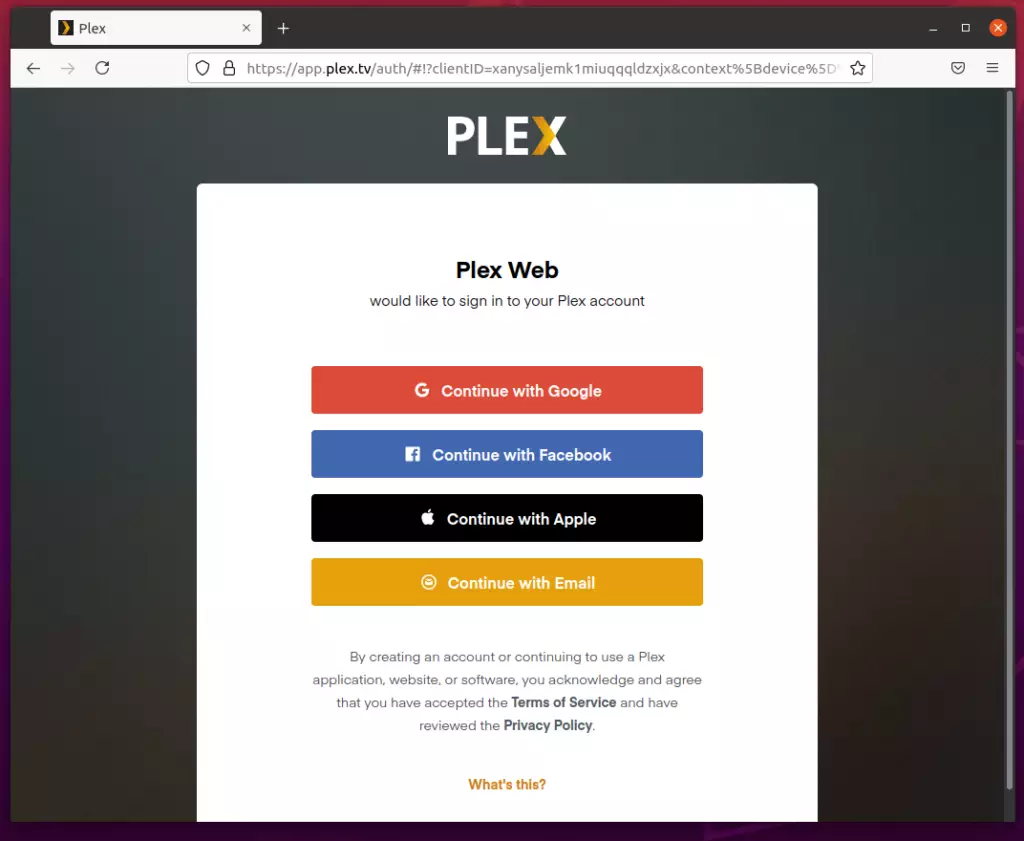
Create an account and log in. Of use Facebook or other authentication methods. However, for Plex to work well, you should create an account.
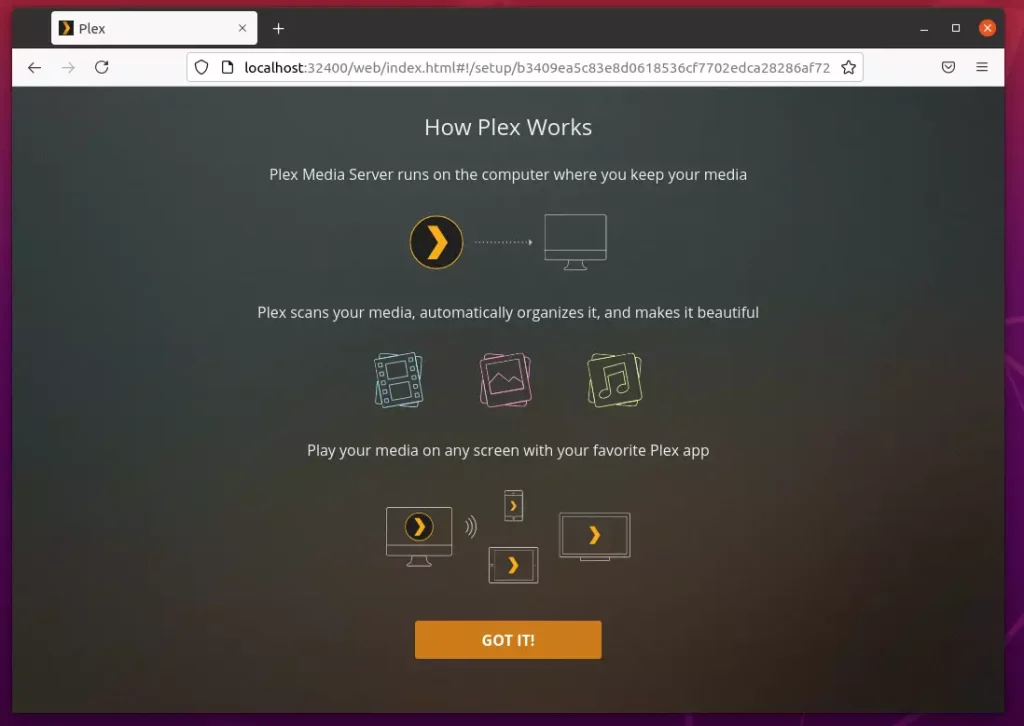
Continue with the setup wizard.
Check the box to allow Plex to be accessed outside of your home. Plex will attempt to automatically configure your network to allow Plex apps outside your home to access Plex Media Server on this computer. Remember this computer will need to be turned on to access your media.
On the browse for media folder, select the path created above: /opt/plex media/movies.
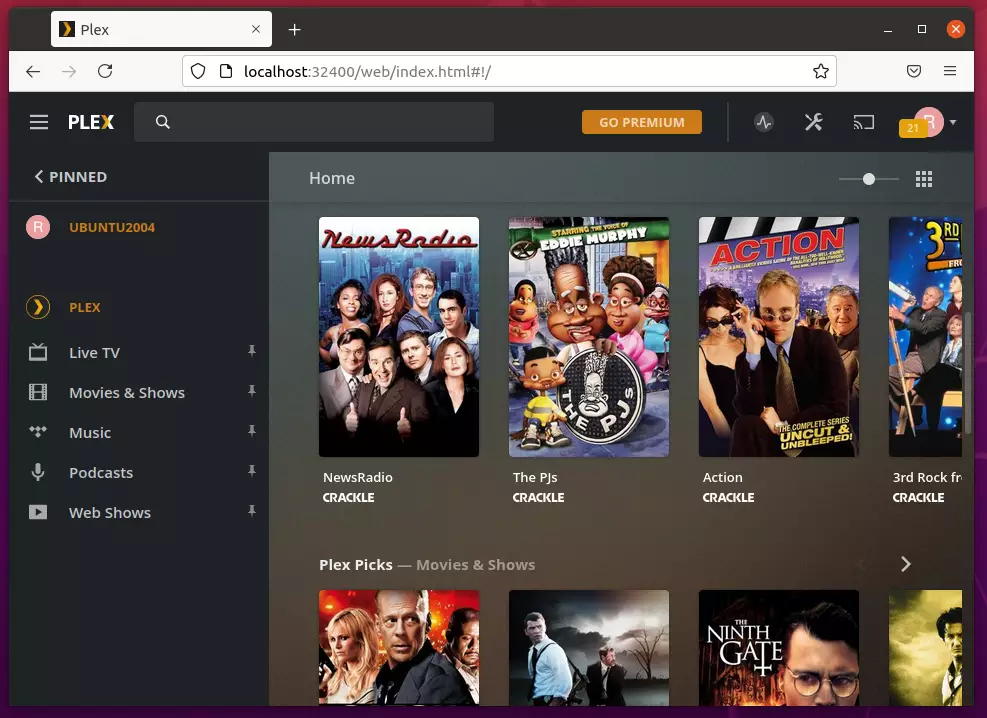
When you’re done with the setup wizard, enjoy your media content.
Update Plex Server
When newer versions of the Plex server are available, simply run the commands below to update.
sudo apt update
sudo apt install --only-upgrade plexmediaserver
Conclusion:
This post showed you how to install and configure Plex Media Server on Ubuntu. If you find any error above, please use the comment form below to report.
Leave a Reply to How to Install Plex Desktop on Ubuntu Linux – Geek Rewind Cancel reply