
This article explains installing and using OpenMRS (Open Medical Record System) in Ubuntu Linux.
OpenMRS is a collaborative open-source effort to develop a customized EMR system for developing countries. Instead of paying thousands of dollars for EMR systems, especially for countries that can’t afford them, OpenMRS was started as an alternative to commercial software.
The software is written in Java and uses a user-friendly web dashboard for managing electronic medical records through a web interface.
Below is how to install and use OpenMRS on Ubuntu Linux.
As described above, OpenMRS is an EMR system that can be used by organizations or countries that can’t afford commercial alternatives.
Here’s how to install it on Ubuntu.
Install OpenJDK 8
OpenHRM is a Java-based application. Therefore, you must install either the official Oracle JDK or Open JDK.
For this tutorial, we’re going to install the open-source OpenJDK version.
To do that, run the commands below:
sudo apt update
sudo apt install openjdk-8-jdk openjdk-8-doc openjdk-8-jre-lib
After installing Java, you can verify it by running the commands below:
java -version
It should output something similar below:
Output:
openjdk version "1.8.0_242"
OpenJDK Runtime Environment (build 1.8.0_242-8u242-b08-0ubuntu3~18.04-b08)
OpenJDK 64-Bit Server VM (build 25.242-b08, mixed mode)
Install MariaDB on Ubuntu Linux
The next component that is required to run OpenMRS is a database server. This post will install and use the MariaDB database server to run OpenMRS.
To install the MariaDB database server, use the instructions below.
Open the Ubuntu terminal and run the commands below to install the MariaDB database server.
sudo apt update
sudo apt install mariadb-server
Once the MariaDB database server is installed, use the commands below to stop, start and enable the MariaDB server to start up when the server boots automatically.
sudo systemctl stop mariadb
sudo systemctl start mariadb
sudo systemctl enable mariadb
After that, run the commands below to configure and secure the database server.
sudo mysql_secure_installation
When prompted whether to switch to unix_socket authentication, type N or No.
It would be best to create a new password for the root user.
NOTE: RUNNING ALL PARTS OF THIS SCRIPT IS RECOMMENDED FOR ALL MariaDB
      SERVERS IN PRODUCTION USE!  PLEASE READ EACH STEP CAREFULLY!

In order to log into MariaDB to secure it, we'll need the current
password for the root user. If you've just installed MariaDB, and
haven't set the root password yet, you should just press enter here.

Enter current password for root (enter for none):
OK, successfully used password, moving on...

Setting the root password or using the unix_socket ensures that nobody
can log into the MariaDB root user without the proper authorisation.

You already have your root account protected, so you can safely answer 'n'.

Switch to unix_socket authentication [Y/n] n
 ... skipping.

You already have your root account protected, so you can safely answer 'n'.

Change the root password? [Y/n] Y
New password:
Re-enter new password:
Password updated successfully!
Reloading privilege tables..
 ... Success!


By default, a MariaDB installation has an anonymous user, allowing anyone
to log into MariaDB without having to have a user account created for
them.  This is intended only for testing, and to make the installation
go a bit smoother.  You should remove them before moving into a
production environment.

Remove anonymous users? [Y/n] Y
 ... Success!

Normally, root should only be allowed to connect from 'localhost'.  This
ensures that someone cannot guess at the root password from the network.

Disallow root login remotely? [Y/n] Y
 ... Success!

By default, MariaDB comes with a database named 'test' that anyone can
access.  This is also intended only for testing, and should be removed
before moving into a production environment.

Remove test database and access to it? [Y/n] Y
 - Dropping test database...
 ... Success!
 - Removing privileges on test database...
 ... Success!

Reloading the privilege tables will ensure that all changes made so far
will take effect immediately.

Reload privilege tables now? [Y/n] Y
 ... Success!

Cleaning up...

All done!  If you've completed all of the above steps, your MariaDB
installation should now be secure.
Install Tomcat
OpenMRS uses a Tomcat web server. The steps below show you how to install Tomcat on Ubuntu Linux.
You’ll want to run the Tomcat user without root privileges to run it properly. To do that, create a new user and group to run the Tomcat service.
First, create a new Tomcat group called Tomcat. Linux systems usually create groups based on the account name.
sudo groupadd tomcat
Next, create a new Tomcat user called Tomcat and make the user a member of the Tomcat group above. Well also want to make /opt/tomcat the home folder for the Tomcat user.
To do that, run the commands below
sudo useradd -s /bin/false -g tomcat -d /opt/tomcat tomcat
We’re ready to download the Tomcat package.
Download the Tomcat file
At this stage, we’ve installed OpenJDK, created a Tomcat account, and are ready to download and configure Tomcat.
You can get the latest from the link below. However, if you find a newer release at the link below, download it instead.
cd /tmp
wget https://dlcdn.apache.org/tomcat/tomcat-8/v8.5.88/bin/apache-tomcat-8.5.88.tar.gz
After downloading, create a Tomcat home folder at /opt/Tomcat. Then extract the downloaded folder into /opt/Tomcat.
To do that, run the commands below:
sudo mkdir /opt/tomcat
sudo tar xzvf apache-tomcat-8*tar.gz -C /opt/tomcat --strip-components=1
Next, give the Tomcat user control of the entire directory and make all the scripts in the bin location executable.
sudo chown -R tomcat: /opt/tomcat
sudo sh -c 'chmod +x /opt/tomcat/bin/*.sh'
How to configure the Tomcat service
After extracting the package, run the commands to open the Tomcat configuration file for its default user.
sudo nano /opt/tomcat/conf/tomcat-users.xml
Then create an account with a password for the user and save by copying and pasting the lines below into the file, just before the </tomcat-users>
<role rolename="manager-gui"/>
<role rolename="admin-gui"/>
<user username="admin" password="type_new_password_here" roles="manager-gui,admin-gui"/>
Save the file and exit.
Next, run the commands below to create a server account for Tomcat
sudo nano /etc/systemd/system/tomcat.service
Then copy and paste the lines below into the file and save
[Unit]
Description=Tomcat servlet container
After=network.target

[Service]
Type=forking

User=tomcat
Group=tomcat

Environment="JAVA_HOME=/usr/lib/jvm/java-8-openjdk-amd64"
Environment="JAVA_OPTS=-Djava.security.egd=file:///dev/urandom"

Environment="CATALINA_BASE=/opt/tomcat"
Environment="CATALINA_HOME=/opt/tomcat"
Environment="CATALINA_PID=/opt/tomcat/temp/tomcat.pid"
Environment="CATALINA_OPTS=-Xms512M -Xmx1024M -server -XX:+UseParallelGC"

ExecStart=/opt/tomcat/bin/startup.sh
ExecStop=/opt/tomcat/bin/shutdown.sh

[Install]
WantedBy=multi-user.target
Save and exit.
After that, run the commands below to reload the systemd profiles and enable the Tomcat service.
sudo systemctl daemon-reload
sudo systemctl start tomcat.service
sudo systemctl enable tomcat.service
Download and install OpenMRS
Now that you have installed and configured the required packages download the OpenMRS package to install.
First, create an OpenMRS folder in the /opt directory. Then make the Tomcat user owner of the directory.
sudo mkdir /var/lib/OpenMRS
sudo chown -R tomcat:tomcat /var/lib/OpenMRS
Next, download the OpenMRS package.
cd /tmp
wget https://sourceforge.net/projects/openmrs/files/releases/OpenMRS_Platform_2.5.0/openmrs.war
sudo cp openmrs.war /opt/tomcat/webapps/
Next, run the commands below to make the Tomcat user the directory owner.
sudo chown -R tomcat:tomcat /opt/tomcat/webapps/openmrs.war
After that, open your browser and browse to the server hostname or IP address followed by /8080/openmrs
http://localhost:8080/openmrs
You should see the OpenMRS setup wizard.
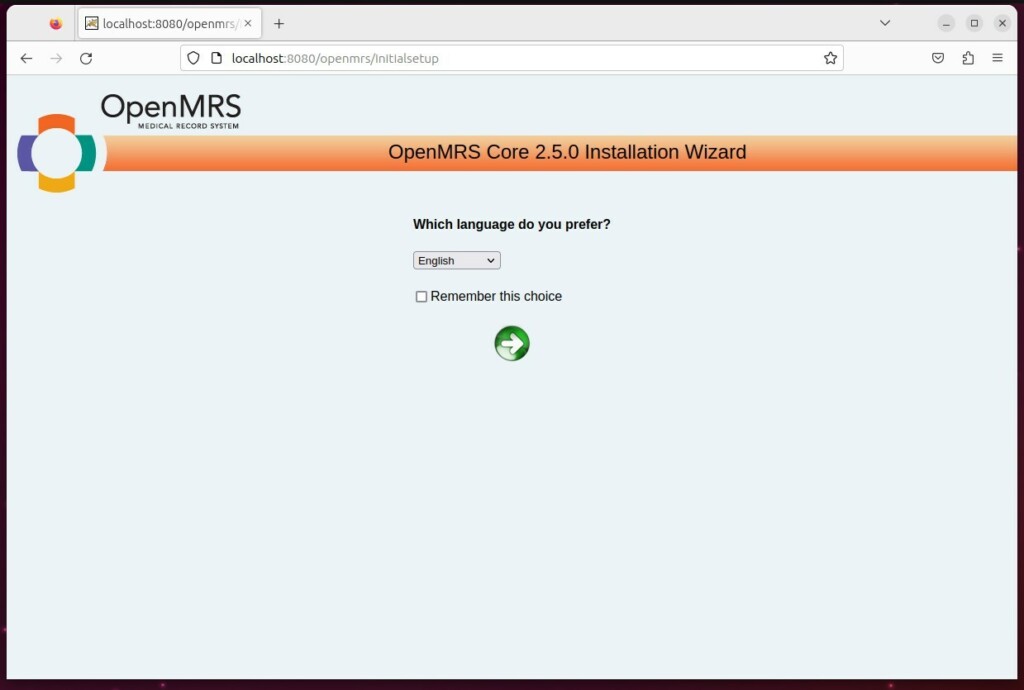
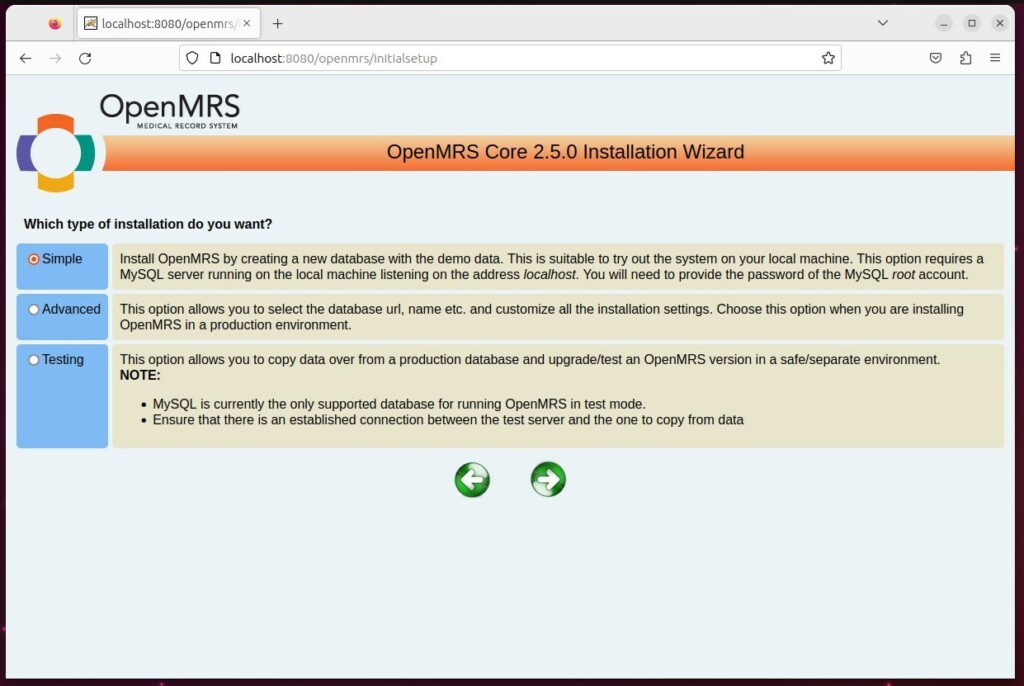
Next, choose the type of installation.
Type the root password in the database password field.
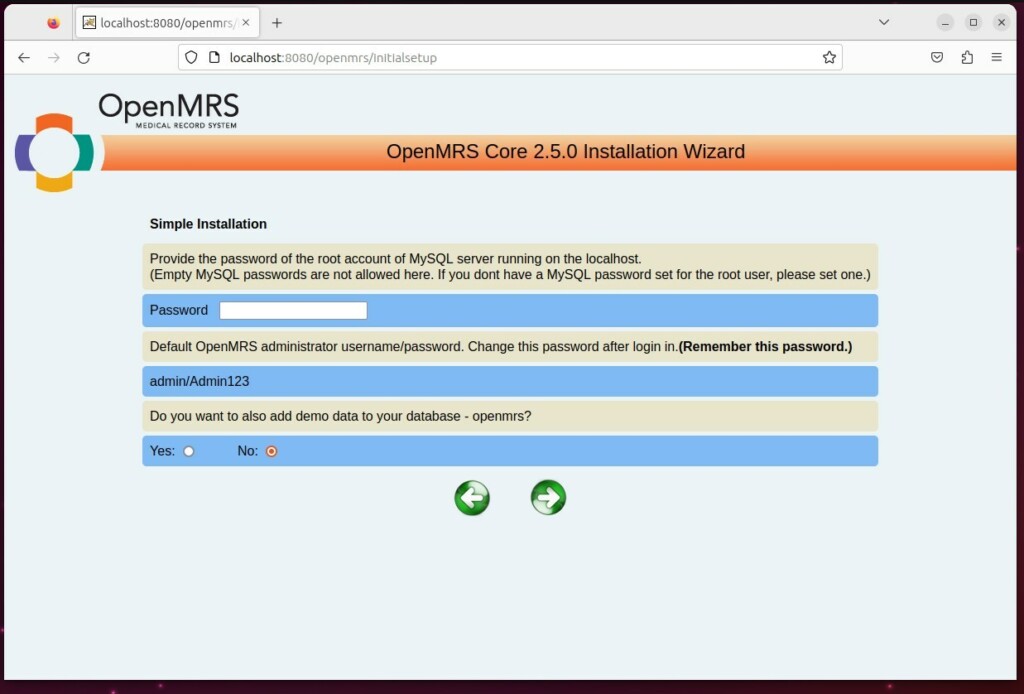
When you are done, the OpenMRS wizard should install a new database and create your site. After that, a login screen should appear.
Username and password:
admin / Admin123
Log in and start customizing your system
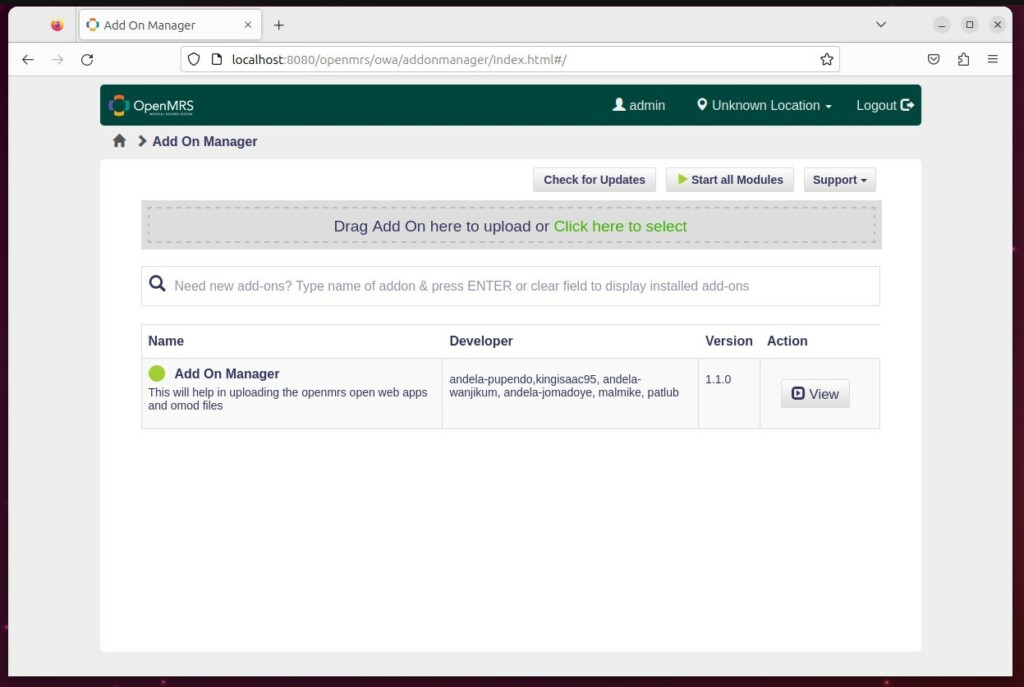
That should do it!
Conclusion:
- OpenMRS provides a cost-effective EMR system for organizations and countries with limited resources.
- The installation involves setting up OpenJDK 8, MariaDB, and Tomcat and installing and configuring OpenMRS.
- After completing the installation, users can access and customize their OpenMRS system using the web interface.
- Please use the comments section below the article for any feedback, errors, or additional information.


Leave a Reply Cancel reply