

This article describes how to install the .NET 3.5 framework on Windows 11 to enable .NET applications.
The .NET 3.5 framework is not going away anytime soon. Some older applications still require it to function, and until all applications update their .NET 3.5 requirements, we will continue to use it to support these legacy programs.
The new Windows 11 will have .NET packages available for installation as needed. It will introduce many features and enhancements that will benefit some users while presenting learning challenges for others.
Install .NET Framework via Windows features
There are several ways to install .NET and enable it in Windows 11. One of the quickest methods to obtain .NET 3.5 in Ubuntu is through the Windows Add/Remove Features.
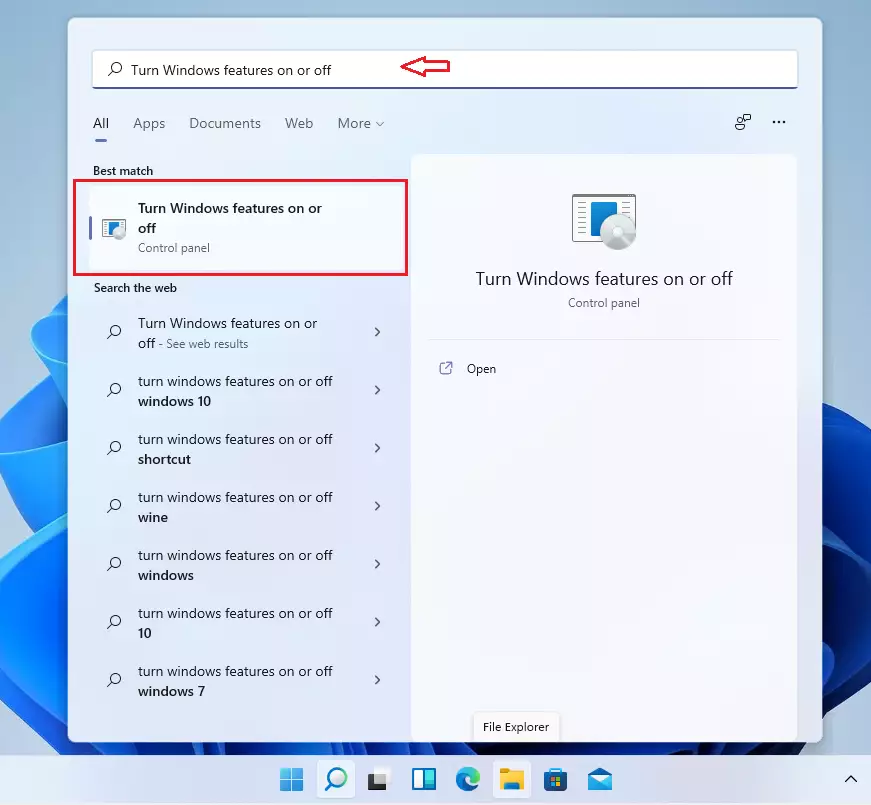
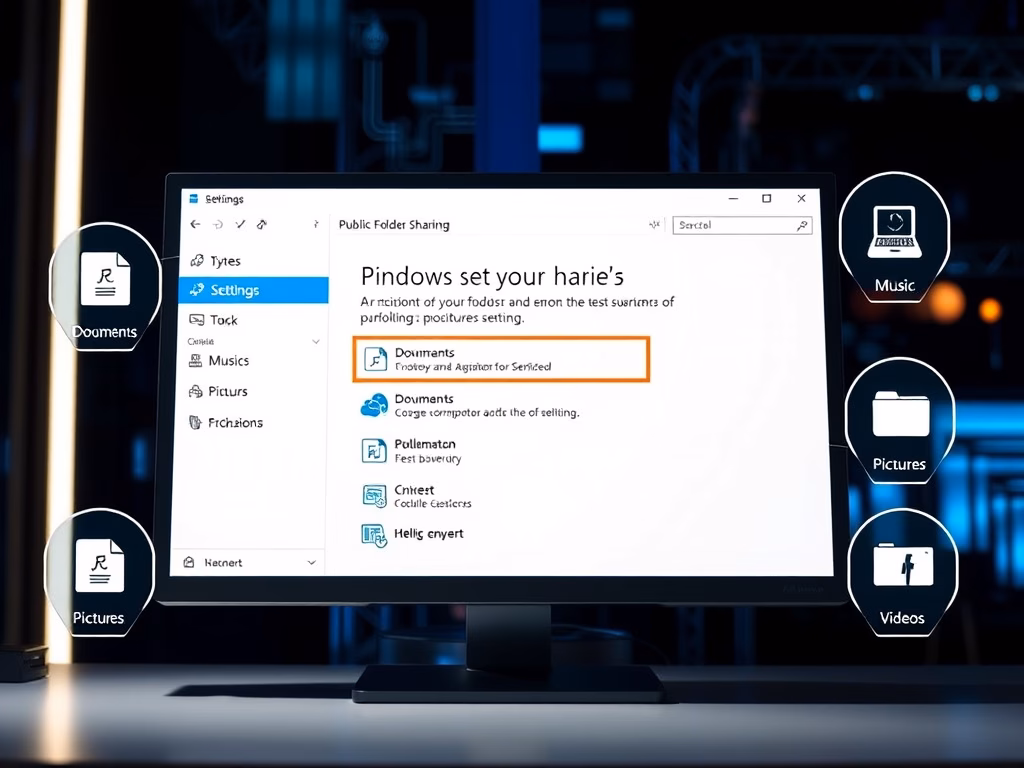
To get the Windows features pane, click Start and search for “Turn Windows features on or off.” Then click on the relevant link as shown in the image below:
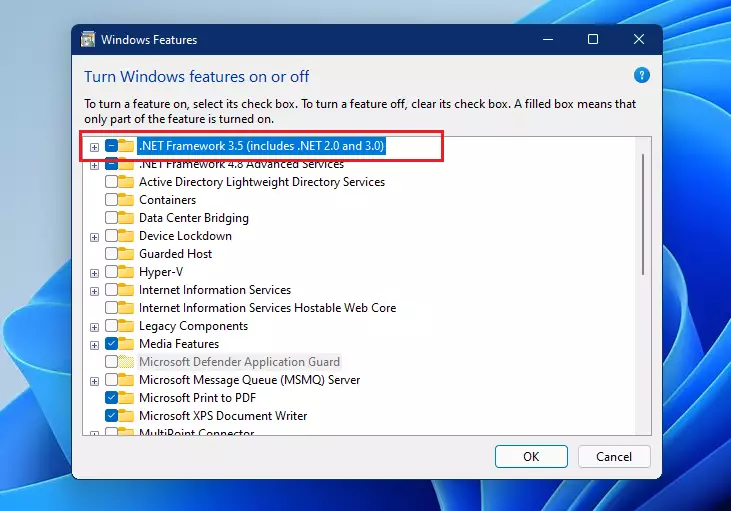
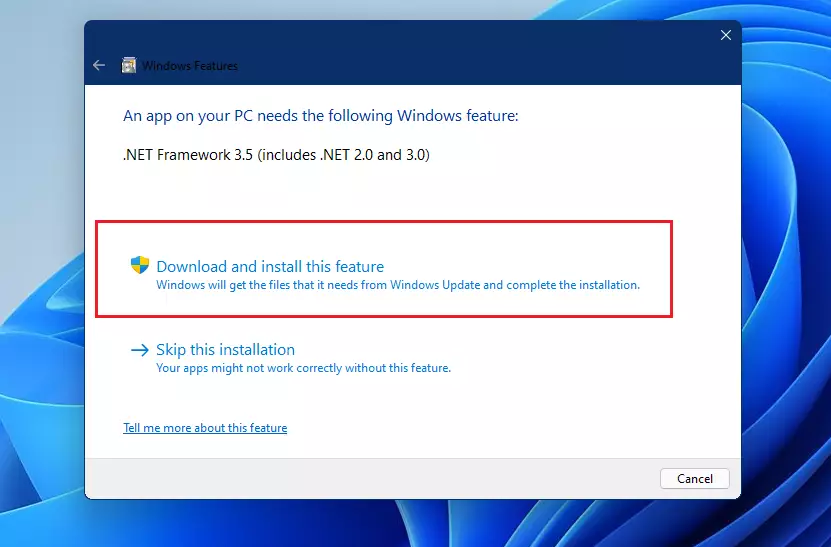
When the Windows features pane opens, select and check the box next to .NET frame 3.5 (includes .NET 2.0 and 3.0). Once chosen, click OK to install.
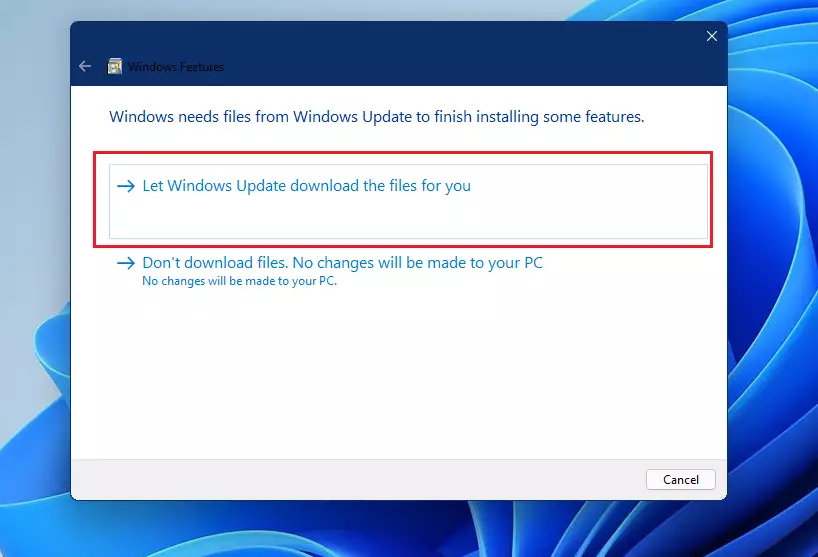
When prompted with the screen below, select “Let Windows Update download the files for you” and continue with the installation. The required file should be downloaded and installed quickly, depending on your internet connection speed.
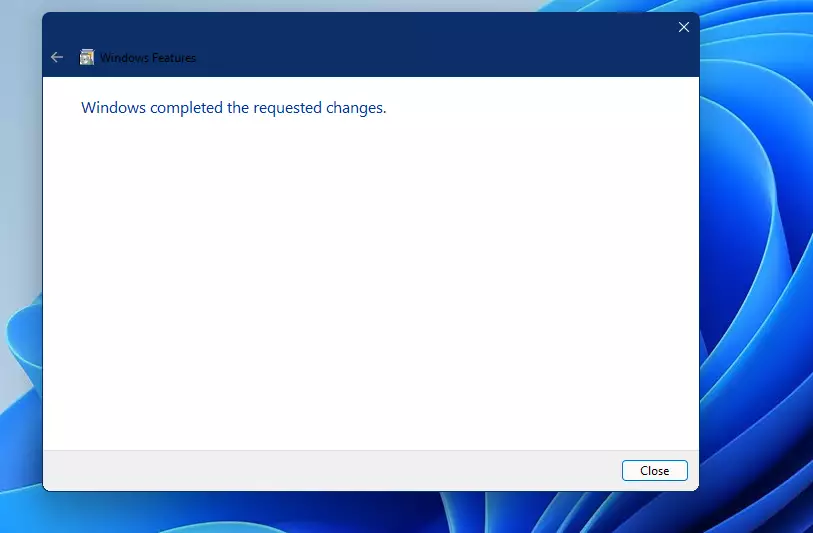
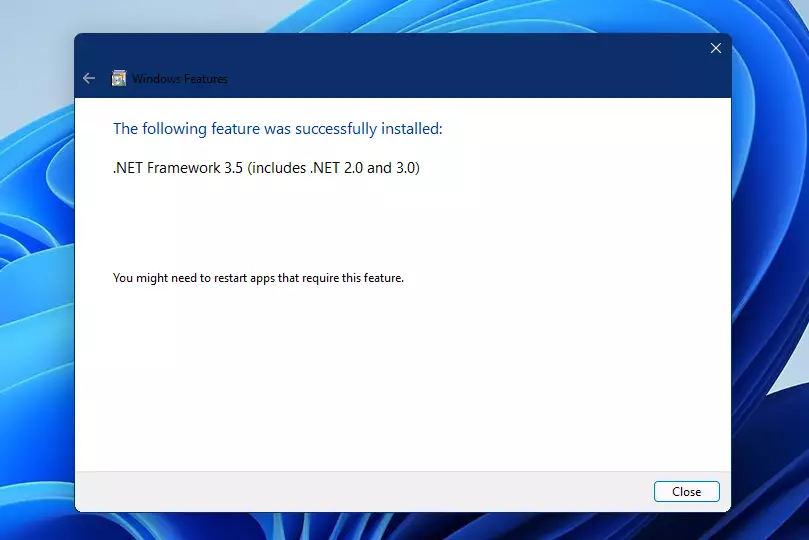
The .NET 3.5 framework should be installed and ready to use. You may want to reboot as well.
Download and Install .NET 3.5 Framework in Windows 11
One alternative method to install the .NET 3.5 Framework in Windows 11 is to download the installation package directly. If you’re unable to access the Windows features mentioned earlier, you can download and install the .NET 3.5 package manually.
Simply click on the link below to proceed:
Download .NET Framework 3.5 SP1 | Free official downloads (microsoft.com)
Click the link on the site above to download and install the package.
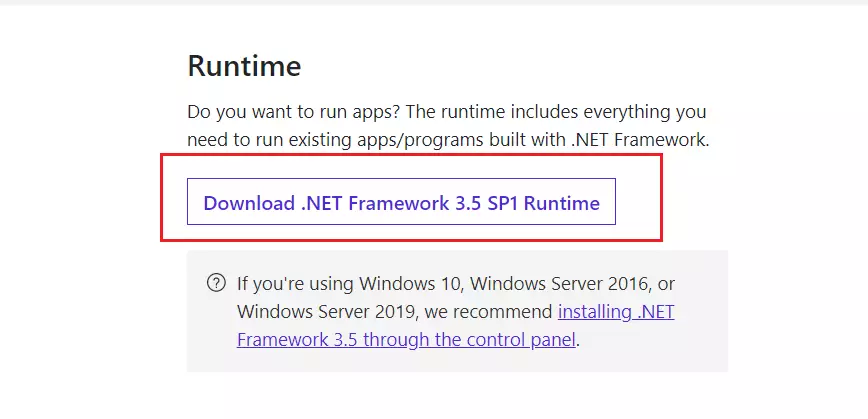
Once downloaded, click on dotnetfx35.exe to run the installer. When prompted, choose “Download and install this feature” and continue.
Windows Update will fetch and download all the required packages and install them on your system. Wait until all is downloaded and installed, then reboot to complete the installation.
After a brief moment, .NET 3.5 should be installed and ready to use. You may have to reboot to complete the installation.
Install .NET 3.5 Framework in Windows 11 from the Command Prompt.
Another method to install the .NET 3.5 framework on Windows 11 is through the Command Prompt. To do this, open the Command Prompt as an administrator by searching for the app, right-clicking on it, and selecting “Run as administrator,” as shown below:

When the Command Prompt app opens, run the commands below to install the .NET 3.5 framework.
Dism /online /Enable-Feature /FeatureName:"NetFx3"
The command above will initial the .NET 3.5 installation. After the installation, you will see a message similar to the one below.
Deployment Image Servicing and Management tool
Version: 10.0.22000.1

Image Version: 10.0.22000.71

Enabling feature(s)
[==========================100.0%==========================]
The operation completed successfully.
Install .NET 3.5 via PowerShell in Windows 11
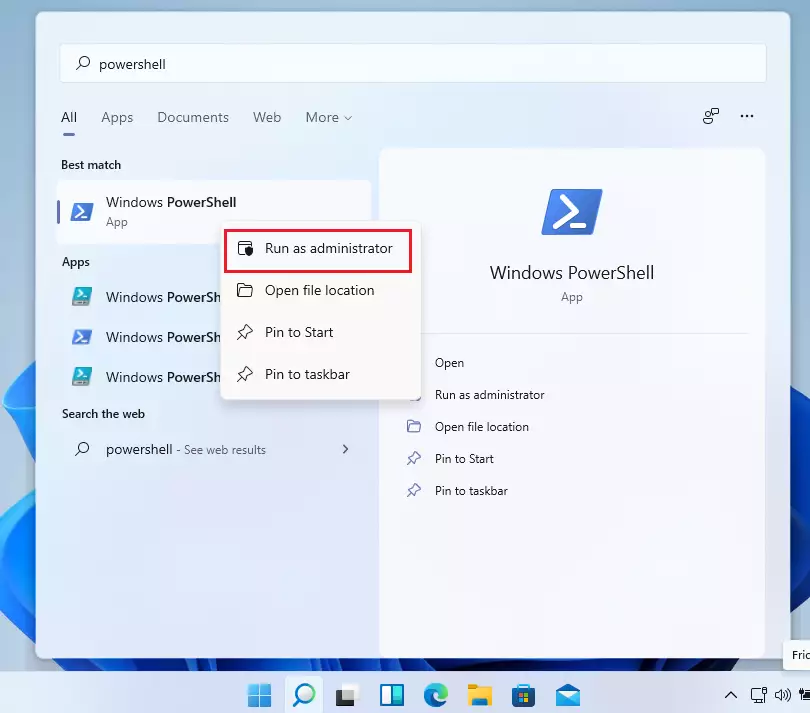
Finally, another way to install .NET 3.5 in Windows 11 is via Windows PowerShell. Open PowerShell as an administrator by searching for it, right-clicking, and selecting to run as administrator.
When Windows PowerShell opens, run the commands below to install .NET 3.5.
Enable-WindowsOptionalFeature -Online -FeatureName "NetFx3"
How to install the .NET 3.5 framework offline in Windows 11
Sometimes, you may have to install the .NET 3.5 framework offline using a Windows 11 installer ISO image.
This option does not use an internet connection to install .NET and can be useful if you cannot install .NET Framework 3.5 using any of the other options above.
First, download Windows 11 ISO. Once downloaded, mount the ISO file in File Explorer.
Next, open the command prompt as administrator.
Then, run the commands below to install .NET Framework 3.5.
Dism /online /enable-feature /featurename:NetFX3 /Source:<drive letter>:\sources\sxs /LimitAccess
I am replacing the <drive letter> with the one used to mount Windows 11 ISO files.
That should do it!
Conclusion:
- Installing the .NET 3.5 framework in Windows 11 is essential for supporting legacy applications that still rely on it.
- Multiple installation methods are available, including using Windows features, downloading the package, utilizing the Command Prompt, and leveraging PowerShell.
- The offline installation using a Windows 11 ISO is a practical option for users without internet access.
- Each method is straightforward and can be completed in a few steps, making it accessible for all users.
- Ensuring that .NET 3.5 is installed will enhance compatibility with older applications and improve overall system functionality.
Leave a Reply to P. Housos Cancel reply