
This article explains installing and using DocuSeal, a self-hosting document signing and an alternative to DocuSign and PandaDoc on Ubuntu Linux.
DocuSeal allows you to create, fill, and sign digital documents. It is an open-source alternative to other commercial document-signing platforms like DocuSign and PandaDoc.
If you want to host your document signing software on your server in your environment, then DocuSeal might be a good place to start.
Hosting your document-signing software comes with several advantages. Firstly, you have complete control over your data and don’t have to trust a third-party service provider with sensitive information. Additionally, you can customize the software to suit your specific needs and integrate it with other tools in your workflow.
Finally, hosting your software can be more cost-effective in the long run, especially if your document signing needs are high.
Prerequisites
Before you begin, ensure you’re running a recent version of Ubuntu. Additionally, you should have:
- Sudo privileges on your system
- An Internet connection
- A domain name pointed at your server’s public IP address (for HTTPS setup)
System Update
Start by updating your system’s package index and upgrading the installed packages to their latest versions:
sudo apt update && sudo apt upgrade -y
Uninstall Previous Docker Versions
DocuSeal runs in Docker, so we need to ensure a clean environment. Remove any older installations of Docker or conflicting packages:
sudo apt remove docker docker-engine docker.io containerd runc
Install Docker
Use the convenient script provided by Docker to install the latest Docker Engine:
sudo apt install curl
curl -fsSL https://get.docker.com -o get-docker.sh
sudo sh get-docker.sh
This script will install Docker and its dependencies. Grant your user the privileges to run Docker commands without sudo for convenience:
sudo usermod -aG docker ${USER}
newgrp docker
Install Docker Compose
Although the Docker script may install docker-compose, it’s best to ensure you have the latest version:
sudo apt install docker-compose docker-compose-plugin
Set Up DocuSeal
With Docker and Docker Compose installed, it’s time to configure DocuSeal using Docker Compose. Let’s download the docker-compose.yml file:
curl -LO https://raw.githubusercontent.com/docusealco/docuseal/master/docker-compose.yml
Configure DocuSeal
Modify the Docker Compose file to fit your domain. Use the nano editor or your preferred text editor:
nano docker-compose.yml
Locate the caddy service block and change the HOST variable to your domain name so that you can access DocuSeal over HTTPS:
  caddy:
    image: caddy:latest
    command: caddy reverse-proxy --from $HOST --to app:3000
    ports:
      - "80:80"
      - "443:443"
      - "443:443/udp"
    volumes:
      - .:/data
    environment:
      - HOST=your_domain.com
Save and exit the editor.
Start DocuSeal
With the configuration ready, run Docker Compose to start DocuSeal:
docker-compose up -d
The -d flag will start your containers in the background.
Verify the Installation
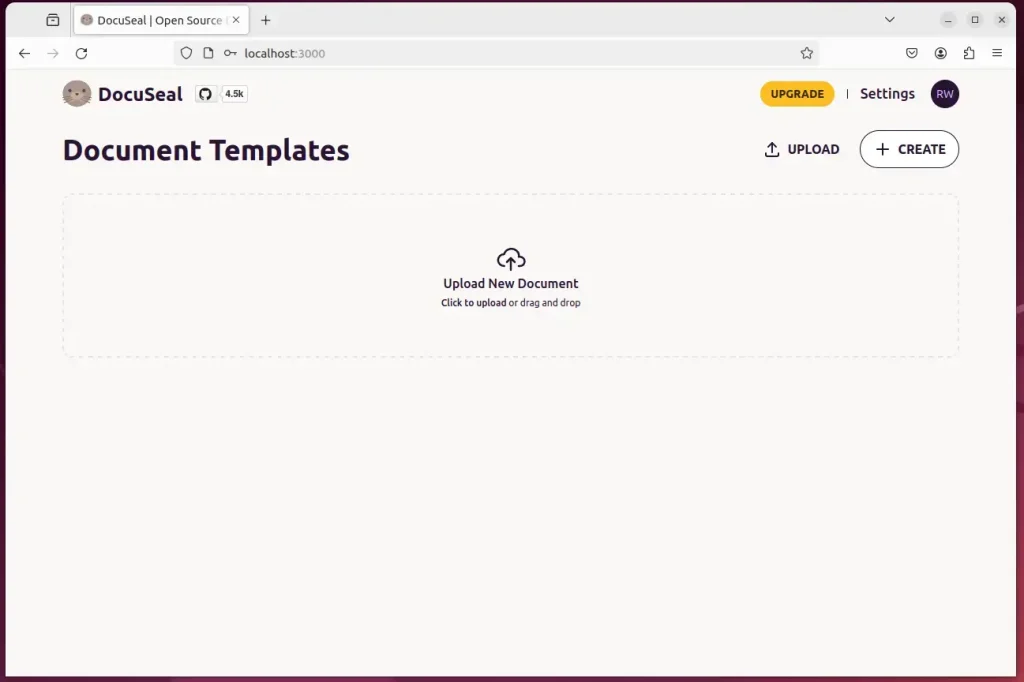
Once the Docker Compose process is complete, open your web browser and navigate to https://your_domain.com:3000 to check if DocuSeal is running.
http://localhost:3000

Set up your account and log in. Then, start signing documents.
Conclusion
Here’s a concise conclusion summarizing the key points of the article:
- DocuSeal provides an open-source, self-hosted solution for creating, filling, and signing digital documents, offering an alternative to commercial platforms like DocuSign and PandaDoc.
- By hosting your document-signing software, you gain complete control over your data, the ability to customize the software to your needs, and potential long-term cost savings, especially for high document-signing needs.
- Following the step-by-step guide, you can easily set up DocuSeal on your Ubuntu server, ensuring a secure and personalized document signing solution tailored to your requirements.
Feel free to add your experiences, questions, or suggestions in the comments below. Your feedback helps to improve the guide for everyone.


Leave a Reply Cancel reply