This brief tutorial shows students and new users how to install Discourse Forum software on Ubuntu 18.04 | 16.04.
Discourse is a modern, open-source discussion and forum solution for the modern web that powers discussions on thousands of sites to drive user engagement.
With Discourse, web admins and website owners can create a customizable hub of searchable questions and exciting ideas that integrates with popular services to enhance the platform.
When looking for a next-generation forum platform that’s powerful and mobile-friendly, you might want to take a look at Discourse software. It’s simple and efficient and makes online discussion easy and fun. Discourse is built with Ruby on Rails and Ember.js and requires Redis database software.
Individuals and web admins can use Discourse Forums software to set up communities in minutes to stay in touch with groups of people or ideas.
For more about Discourse, please visit its homepage.
To get started with installing Discourse Forum Software, please follow the steps below:
Install Docker
The first requirement for Discourse forum software is to install Docker. To do that, run the commands below.
sudo apt update
sudo apt install git
After that, run the command below to download Docker and install it
wget -qO- https://get.docker.io/ | sh
After running the command above, Docker should be installed and ready for Discourse.
Download and Install Discourse
After installing Docker above, follow the steps below to download and install Discourse. First, create a home directory to download its content. We will create a new Discourse folder for this tutorial in the /var directory. /var/discourse.
sudo mkdir /var/discourse
After that, run the commands below to download Discourse content into the /var/Discourse directory.
sudo git clone https://github.com/discourse/discourse_docker.git /var/discourse
Next, please create a new Discourse environment file ( app.yml ) by copying its sample file to create a new one.
sudo cp /var/discourse/samples/standalone.yml /var/discourse/containers/app.yml
When you’re done, run the commands below to open the new app.yml file and edit it to match your environment.
sudo nano /var/discourse/containers/app.yml
Make the highlighted changes and save the file.
 ## TODO: The domain name this Discourse instance will respond to
  ## Required. Discourse will not work with a bare IP number.
  DISCOURSE_HOSTNAME: 'forum.example.com'

  ## TODO: List of comma delimited emails that will be made admin and developer
  ## on initial signup example 'user1@example.com,user2@example.com'
  DISCOURSE_DEVELOPER_EMAILS: 'admin@example.com,superadmin@example.com'

  ## TODO: The SMTP mail server used to validate new accounts and send notifications
  # SMTP ADDRESS, username, and password are required
  # WARNING the char '#' in SMTP password can cause problems!
  DISCOURSE_SMTP_ADDRESS: smtp.gmail.com
  DISCOURSE_SMTP_PORT: 587
  DISCOURSE_SMTP_USER_NAME: admin@example.com
  DISCOURSE_SMTP_PASSWORD: pa$$word1
  DISCOURSE_SMTP_ENABLE_START_TLS: true           # (optional, default true)

  ## If you added the Lets Encrypt template, uncomment below to get a free SSL certificate
  #LETSENCRYPT_ACCOUNT_EMAIL: me@example.com
Save the file and exit:
Launch Discourse App
After all the setups above, your server should be ready. All you need to do is start up the Discourse app and use it.
To do that, run the commands below:
sudo ./launcher bootstrap app
sudo ./launcher start app
Next, open your browser and browse to the hostname you defined above. You should see the Discourse setup page.
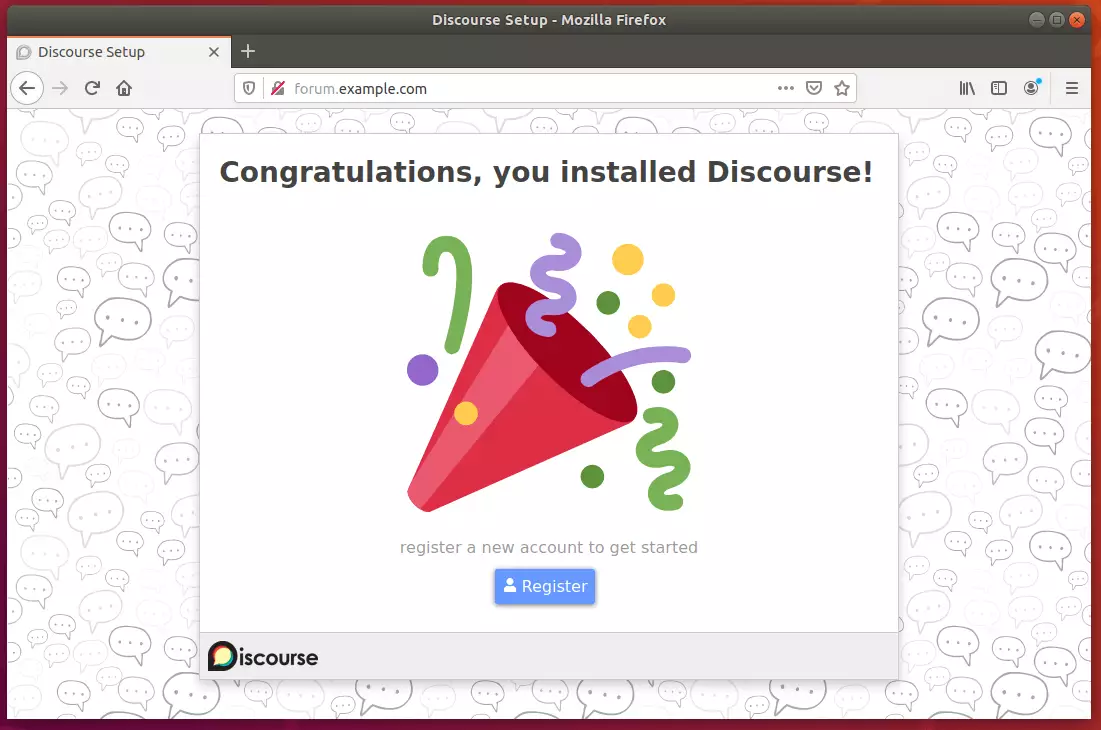
Register and create an admin account. An activation mail will be sent to the address you enter. You’ll want to follow the instructions in the email to activate your account.
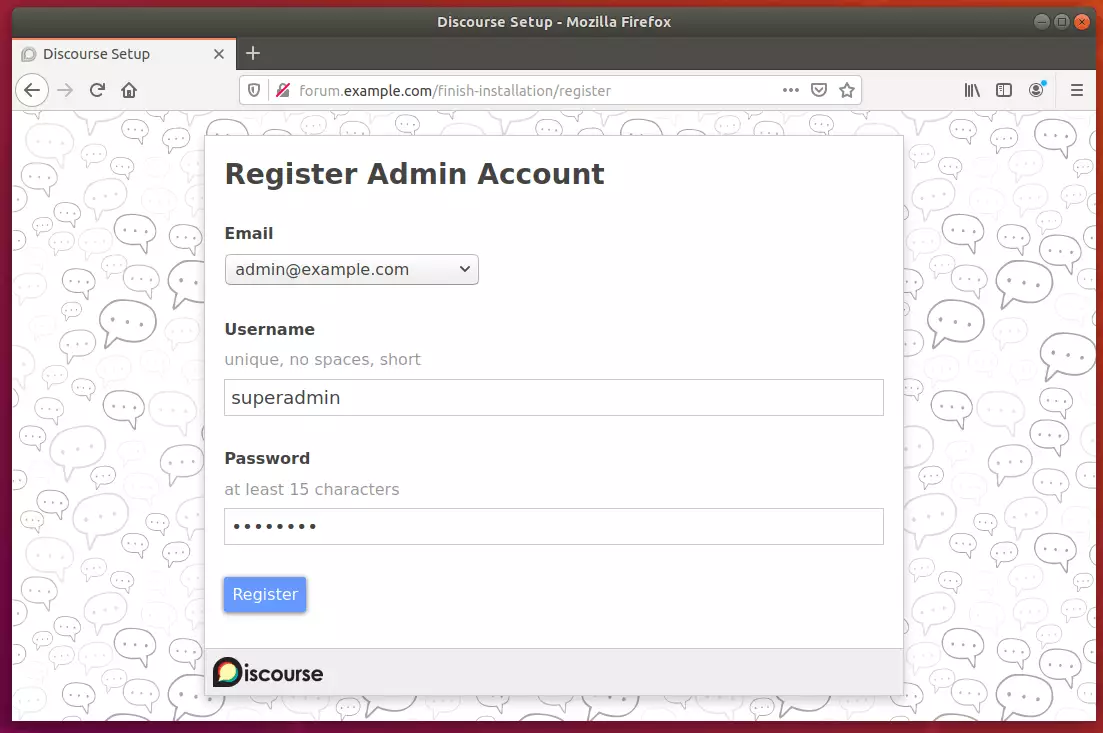
After that, log in and begin setting up your forum platform.
Whenever you edit the configuration file, run the commands below from the Discourse directory to rebuild Discourse.
sudo ./launcher rebuild app
That’s it!
Conclusion:
This post shows you how to set up Discourse forum software on Ubuntu 18.04 | 16.04. If you find any error, please report it in the comment form below.
You may also like the post below:

Leave a Reply Cancel reply