This brief tutorial shows students and new users how to install and configure the Caddy server in Ubuntu 20.04 | 18.04 LTS.
Caddy is an open-source, robust, extensible platform written in Go that can serve your sites, services, and apps. It is not a simple web server. It can be used as a reverse proxy, load balancer, gateway, ingress controller, and task scheduler.
Caddy is lightweight and operates primarily at the OSI model’s L4 (transport layer) and L7 (application layer).
Whether hosting a simple website or running a production-ready web app, Caddy is a great place to start when looking for alternatives to your current configurations.
To get started with installing Caddy on Ubuntu, follow the steps below:
Install from the official Repository
There are many ways to install Caddy in Ubuntu. One way is to install Caddy from its official Repository. To do that, use the steps below:
First, run the commands below to install supported packages.
sudo apt update
sudo apt install debian-keyring debian-archive-keyring apt-transport-https curl
After that, add the Caddy package repository key to Ubuntu by running the commands below:
curl -1sLf 'https://dl.cloudsmith.io/public/caddy/stable/gpg.key' | sudo apt-key add -
When you’re done, create a repository file by running the commands below:
curl -1sLf 'https://dl.cloudsmith.io/public/caddy/stable/debian.deb.txt' | sudo tee /etc/apt/sources.list.d/caddy-stable.list
Finally, run the commands below to update Ubuntu package lists and install Caddy.
sudo apt update
sudo apt install caddy
Installing this package automatically starts and runs Caddy for you as a systemd service named Caddy using our official Caddy. service unit file.
After installing Caddy, the commands below can be used to stop, start and enable the Caddy service to start up when the server boots automatically.
sudo systemctl stop caddy
sudo systemctl start caddy
sudo systemctl enable caddy
To verify that Caddy is running, run the commands below:
sudo systemctl status caddy
That should display similar lines as shown below:
● caddy.service - Caddy
     Loaded: loaded (/lib/systemd/system/caddy.service; enabled; vendor preset:>
     Active: active (running) since Thu 2021-05-20 13:38:08 CDT; 13s ago
       Docs: https://caddyserver.com/docs/
   Main PID: 4136 (caddy)
      Tasks: 6 (limit: 4653)
     Memory: 9.9M
     CGroup: /system.slice/caddy.service
             └─4136 /usr/bin/caddy run --environ --config /etc/caddy/Caddyfile

May 20 13:38:08 ubuntu2004 caddy[4136]: JOURNAL_STREAM=8:55448
May 20 13:38:08 ubuntu2004 caddy[4136]: {"level":"info","ts":1621535888.2488842>
May 20 13:38:08 ubuntu2004 caddy[4136]: {"level":"info","ts":1621535888.2514222>
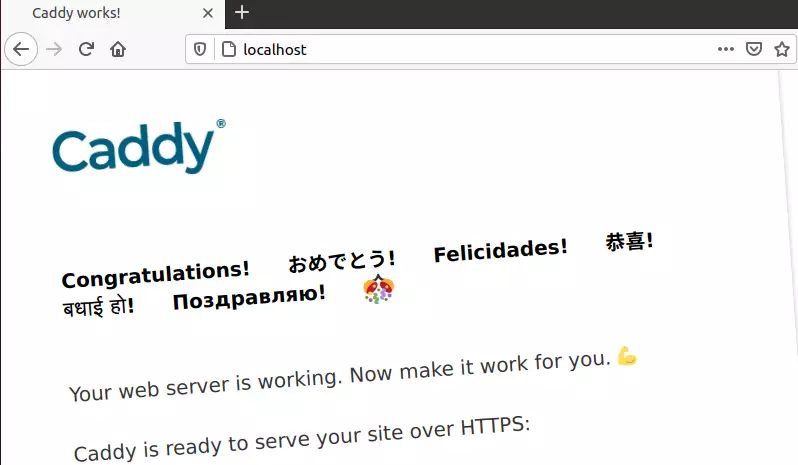
Caddy is running the function.
Open the browser on the server and browse to the server hostname or IP address. You should see Caddy’s default web page message.
Configure Caddy
To serve web pages via Caddy, you must define the root directory to serve the files.
The Caddy configuration file is located at /etc/caddy/Caddyfile by default.
Run the commands below to open the Caddy default configuration file.
sudo nano /etc/caddy/Caddyfile
Then add the lines below to reference the website files you want to serve on the server.
http://.example.com {
    root * /var/www/html
    encode gzip
    file_server
}
This basic Caddy config declares that all HTTP traffic to your server should be served with files file_server from /var/www and compressed using gzip to reduce page loading times on the client side.
Save the file and exit.
Reload the Caddy service and browse the domain to test.
That should do it!
Conclusion:
This post showed you how to install the Caddy server on Ubuntu. If you find any error above, please use the comment form below to report.


Leave a Reply