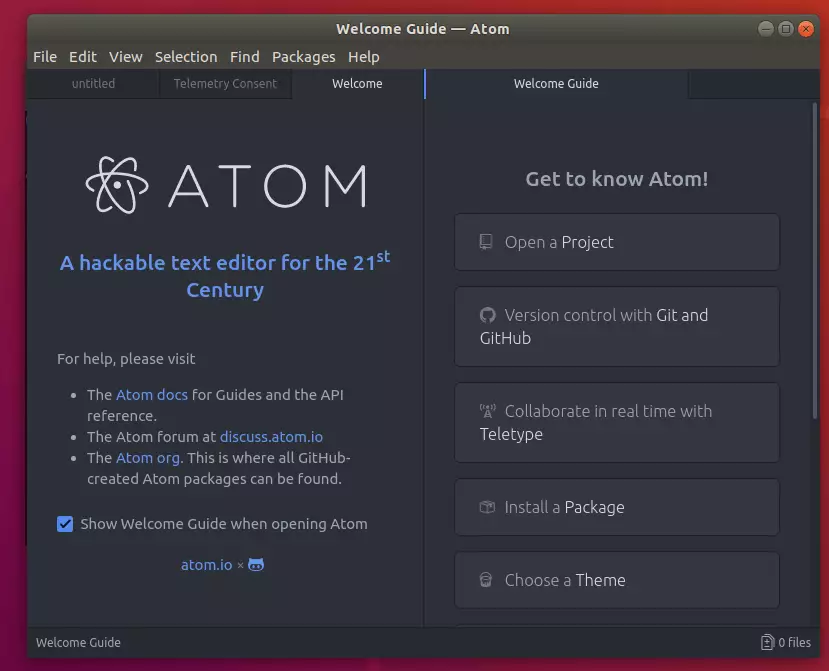
This brief tutorial shows students and new users how to install the Atom text editor on Ubuntu 20.04 | 18.04.
Atom is a cross-platform, sophisticated IDE text/code editor for folks who need a decent editor with cool features like context-aware auto-completion, code navigation features such as an outline view, document formatting, and file system browser; it works with Git and GitHub directly, and much more.
Whether new to programming or a seasoned programmer, you will need a great code editor to do your job. And Atom IDE is a code editor that combines simplicity and speed for any developer.
For more about Atom IDE, please check its homepage.
Because it’s a cross-platform app that works on Windows and Mac Linux PCs, it should work and allow you to move between different PC platforms.
When you’re ready to install Atom on Ubuntu, follow the steps below: There are multiple ways to install Atom IDE.
Install Atom IDE from the Repository
To install Atom using its official repository, you must add it to Ubuntu. You can install the app from Ubuntu default repositories. However, the version that comes with Ubuntu may not necessarily be the latest.
First, run the commands below to install supporting packages. Run the commands below to ensure it is aptly set up to work with HTTPS sources.
sudo apt update
sudo apt install software-properties-common apt-transport-https wget
Next, run the commands below to add its repository key and create a file.
wget -q https://packagecloud.io/AtomEditor/atom/gpgkey -O- | sudo apt-key add -
sudo add-apt-repository "deb [arch=amd64] https://packagecloud.io/AtomEditor/atom/any/ any main"
Finally, run the commands below to install.
sudo apt-get update
sudo apt install atom
That should install Atom Text. Atom Text should be installed and ready to use when you’re done.
To launch it, go to the Activities Overview, search Atom Text, and launch it.

Install Atom IDE via Snap
Suppose the option above didn’t work for you. You can also install Atom Text via Snap package management.
This might be the quickest way to install Atom Text.
Snaps are applications packaged with dependencies to run on all popular Linux distributions from a single build. They update automatically and roll back gracefully.
sudo apt install snapd
sudo snap install atom --classic
Congratulations!
Conclusion:
In summary, installing the Atom text editor on Ubuntu is straightforward, and you have multiple methods to choose from. Here are the key points to remember:
- Atom is a versatile and powerful IDE suitable for both beginners and experienced developers.
- You can install Atom via the official repository for the latest updates, or through Snap for a quicker setup.
- Ensure you have the necessary supporting packages installed before proceeding with the installation.
- After installation, use the Activities Overview to easily launch Atom and start coding.
Whether you prefer working with repositories or Snap packages, Atom provides an excellent coding experience across different platforms. Happy coding!

Leave a Reply