
This post shows students and new users how to install Apache Solr on Ubuntu Linux. Apache Solr is a fast, open-source search platform built on Apache Lucene and Java.
Solr uses a REST-like API to store documents (indexing) via JSON, XML, CSV, or binary over HTTP. You query data via HTTP GET and receive JSON, XML, CSV, or binary results.
Solr also provides advanced full-text search capabilities and a scalable and responsive admin interface. You might want to look at Solr for an enterprise search platform that enables phrases, wildcards, joins, and grouping at a large scale.
Below, we’ll show you how to download and install the latest version of Ubuntu and run your enterprise search platform on your own Linux server.
How to download and install Apache Solr on Ubuntu Linux
As mentioned above, Apache Solr is a fast, open-source search platform built on Apache Lucene and Java.
To install Solr, you must first install Java. The open-source Java should work great with Solr.
Run the commands below to install OpenJDK on Ubuntu Linux. This will install the current stable version of OpenJDK for Ubuntu Linux.
sudo apt update
sudo apt install default-jdk
To check the version of Java installed, run the commands below:
java --version
That should output similar lines as shown below:
openjdk 11.0.15 2022-04-19
OpenJDK Runtime Environment (build 11.0.15+10-Ubuntu-0ubuntu0.20.04.1)
OpenJDK 64-Bit Server VM (build 11.0.15+10-Ubuntu-0ubuntu0.20.04.1, mixed mode, sharing)
Once Java is installed, continue below to download Solr and install it.
Now that Java is installed, run the commands below to download Solr version 9.0.
Visit the Solr download page to see if other versions are available.
Next, extract the downloaded file using the tar command.
wget https://dlcdn.apache.org/solr/solr/9.0.0/solr-9.0.0.tgz
tar xzf solr-9.0.0.tgz solr-9.0.0/bin/install_solr_service.sh --strip-components=2
When version 9.0 is downloaded and extracted, run the commands below to install it.
sudo bash ./install_solr_service.sh solr-9.0.0.tgz
The installation process will create a user with the name solr on your system. A default port, 8983, will be used for Solr as well.
Once Solr is installed, you can run the commands below to stop, start and check Solr service status.
sudo service solr stop
sudo service solr start
sudo service solr status
The status commands will output similar lines, as shown below.
● solr.service - LSB: Controls Apache Solr as a Service
     Loaded: loaded (/etc/init.d/solr; generated)
     Active: active (exited) since Sat 2022-05-28 17:44:47 CDT; 5s ago
       Docs: man:systemd-sysv-generator(8)
    Process: 4947 ExecStart=/etc/init.d/solr start (code=exited, status=0/SUCCESS)

May 28 17:44:35 ubuntu2004 systemd[1]: Starting LSB: Controls Apache Solr as a Service...
May 28 17:44:35 ubuntu2004 su[4949]: (to solr) root on none
May 28 17:44:35 ubuntu2004 su[4949]: pam_unix(su-l:session): session opened for user solr by (uid=0)
May 28 17:44:47 ubuntu2004 systemd[1]: Started LSB: Controls Apache Solr as a Service.
Apache Solr stores data in a collection, a single logical index that uses a separate solrconfig.xml file with a single index schema.
You can create a new collection using Solr’s built-in utility or APIs. For example, below is how to create a new collection named testcol1.
sudo su - solr -c "/opt/solr/bin/solr create -c testcol1 -n data_driven_schema_configs"
After successful creation, you should see a message similar to the one below:
Created new core 'testcol1'
Restart Solr services after creating new collections.
By default, you can access Solr on the localhost machine only. To provide external access, you must edit the Solr config file and allow access from remote systems.
Run the commands below to open the Solr config file.
sudo nano /etc/default/solr.in.sh
Then change the highlighted line to all zeros to allow external clients.
# Solr to accept connections on all network interfaces.
SOLR_JETTY_HOST="0.0.0.0"
Save the file and exit.
Restart Solr after editing the file.
sudo service solr restart
If a firewall is enabled on your Ubuntu server, you may have to run the commands below to allow traffic from remote systems.
sudo ufw allow proto tcp from 192.168.0.0/24 to any port 8983
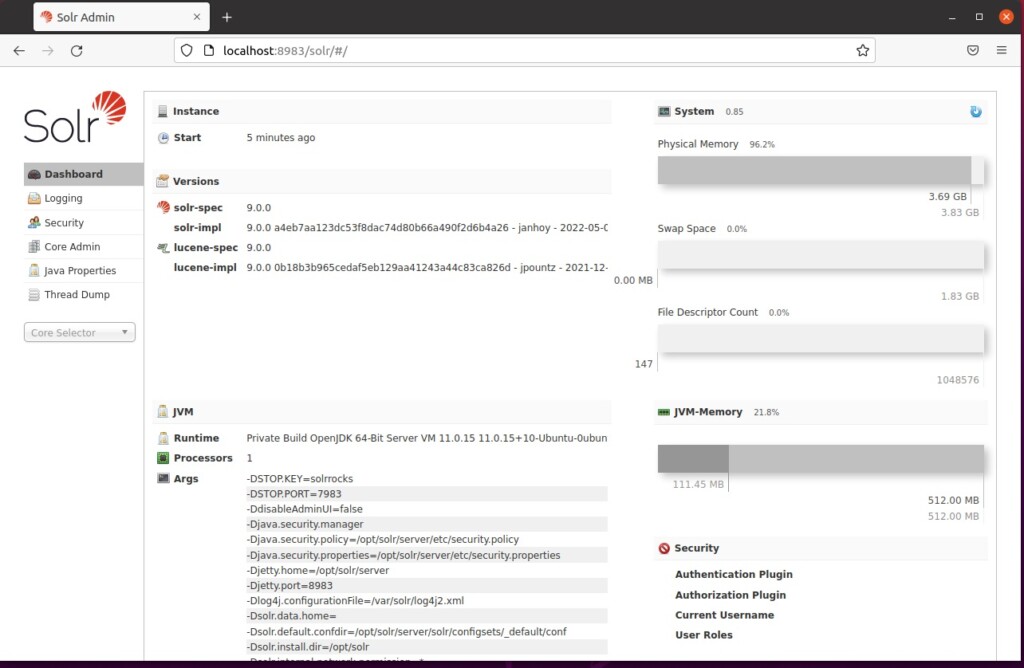
Finally, open your browser and browse to the server name, followed by port number 8983.
http://localhost:8983/
You should see the Solr admin console.
That should do it!
Conclusion:
- Apache Solr is a powerful, open-source search platform that offers advanced full-text search capabilities and a scalable admin interface.
- Installing Apache Solr on Ubuntu involves installing Java, downloading Solr, creating and managing collections, and configuring external access if required.
- After installation, users can manage Solr services and access the admin console via a web browser.


Leave a Reply Cancel reply