

This article explains how to install Apache CouchDB on Ubuntu 24.04.
Apache CouchDB is an open-source NoSQL database designed for user-friendliness, utilizing a schema-free JSON document format for data storage. Data is organized in documents, providing flexibility and adaptability to changes without requiring migration.
CouchDB enables multi-master replication, allowing changes to occur on any node and be synchronized across all other nodes, enhancing availability.
If you are developing applications that need a flexible data model or must handle large volumes of unstructured data, installing CouchDB on Ubuntu is a smart choice.
Import and add CouchDB key and repository
To install CouchDB on Ubuntu, you must first import and add its GPG key and repository.
To begin, please install the following packages to help you set up CouchDB.
sudo apt update
sudo apt install curl apt-transport-https gnupg
Next, import the repository GPG key.
curl https://couchdb.apache.org/repo/keys.asc | gpg --dearmor | sudo tee /usr/share/keyrings/couchdb-archive-keyring.gpg >/dev/null 2>&1
source /etc/os-release
Then, add the repository.
echo "deb [signed-by=/usr/share/keyrings/couchdb-archive-keyring.gpg] https://apache.jfrog.io/artifactory/couchdb-deb/ noble main"
    | sudo tee /etc/apt/sources.list.d/couchdb.list >/dev/null
Finally, update and install CouchDB.
sudo apt update
sudo apt install couchdb
The installer will prompt you to choose between installing CouchDB in clustered or standalone mode. Clustering involves multiple servers collaborating as a single, distributed data store.
We will install CouchDB in a standalone mode on a single server.
 ┌─────────┤ Configuring couchdb ├─────────┐
 │ General type of CouchDB configuration:  │
 │                                         │
 │               standalone                │
 │               clustered                 │
 │               none                      │
 │                                         │
 │                                         │
 │                 <Ok>                    │
 │                                         │
 └─────────────────────────────────────────┘
Next, you can set the IP address of the network interface to which CouchDB will bind. For a single-server setup, you can leave the default IP address [127.0.0.1].
On the next screen, set the admin password. Setting the admin password in the following prompt is essential, as this action will secure CouchDB and take it out of the insecure “admin party” mode.
If you leave this field empty, an admin user will not be created.
Complete the installation.
Verify CouchDB installation
After installing CouchDB, run the command below to verify its installation.
curl http://127.0.0.1:5984/
The command will output something similar to the one below.
{
  "couchdb":"Welcome",
  "version":"3.1.0",
  "git_sha":"ff0feea20",
  "uuid":"4589130c33b0dae4c166330463542ad4",
  "features":[
    "access-ready",
    "partitioned",
    "pluggable-storage-engines",
    "reshard",
    "scheduler"
  ],
  "vendor":{
    "name":"The Apache Software Foundation"
  }
}
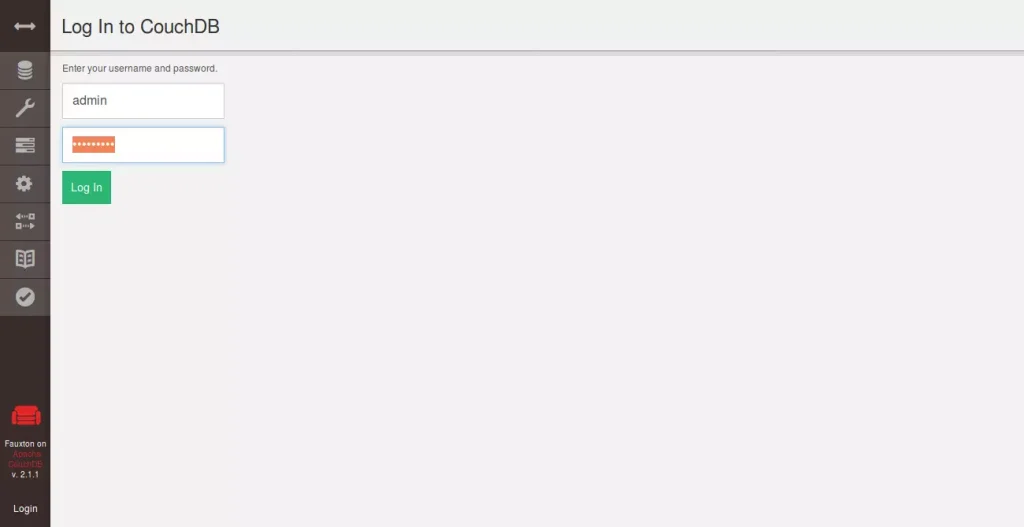
To test in the GUI, you can access the CouchDB web-based interface using the server hostname or IP address.
http://127.0.0.1:5984/_utils/
Type in the admin username and password.
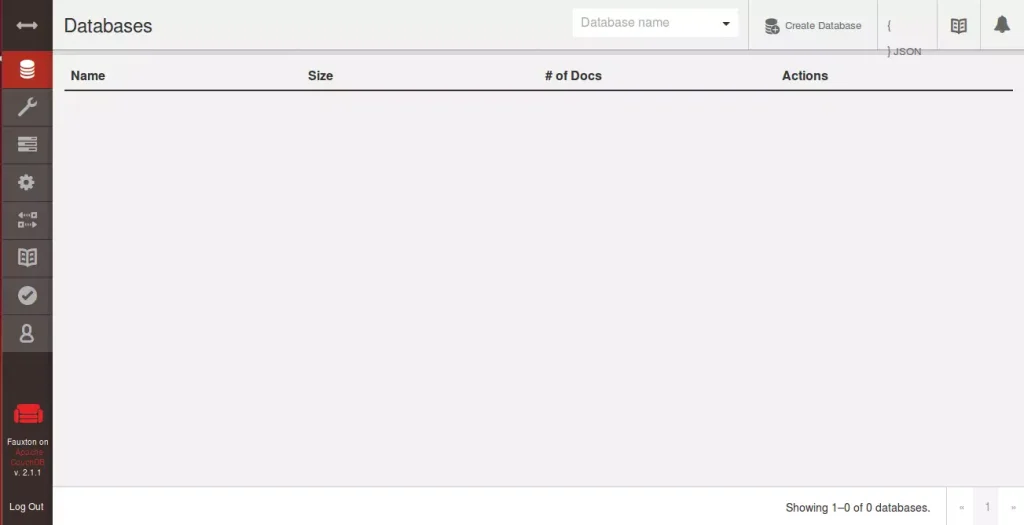
That should do it!
Conclusion:
Installing Apache CouchDB on Ubuntu 24.04 provides a robust and flexible NoSQL database solution suitable for various applications. Key takeaways include:
- User-Friendly: CouchDB’s schema-free JSON document format allows for easy data manipulation.
- Multi-Master Replication: Enhances data availability by allowing changes on any node in the system.
- Standalone Setup: Ideal for single server environments, providing a simple configuration process.
- Admin Security: Setting an admin password during installation is crucial to secure your CouchDB instance.
- Web Interface Access: Easy access to CouchDB management through the web-based interface for monitoring and administration.
Following the installation steps outlined above, you’ll have a functional CouchDB database ready to handle your flexible data storage needs.


Leave a Reply