This brief tutorial shows students and new users how to install Dropbox client software on Ubuntu 19.04 systems.
Dropbox is an online file hosting, synchronization, and personal cloud service. With its client software, you can automatically synchronize your local files on your desktops or laptops to the cloud.
Installing and configuring the Dropbox client on Ubuntu Linux allows you to easily synchronize your local files on your desktop or laptop to the cloud. This means that you can back up your data from your PC to the cloud, allowing for quick restoration of your online data to your local machine in case of a PC crash.
Additionally, by adding your files to the Dropbox folder in your home directory, you can automatically sync your data online to your Dropbox account, making it easily accessible from any connected device.
To install and configure the Dropbox client on Ubuntu, continue below:
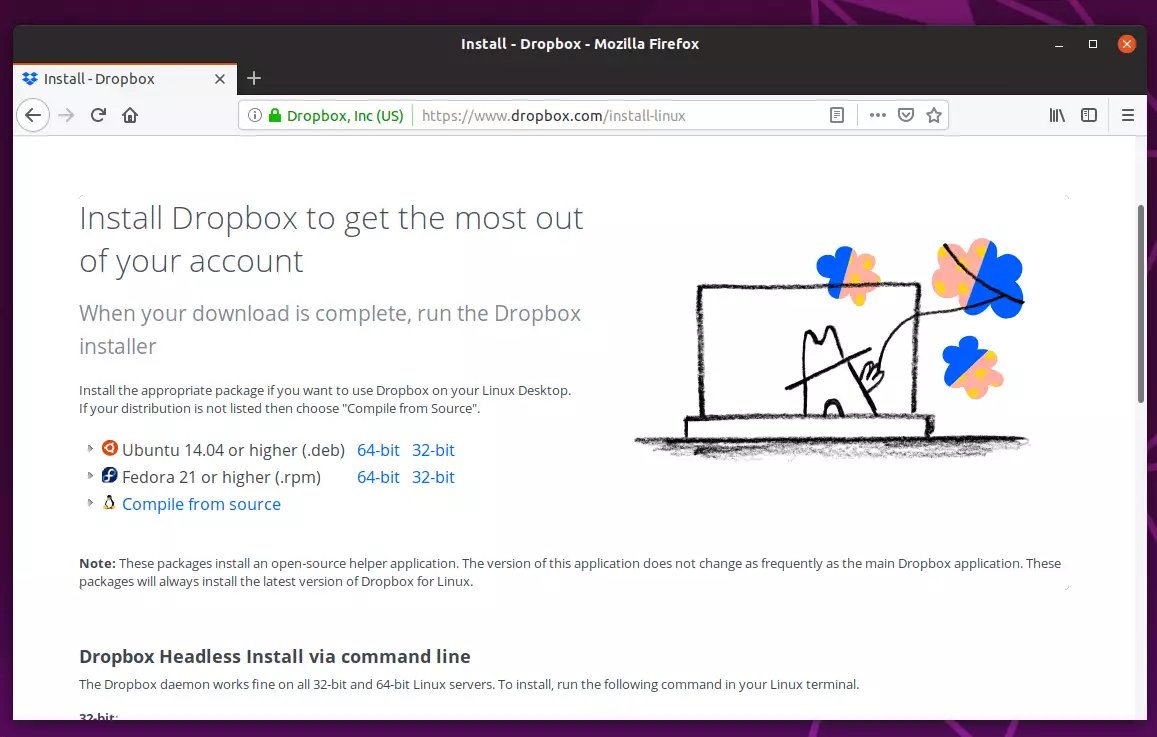
There are many ways to install Dropbox. The most basic is downloading and installing the client installer from its download page.
Select either the 64-bit or 32-bit version for your System. My understanding is Ubuntu 19.04 only has 64-bit. So, if you have it installed, then choose 64-bit to download.
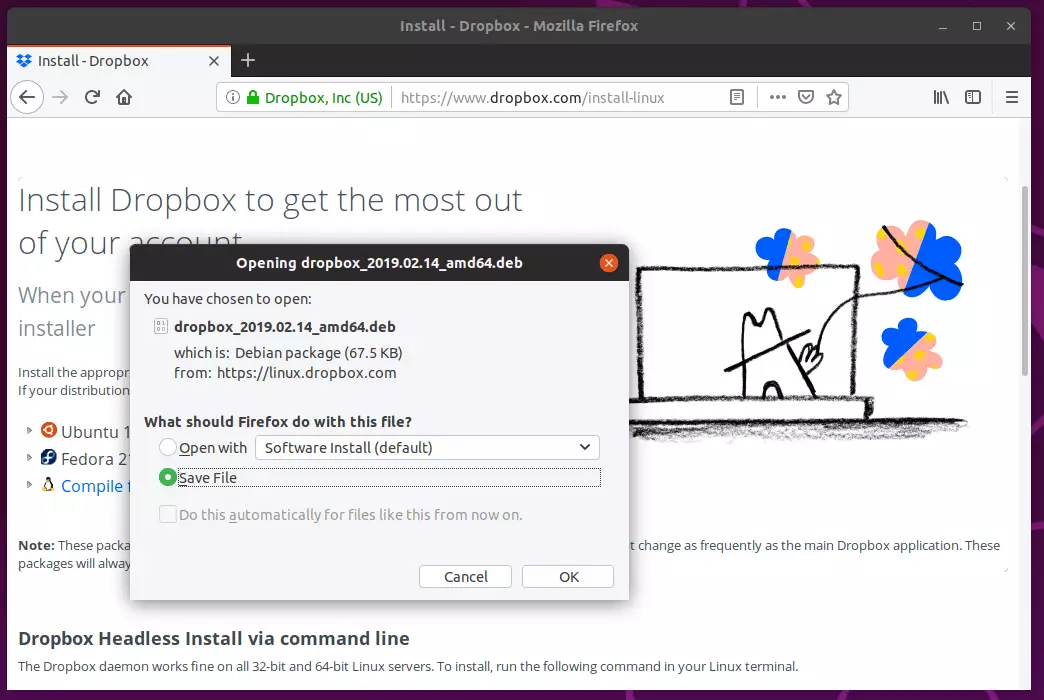
When prompted, choose to save the installer to your Downloads folder.
Next, browse your ~/Downloads folder, then right-click the Dropbox installer. And choose to Open With Software Install.
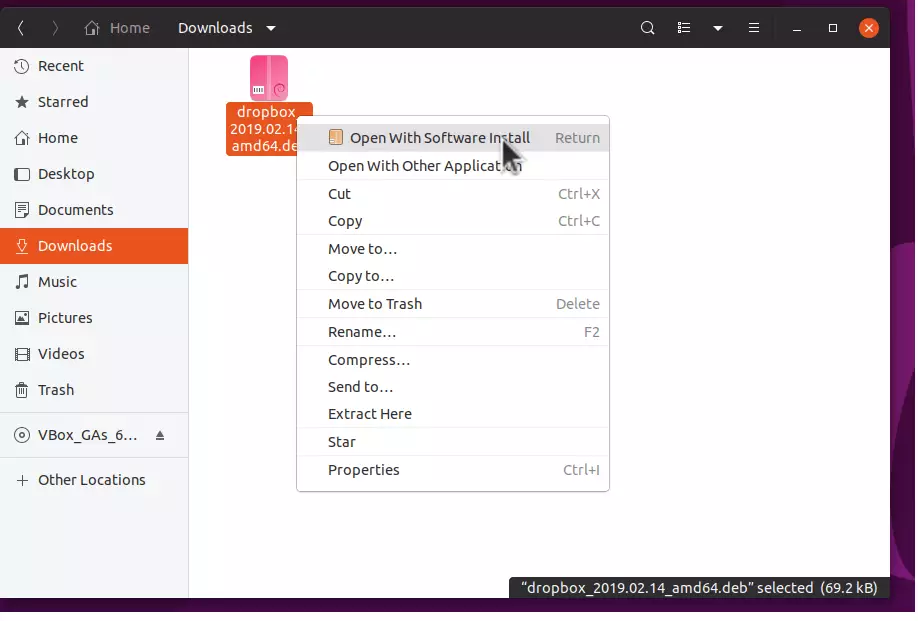
That should open the Ubuntu Software app center. When there, click Install to begin the installation.

After clicking install, you’ll be prompted to confirm your password to complete the installation. Only root or users with admin rights can install programs on Ubuntu.
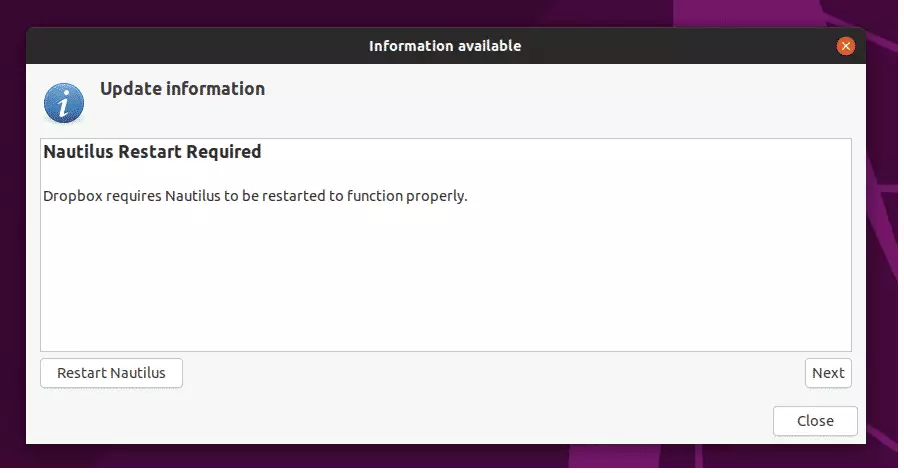
Once the installation is complete, Nautilus will automatically be restarted. Click Next to continue.
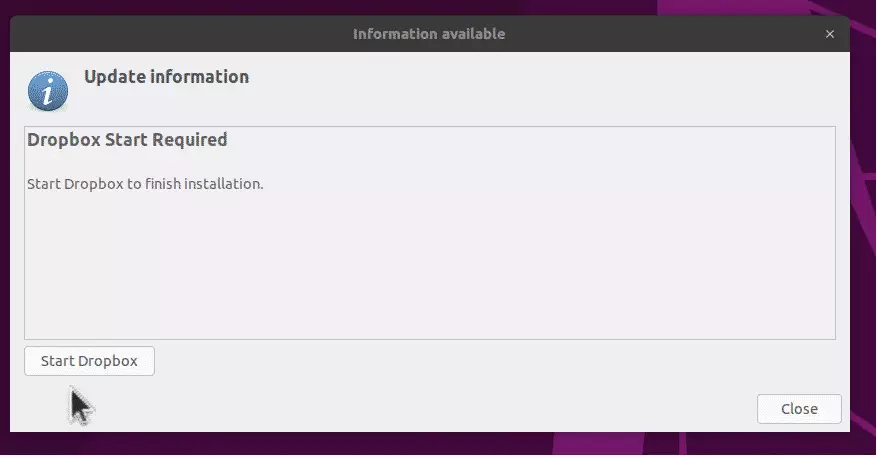
Finally, click Start Dropbox to complete. The Dropbox app will automatically download some required packages to complete the installation.
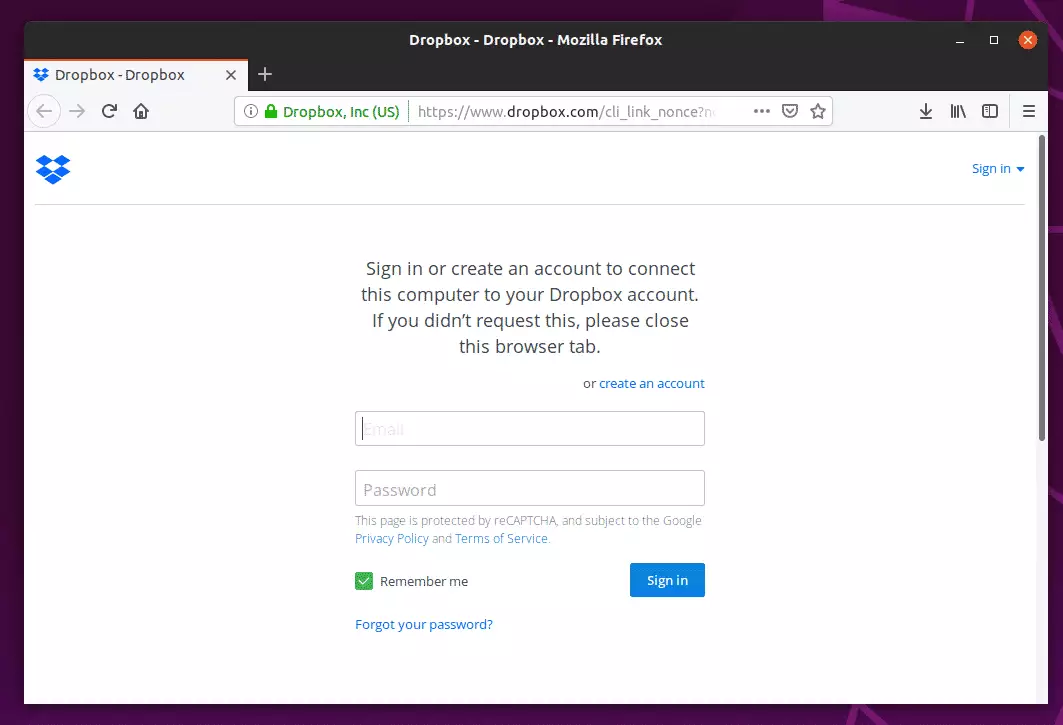
After that, log on and start using Dropbox on Ubuntu.
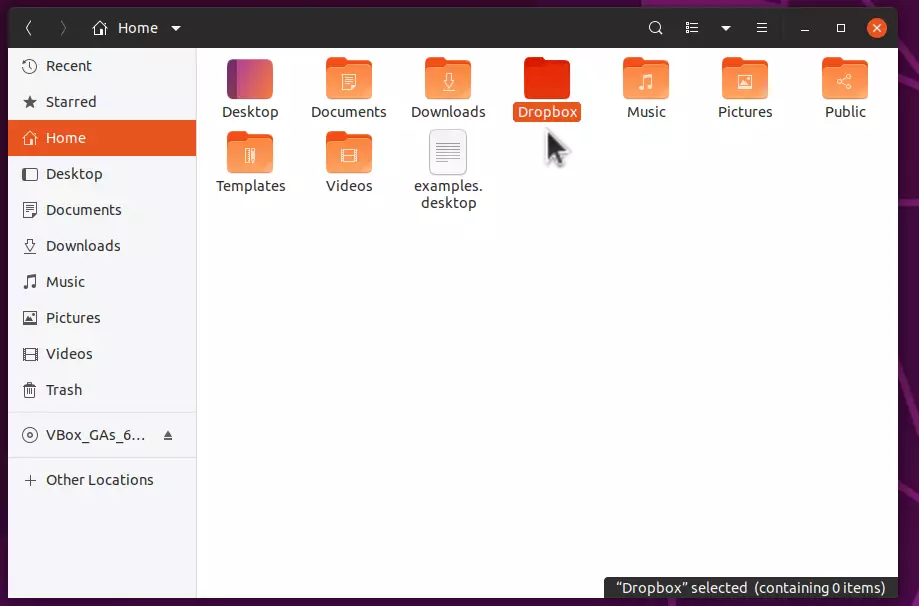
After the installation, a Dropbox folder will be created in your home directory. If you want to back up stuff online automatically, add your stuff to that folder. In addition, you can create a sub folder in the Dropbox folder of your home directory to sync to the cloud.
A Dropbox icon will also be added to the top menu bar, where you can easily manage and access your online content.
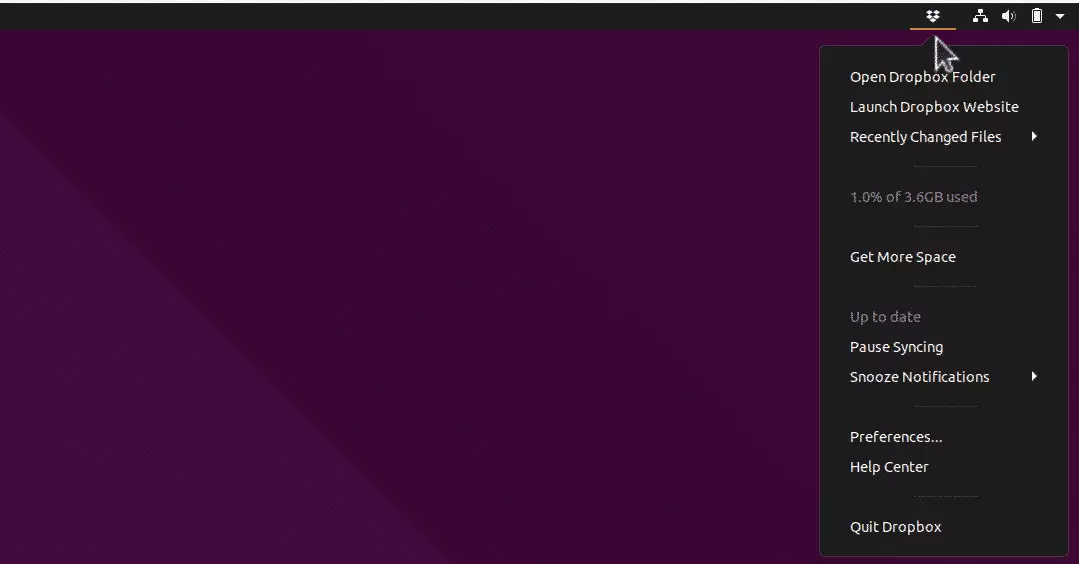
To automatically sync your data online to your Dropbox account, copy them into the Dropbox folder in your home directory. All connected devices to your Dropbox account will instantly see the new files and folders after adding them to the Dropbox folder in Ubuntu.
That’s it!
You may also like the post below:


Leave a Reply Cancel reply