This brief tutorial shows students and new users how to install new display languages using Windows 10.
You can use Windows 10 desktops and applications in dozens of languages worldwide. Windows language pack converts the names of menus, field boxes, and labels throughout the user interface for users in their native tone.
One may want to install and change the Display Language in Windows to make it easier to use the operating system and its applications in their native language. Changing the Display Language can convert the names of menus, field boxes, and labels throughout the user interface, making it easier to navigate and understand.
It can also be helpful for bilingual or multilingual users who want to switch between languages on their computer. Additionally, changing the Display Language can improve accessibility and inclusivity for non-native English speakers who may struggle with using Windows in its default language.
To get started with changing Windows 10 display languages, follow the steps below:
Change display language
If you’re running Windows 10 Home Edition, you cannot change or add additional language packs.
You must upgrade to Windows Pro to add or use multi-language interfaces.
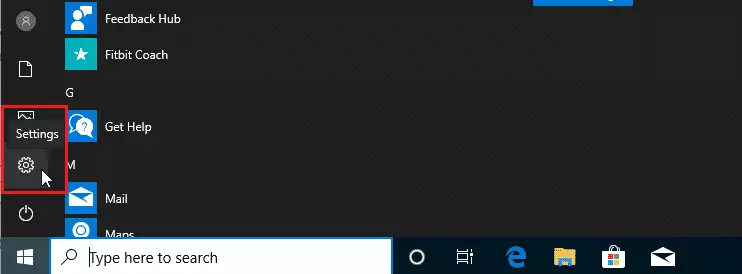
To change the Windows 10 language to your native tone, click Start > Settings.
Then select Time & language > Region & language from the settings page. On the Region & Language page, click the + button to Add a language.
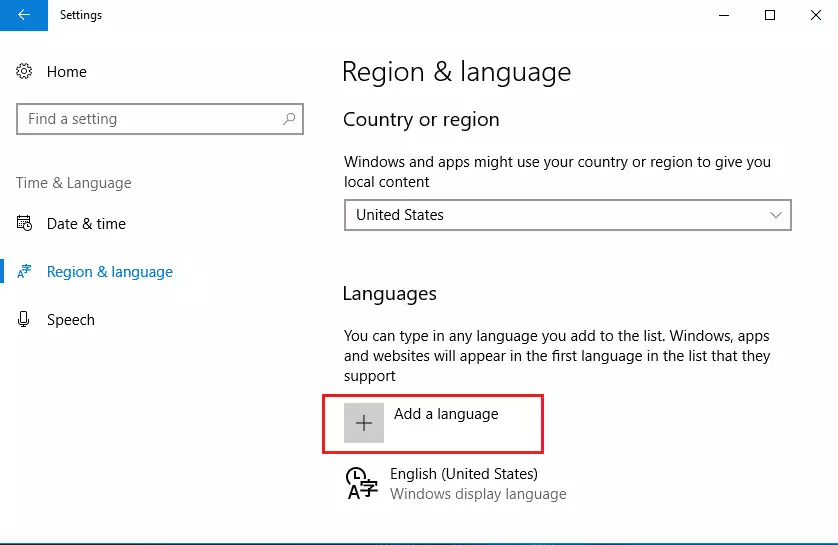
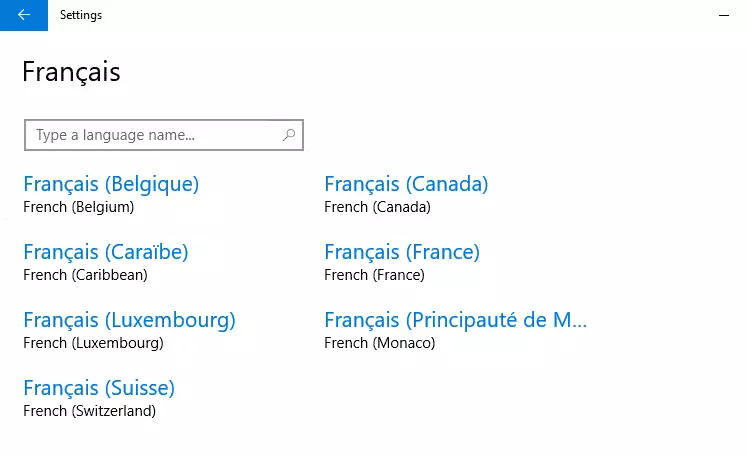
Click Add a language to select and add your desired language to Windows 10. You can use the search box to type the name of the language you want to include.
Then select it to use as Windows 10 display language.
Download Windows language packs.
If Windows can’t automatically install your selected language packs, you must manually download them.
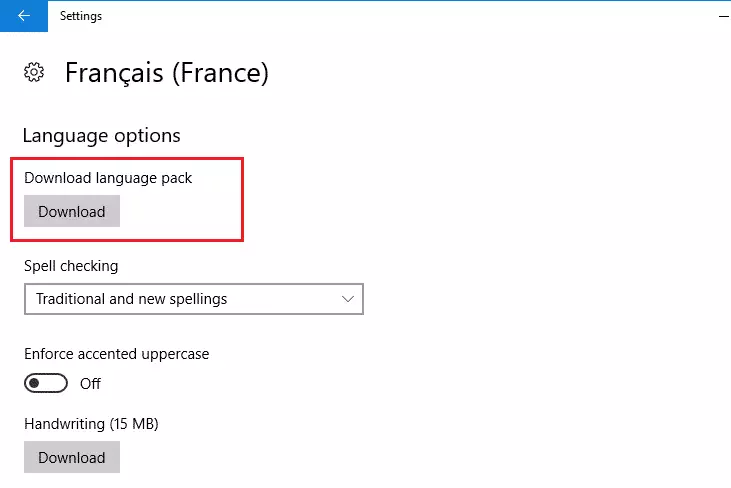
The steps below show you what to do. Choose your desired language and then select Options.
Select Download from the Download language pack option.
Once the language pack is installed, select back.
Choose your language and then select Set as default to make that language the Windows 10 display language.
.
Click Download to download the language pack for your system. Choose the language above, then select Options and click Download.
After downloading, restart or log out and log back into the Windows desktop. And the new display language should be installed for you.
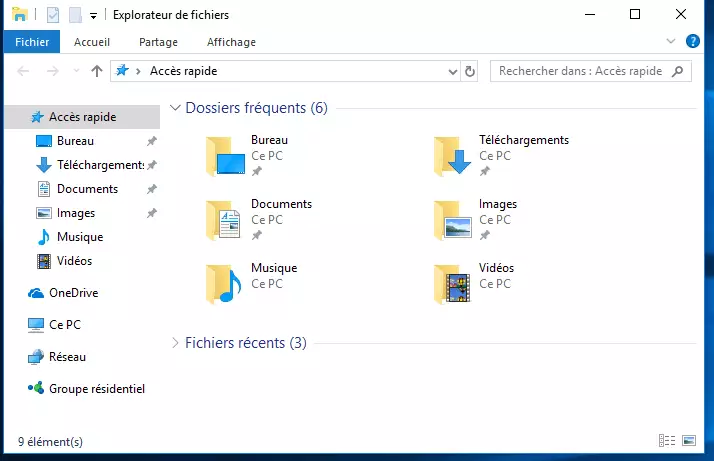
Some folders are in your home folder for music, pictures, and documents. These folders use standard names according to your language.
When you log back in, these folders will be renamed to the standard names for your selected language.
This is how to change Windows 10 language settings to your native tone.
Conclusion:
- Changing the display language in Windows 10 enhances user experience by providing a familiar interface in a native language.
- It improves accessibility for non-native English speakers, making navigation easier.
- Bilingual and multilingual users benefit from the ability to switch between different languages effortlessly.
- Ensure you are using Windows Pro for multi-language support, as Home Edition does not allow additional language packs.
- Following the outlined steps allows for a straightforward installation of language packs and setting of the preferred display language.
- Restart your computer after installation to apply the new language settings successfully.
Leave a Reply