
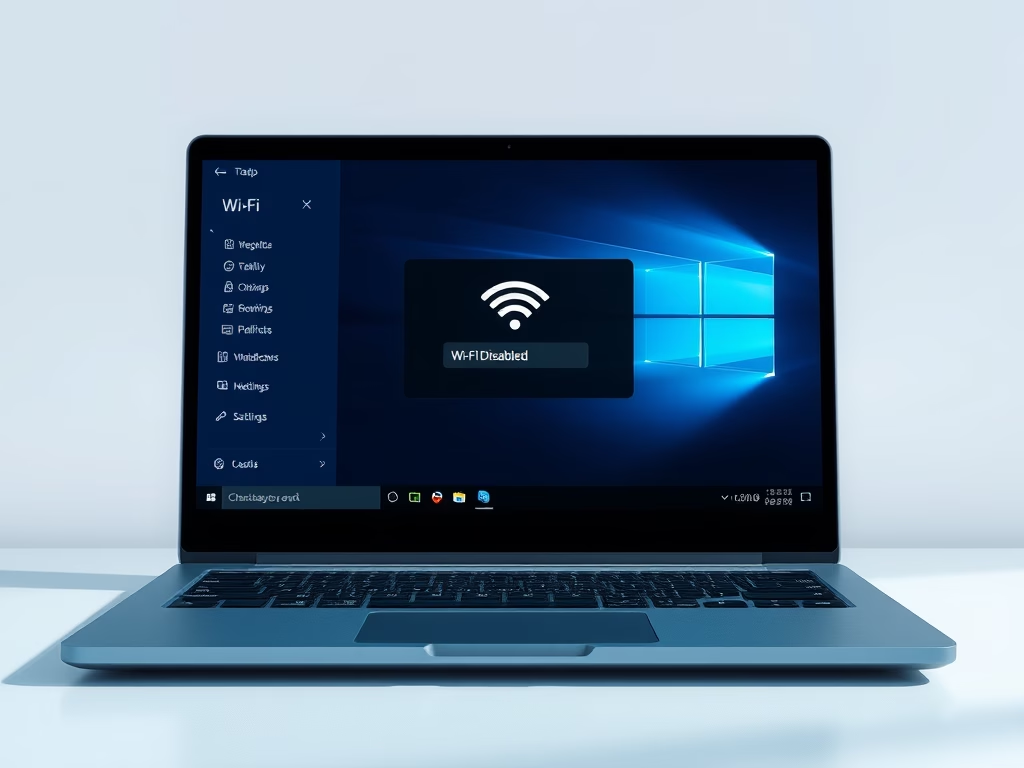
This tutorial shows you how to turn Wi-Fi on or off for everyone using Windows 11 and Windows 10.
What is Wi-Fi?
Wi-Fi is a wireless local area network (WLAN) technology. It uses radio waves to give your device wireless internet and network connections.
Windows 11 Wi-Fi Features
Windows 11 supports the newest wireless technology standards from WFA (Wi-Fi Alliance). These include:
- Wi-Fi 6: The sixth generation of Wi-Fi. It works faster and handles more devices at once.
- Wi-Fi 7: The newest generation. It offers even faster speeds and better performance.
- WPA3: The latest security standard. It keeps your Wi-Fi connection safer with stronger protection.
Learn more about the Wi-Fi Area in Policy CSP.
Faster and more secure Wi-Fi in Windows – Microsoft Support
Learn how to use Wi-Fi 7, Wi-Fi 6, and WPA3 in Windows for better wireless coverage and network security.
What You Need
⚠️ Admin privileges required: You must be signed in as an administrator to enable or disable Wi-Fi.
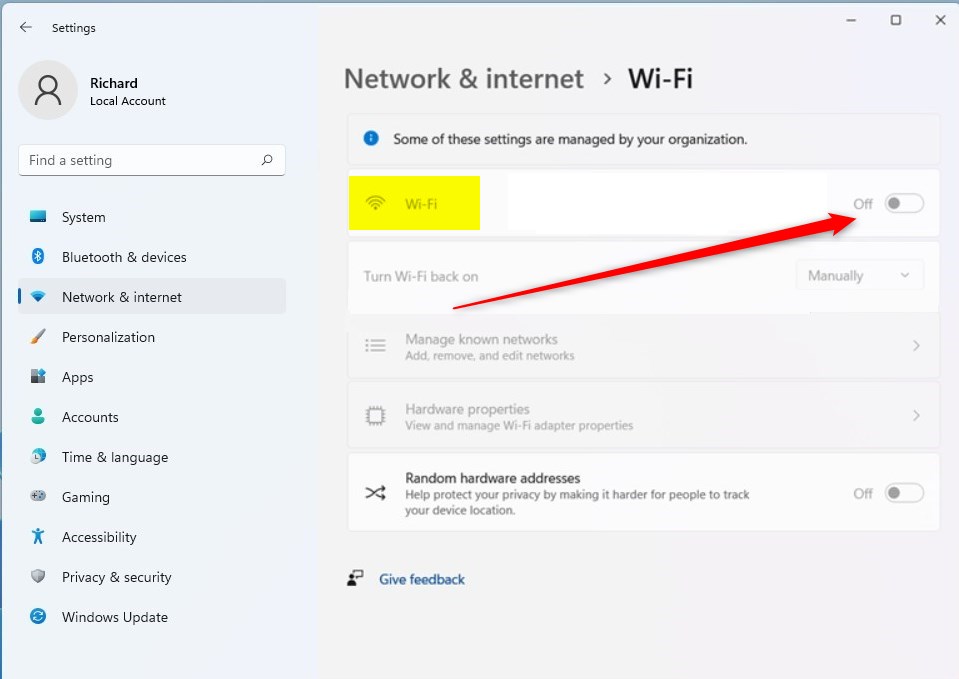
How to Enable or Disable Wi-Fi
Enable Wi-Fi
This is the default setting.
reg add "HKEY_LOCAL_MACHINE\SOFTWARE\Microsoft\PolicyManager\default\Wifi\AllowWiFi" /v value /t REG_DWORD /d 1 /f
Disable Wi-Fi
reg add "HKEY_LOCAL_MACHINE\SOFTWARE\Microsoft\PolicyManager\default\Wifi\AllowWiFi" /v value /t REG_DWORD /d 0 /f
Summary
You now know how to enable or disable Wi-Fi in Windows 11 and Windows 10. Remember that you need admin privileges to make these changes. Enabling Wi-Fi is the standard setting. Disabling Wi-Fi turns off the ability to connect wirelessly. Windows 11 supports the latest Wi-Fi standards like Wi-Fi 6, Wi-Fi 7, and WPA3 for faster speeds and better security.

Leave a Reply Cancel reply