
This article explains disabling UAC for the Windows 11 Built-in Administrator in Windows 11.
In Windows 11, UAC is enabled by default to help prevent potentially harmful programs from modifying your computer.
When UAC is enabled, Windows always prompts for consent from a valid local administrator account before executing tasks that require full administrative access. This ensures that regular users without administrative privileges cannot make harmful changes to the system.
The message is, “Do you want to allow this app to make changes to your device?“
UAC features four approval modes, with the top mode being the easiest to use.
It is essential to keep UAC enabled at all times. If you must disable it temporarily, remember to re-enable it once you are finished.
Turn off User Control Access in Windows 11
As mentioned above, you should not do this in normal circumstances. If you’re specific needs to turn off in a limited faction, use the steps below.
There are multiple ways to disable or turn off UAC in Windows 11. However, the easiest and recommended way is to use the Control Panel.
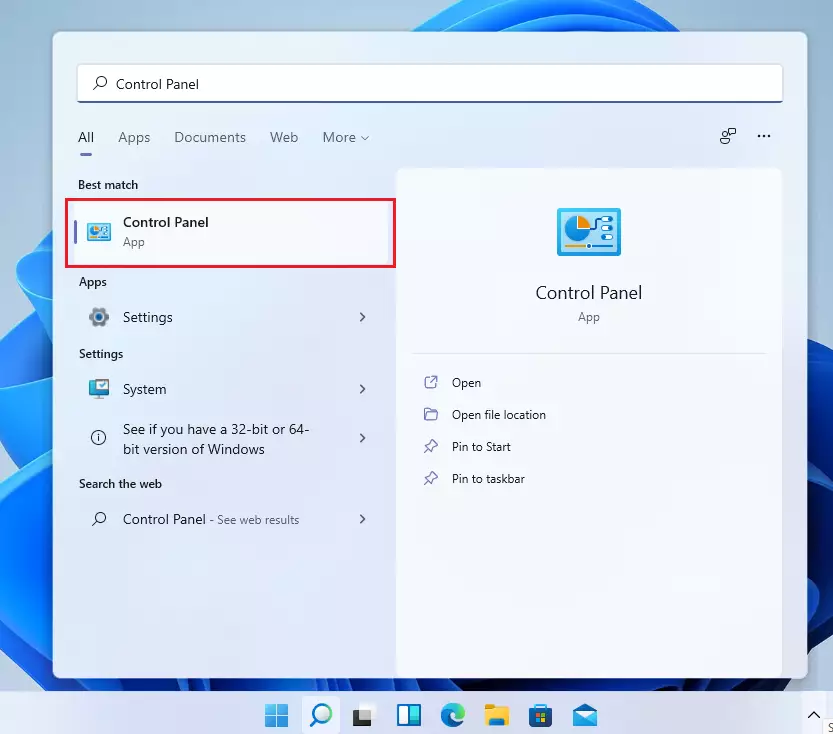
Click on Start, then search for “Control Panel”. Select the Control Panel app.
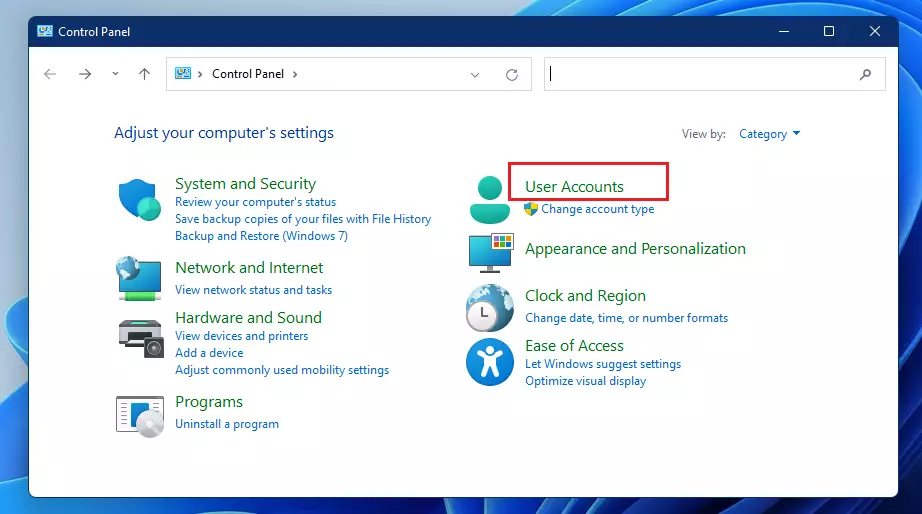
In the Control Panel, select User Accounts. On the next screen, select User Accounts once more.
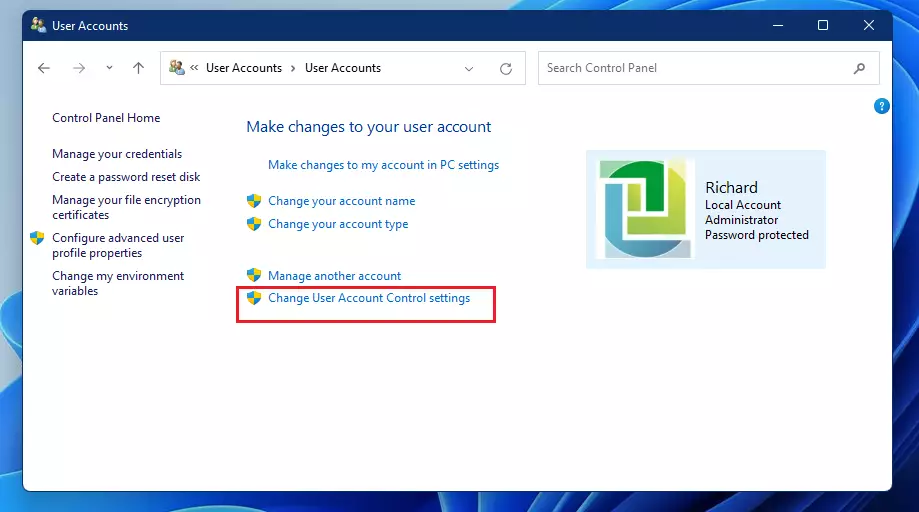
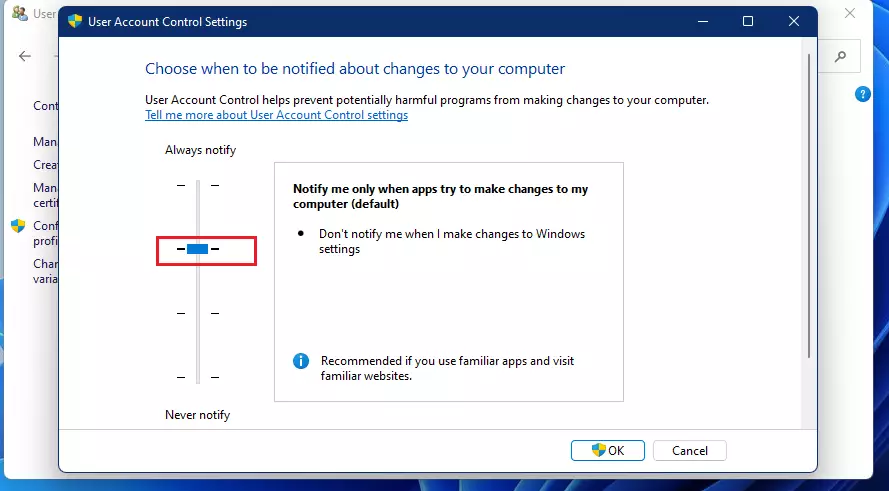
On the user profile settings pane, click “Change User Account Control settings,” as highlighted below.
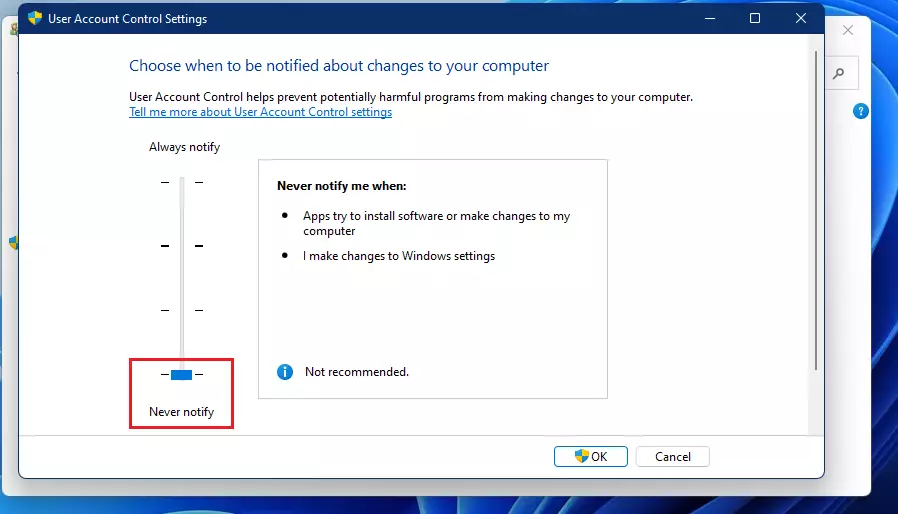
On the settings pane, drag the button to the very bottom to Never notify, and then select OK.
You will get one last UAC prompt to allow the changes. Choose Yes.

That will turn off UAC in Windows 11 for your account.
It would be best to be signed in as an administrator to enable or disable User Account Control (UAC).
There are other ways to turn off UAC in Windows. One can disable it in the Local Security Policy and the system registry. But these methods are for more advanced users.
How to enable UAC in Windows 11
If UAC is disabled and you want to enable it, reverse the steps above by searching for and selecting the Control Panel apps and going to User Accounts ==> User Accounts ==> Change User Account Control settings ==> slide the button to the middle to “Notify me only when apps try to make changes to my computer (default)“
Click OK to apply your changes and exit.
That should do it!
Conclusion:
- User Account Control (UAC) is a critical security feature in Windows 11 that helps prevent unauthorized changes to your system.
- It is advisable to keep UAC enabled to safeguard against potentially harmful actions.
- If you must disable UAC temporarily, ensure to re-enable it once your tasks are completed.
- Disabling UAC can lead to increased vulnerability, so proceed with caution if you choose to do so.
- Always sign in as an administrator when changing UAC settings for effective management.


Leave a Reply to Ali Cancel reply