This article discusses how to limit access to the Control Panel and System Settings in Windows 11.
The System Settings panel, introduced with Windows 10, has become more integrated into the operating system, replacing the old Control Panel.
The Windows Control Panel is still utilized for accessing advanced settings that are not available in the new System Settings. Together, both the Control Panel and System Settings allow users to customize and manage how Windows 11 operates and to apply changes that affect its behavior.
Since these settings are crucial for Windows 11’s functionality, you may want to limit access to them to ensure that changes aren’t made that could cause Windows to become inoperable.
Restrict access to System Settings and Control Panel
You might want to restrict access because the System Settings and Control Panel allow for system-wide changes. You can do that by following the steps below:
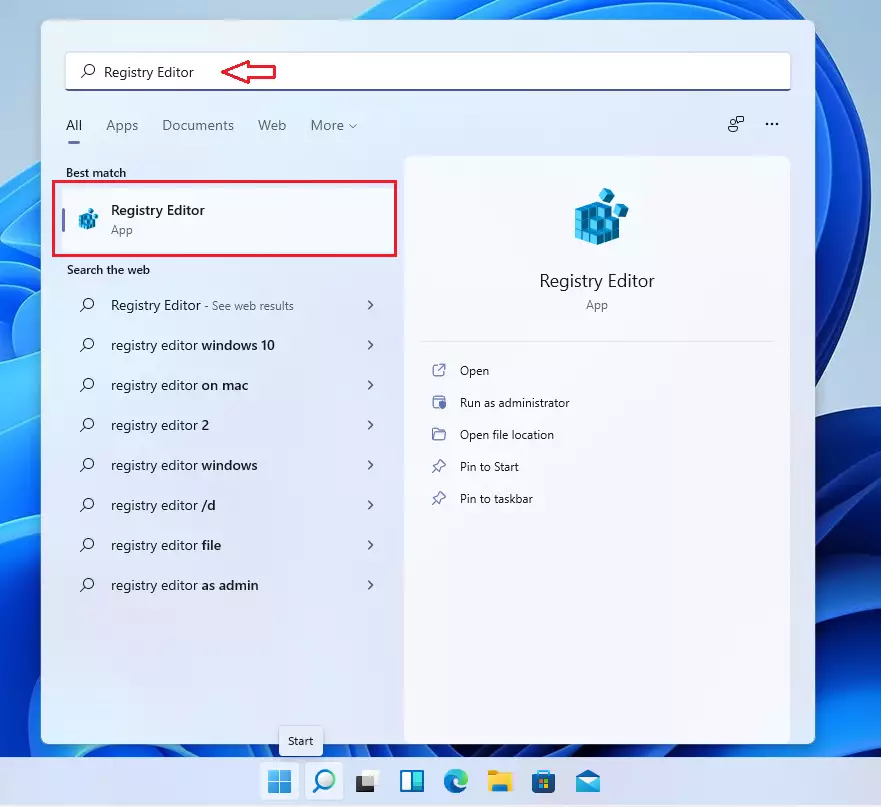
Go to the Start menu, search for Registry Editor, and select the app to open, as highlighted in the image below.
When the registry editor app opens, navigate to the key path below:
HKEY_CURRENT_USER\Software\Microsoft\Windows\CurrentVersion\Policies
HKEY_LOCAL_MACHINE\SOFTWARE\Microsoft\Windows\CurrentVersion\Policies
Copy and paste the paths above into the Registry Editor navigation box and press Enter to go directly to the location.
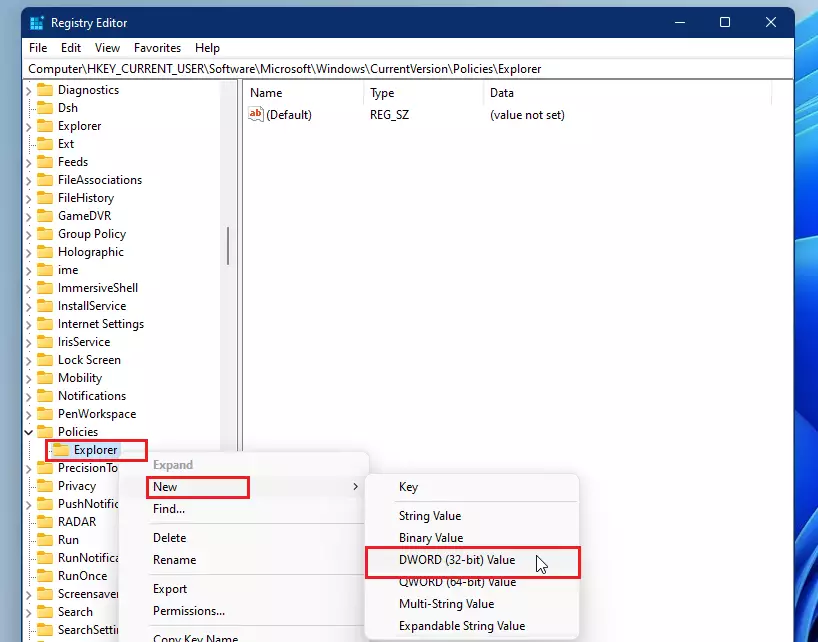
Then, create a new Explorer key below the Policies key if it does not already exist. Right-click Policies to create the new Explorer key and select New ==> New == Key.

Type in Explorer. Next, right-click the newly created Explorer key and New ==> DWORD (32-bit) Value to create a new DWORD data.
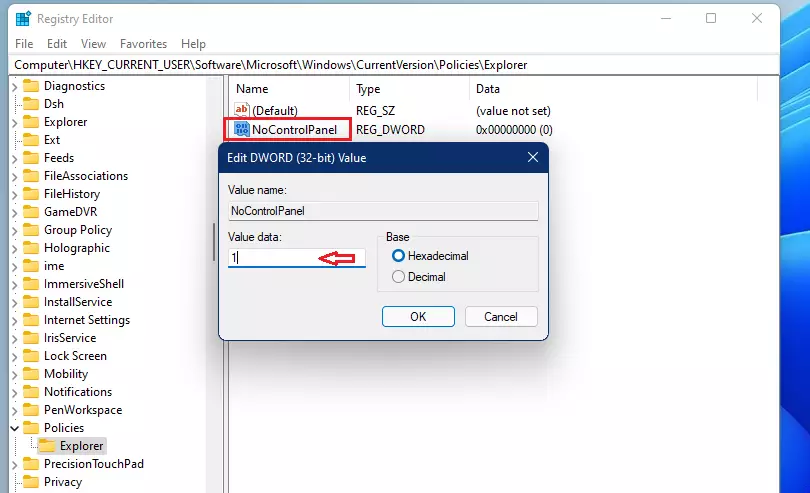
Next, name the DWORD (32-bit) Value data NoControlPanel.
After creating the new DWORD Value data, double-click to open it, then change the data value to 1, as shown below.
Click OK, apply your changes, and exit.
Do this for both registry key paths above.
Disable Control Panel and Settings from Group Policy Editor
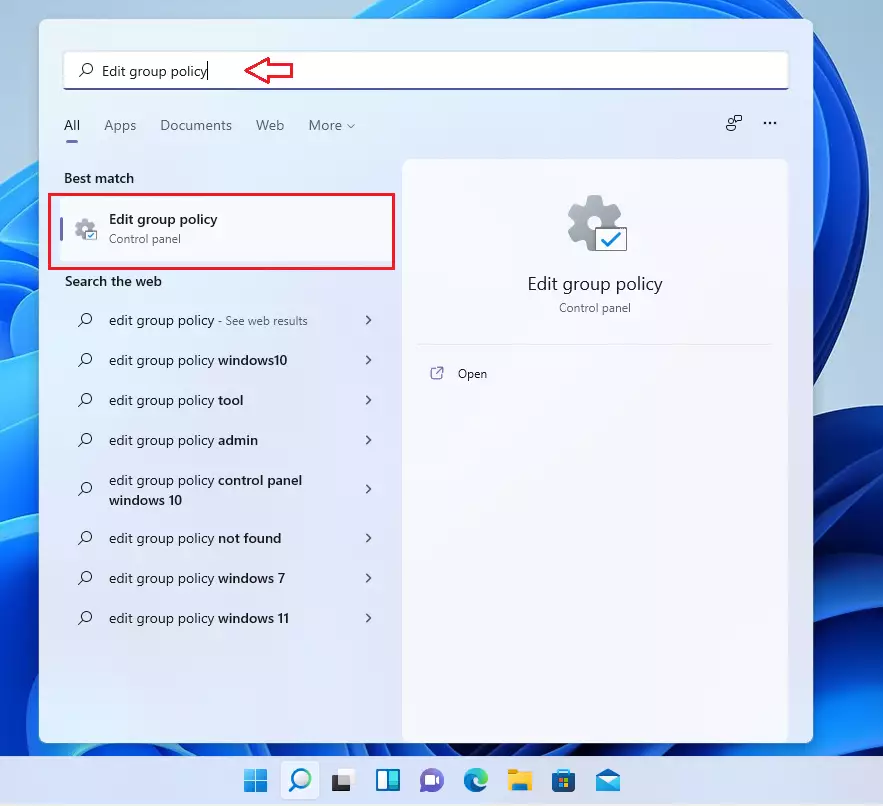
Another way to disable the Windows Control Panel is via GPO. Use Windows search and search for Edit group policy.
Then Navigate to User Configuration ==> Administrative Templates ==> Control Panel.
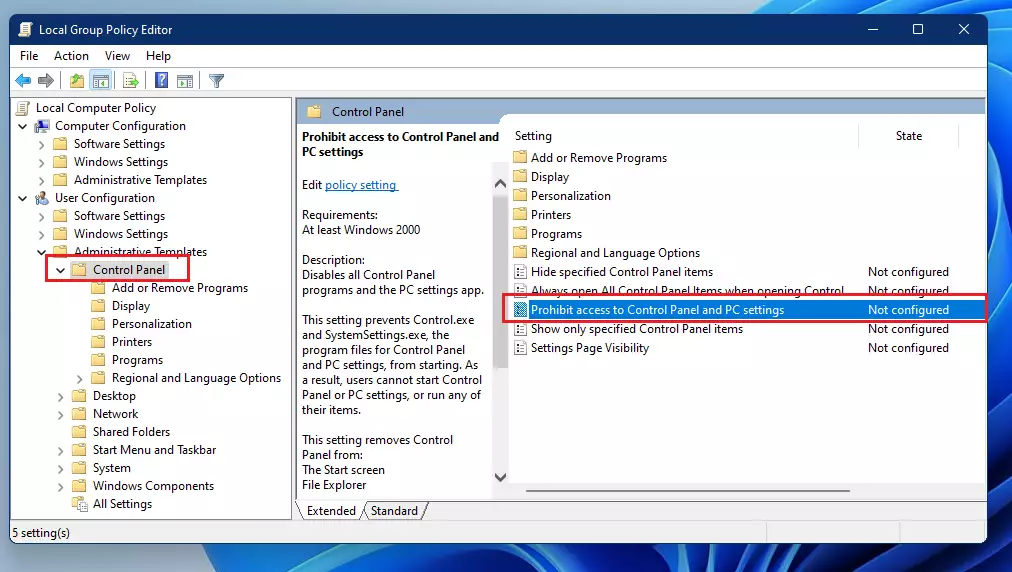
Double click and open Prohibit access to Control Panel and PC settings, then choose to enable it.
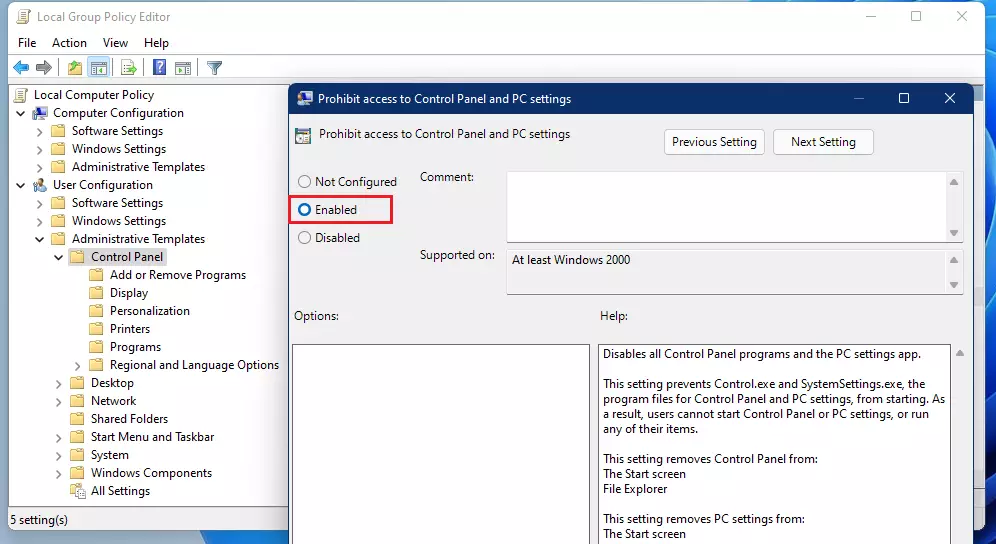
That should do it! When finished, close the policy editor, and you’re done
Conclusion:
- Restricting access to the System Settings and Control Panel can enhance security and prevent unintended system changes.
- Utilizing the Registry Editor provides a direct method for controlling access at the user level.
- The Group Policy Editor offers an alternative approach, particularly valuable in organizational settings or for advanced users.
- Following these steps can help ensure that only authorized individuals can modify important system settings in Windows 11.
- Regularly review access permissions to maintain optimal system security and functionality.


Leave a Reply Cancel reply