
The Windows registry is a giant digital filing cabinet. It stores almost every setting for your computer and the programs you use. Because it is so important, changing it can be risky. If you make a mistake, your computer might stop working properly.
Why: You need to back up your registry so you have a “safety net” before you make changes. If something goes wrong, you can simply put things back the way they were.
What happens when done: You will have a saved file on your computer. If your system runs into errors after a tweak, you can use this file to fix the settings instantly.
How to Back Up the Windows Registry
It is smart to save a copy before you start editing. You will need administrative rights to perform these steps.
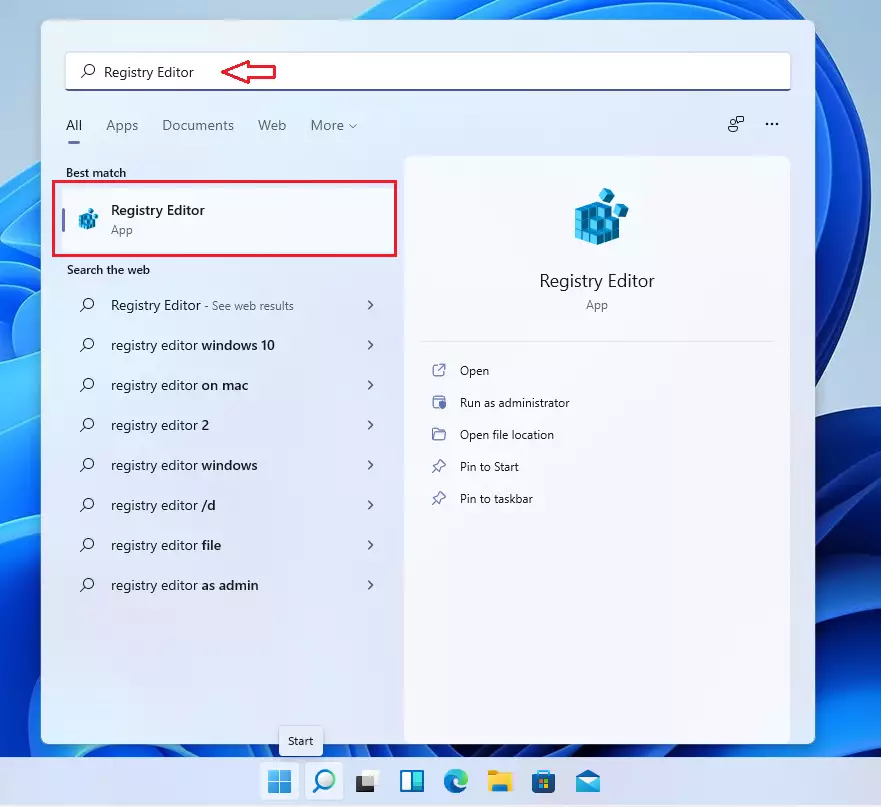
- Click the Start menu and type Registry Editor.
- Select the app from the search results to open it.
The Registry Editor window will appear. 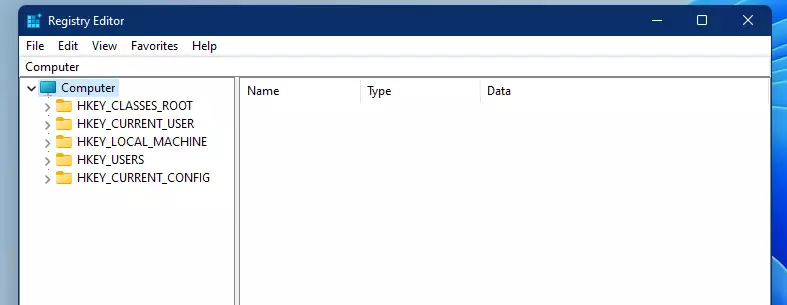
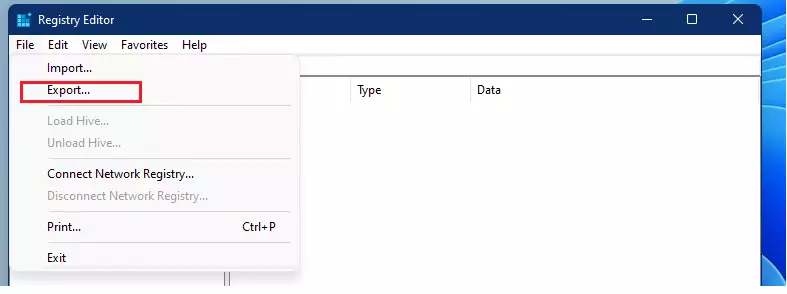
- Click File in the top menu, then select Export.
- Choose a folder where you want to keep your backup file.
- Type a name for the file. Using today’s date helps you stay organized.
- At the bottom, choose All to back up everything, or Selected Branch to save only one specific folder.

- Click the Save button. It may take a moment to finish the process.
How to Restore the Windows Registry
If you made a mistake and need to undo your changes, follow these steps. You will need administrative rights to perform these steps. %%SCTOK1%%
- Open the Registry Editor from the Start menu.
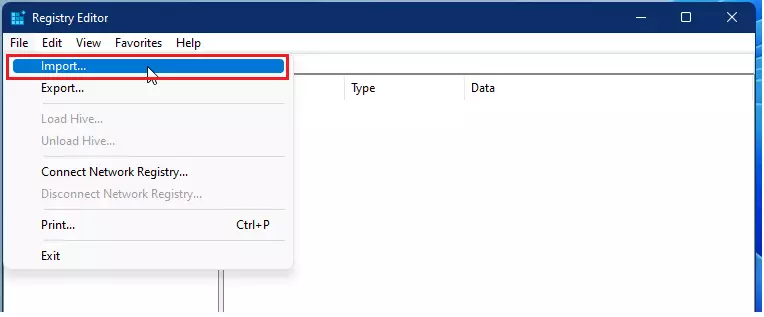
- Click File in the top menu and select Import.
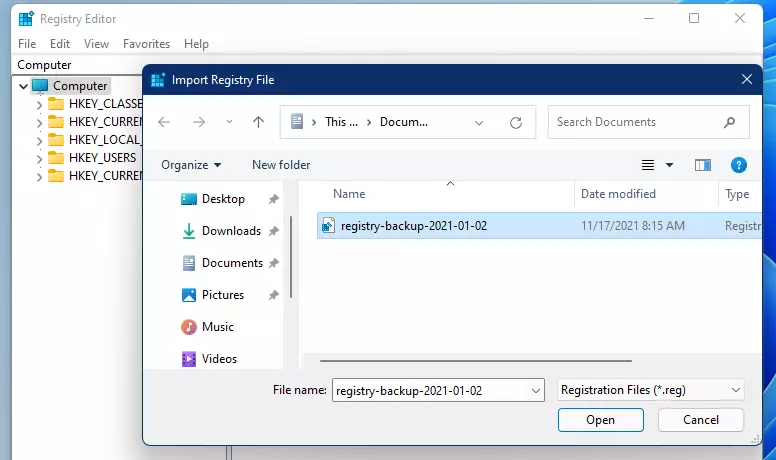
- Find the backup file you saved earlier on your computer.
- Select the file and click Open.
Your settings will be restored to the state they were in when you created that backup file.
Summary
Backing up your registry is the best way to protect your computer from accidental errors. By using the Export and Import features in the Registry Editor, you can quickly save your settings and restore them if needed. Always keep a fresh backup before you try any new registry tweaks to keep your system safe.


Leave a Reply Cancel reply