
This post shows steps for students and new users to add or remove users on Ubuntu Linux. Whether you’re a system administrator managing a server or a home user working on a Ubuntu desktop, you might want to learn how to add new users.
By default, after installing Ubuntu Linux, the first account created during the installation is the system’s primary User. This User can run administrative tasks as root using the sudo command.
By default, the root user account is disabled. No other user accounts are active. So to provide unique access to a user, you must create an account for them. A service can also have an account when it needs to perform account-related tasks.
In Ubuntu, there are two command-line tools that you can use to create a new user account: useradd and adduser.
In Ubuntu Linux, the useradd tool is a low-level utility. adduser is a script that acts as a friendly interactive frontend for useradd.
How to add User from the command line
Adding a new user on Ubuntu from the command line is relatively quick and easy. To create a new user, simply invoke the adduser command followed by the username.
For example, to create a new user account named octopus, you would run the commands below:
sudo adduser octopus
When you run the commands above, you’ll be asked questions about the detail of the account you’re creating. You’ll have to enter and confirm a password, but providing answers for the others is optional.
Enter new UNIX password:
Retype new UNIX password:
passwd: password updated successfully
Changing the user information for octopus
Enter the new value, or press ENTER for the default
	Full Name []:
	Room Number []:
	Work Phone []:
	Home Phone []:
	Other []:
Is the information correct? [Y/n] Y
Type Y to create the account if the information you entered is correct.
With the account being created, if you want to make the account an administrator or allow the account to make changes to the machine, you’ll need to add the User to the sudo group.
Run the commands below to do so.
sudo usermod -aG sudo octopus
That’s how one creates a user on Ubuntu Linux via the command line terminal.
How to add a User on Ubuntu Desktop
The steps above can be done using the desktop apps using a Ubuntu desktop. First, log in to Ubuntu and follow the steps below:
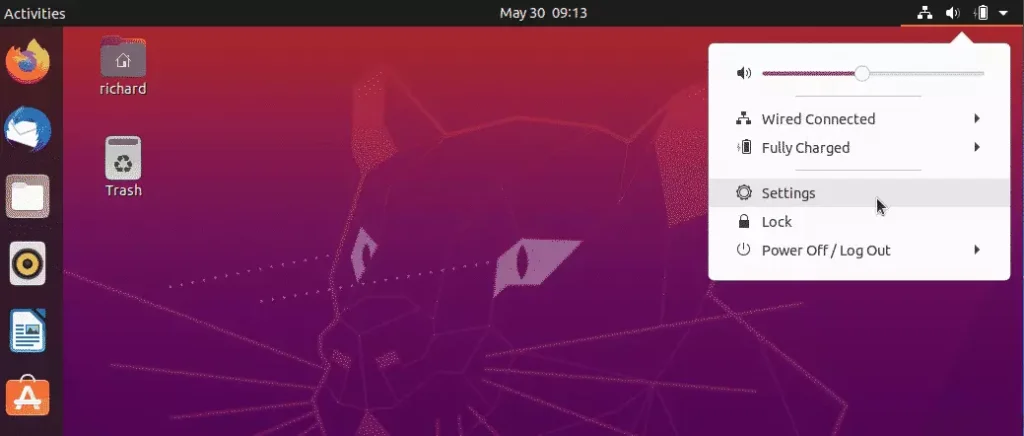
Click on System Menu’s top and select Settings, as shown in the image below.
Then scroll down to Users on the item menu and select.
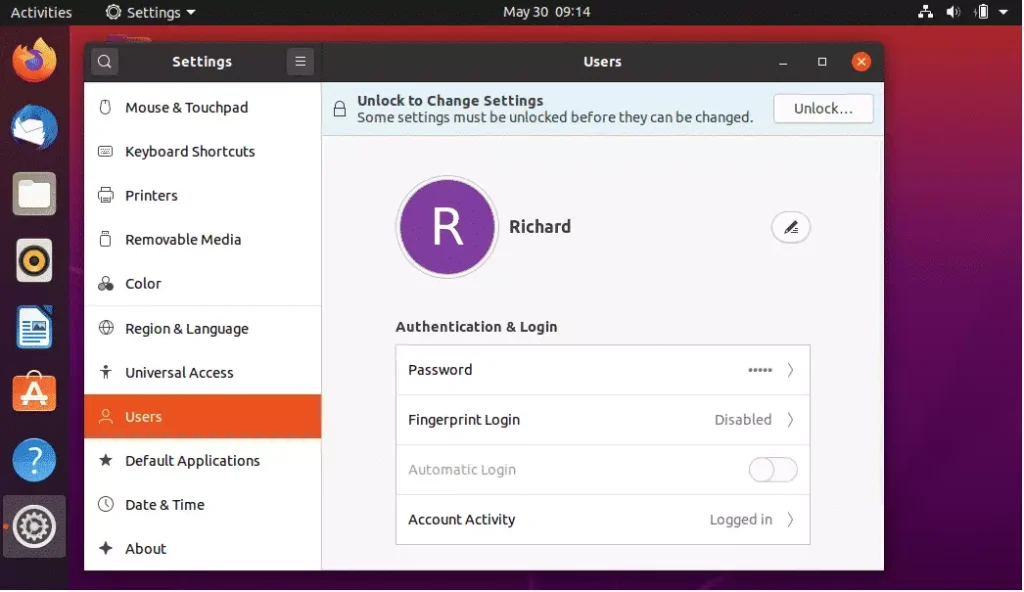
Next, click Unlock at the top right to edit or create new user accounts.
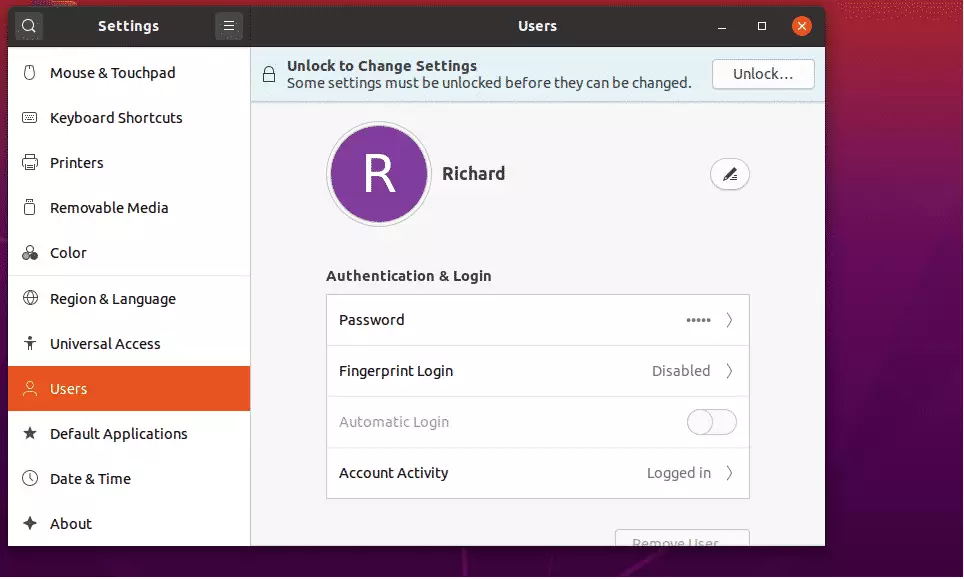
The Unlock button becomes Add Users. To add a new user, click Add Users and provide the user account details.
Then provide the User’s full name and username and password.
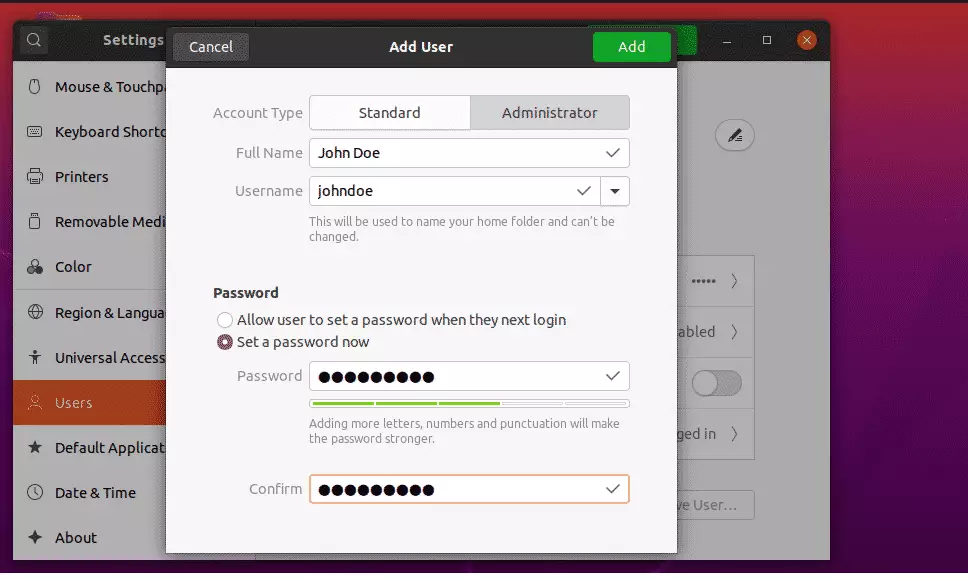
When you add the account details, click Add as shown Above.
If you want the account to be a member of the administrator group, click the Administrator tab to add the User.
How to delete a user on Ubuntu Linux
In Ubuntu, you can use two commands to delete a user account: userdel and its friendly interactive frontend tool: deluser.
To delete the example user created above, run the commands below:
sudo deluser octopus
The command above will delete the User but not their files. To delete the User and files, run the commands below.
sudo deluser --remove-home octopus
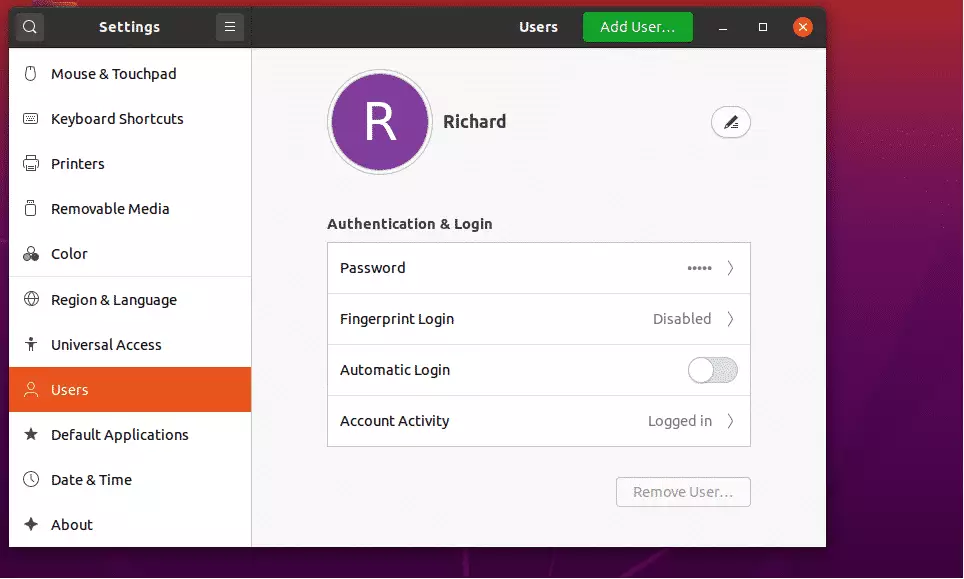
Using an Ubuntu desktop, the same can be performed from the User settings window above. Select the user account and click Remove.
That should do it!
Conclusion:
- Adding or removing users in Ubuntu Linux is a straightforward process, whether using the command line or the desktop interface.
- The
addusercommand is recommended for creating new users due to its interactive nature. - It is important to manage user permissions effectively, especially when granting sudo privileges for administrative tasks.
- Deleting a user can be done without affecting their files, or you can choose to remove associated files as well.
- Understanding user management helps maintain security and organization within your Ubuntu system.


Leave a Reply Cancel reply