

This article explains how to enable the Apache CGI module to run CGI scripts on Ubuntu 24.04.
A CGI (Common Gateway Interface) script is a standard protocol that allows web servers to interact with executable programs, often written in languages like Perl, Python, or PHP, to generate dynamic web content.
Enabling CGI on an Apache server supports dynamic interactions and allows for functionalities like search features, login systems, and other interactive elements on websites.
Enable the Apache CGI module
To use and run CGI script on Apache, you must first enable its module. With Apache installed, run the command below to enable the Apache CGI module.
sudo a2enmod cgid
sudo systemctl restart apache2
After enabling, CGI scripts can execute under the [/usr/lib/cgi-bin] directory by default. You must add your script to this directory to be executed.
For example, to execute a Perl script named [index.cgi], you must put it under the /usr/lib/cgi-bin/ directory.
The client’s requests will go to this URL http://localhost/cgi-bin/index.cgi to be executed.
This is the default behavior.
If you want to change the default behavior or put your CGI scripts in a different directory, create an Apache configuration file and define your settings.
For example, to store your CGI script in this directory [/var/www/html/custom-cgi] instead, create a configuration an Apache configuration file and specify that location.
First, create the CGI directory by running the command below.
sudo mkdir /var/www/html/custom-cgi
Next, run the command below to create an Apache configuration file.
sudo nano /etc/apache2/conf-available/custom-cgi.conf
Then, copy the block below, paste it into the file, and save.
<Directory "/var/www/html/custom-cgi">
    Options +ExecCGI
    AddHandler cgi-script .cgi .pl .py .rb
</Directory>
Enable the configuration by running the command below.
sudo a2enconf custom-cgi.conf
sudo systemctl reload apache2
Test Apache CGI execution
You should be ready to get your CGI settings in Apache.
Run the command below to create a blank CGI index file.
sudo nano /var/www/html/custom-cgi/index.cgi
Copy the script below, paste it into the file, and save.
#!/usr/bin/python3

print("Content-type: text/htmln")
print("<html>n<body>")
print("<p style="width: 100%; font-weight: bold; font-size: 60px; text-align: center;">")
print("CGI is Enabled!!!")
print("</p>")
print("</body>n</html>")
Make the file executable by running the command below.
sudo chmod 755 /var/www/html/cgi-enabled/index.cgi
Now, open your browser and browse the script.
http://example.com/custom-cgi/index.cgi
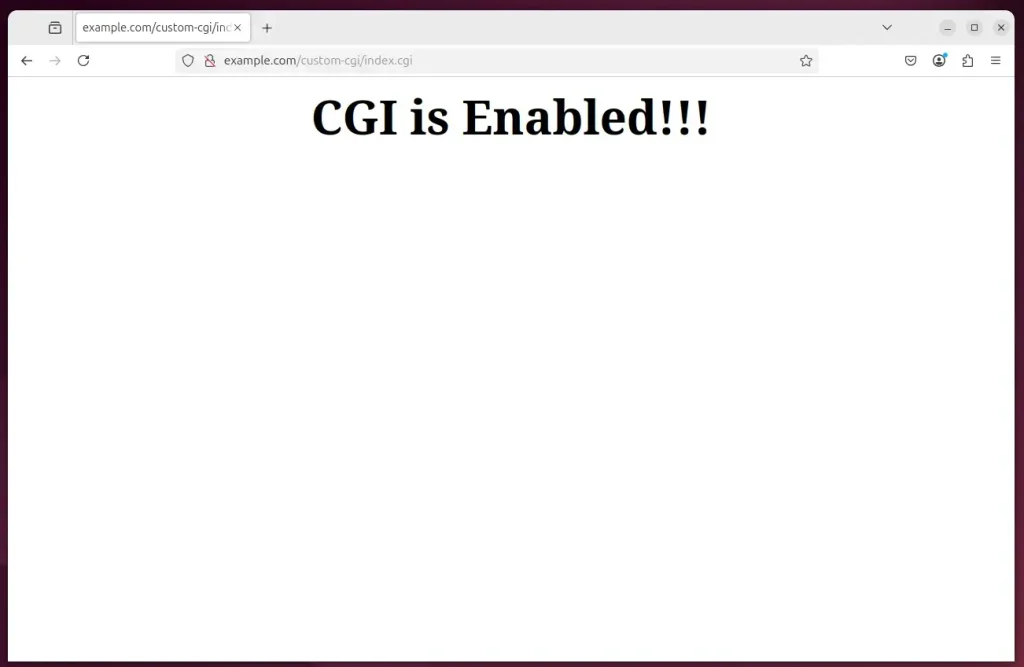
That should do it!
Conclusion:
Enabling the Apache CGI module on Ubuntu 24.04 allows you to create dynamic and interactive web applications. By following the steps outlined in this article, you can successfully run CGI scripts on your server. Here are the key takeaways:
- CGI scripts facilitate interactive features on websites, enhancing user experience.
- Enabling the CGI module on Apache involves simple commands and configuration adjustments.
- The default CGI script directory is
/usr/lib/cgi-bin, but you can create custom directories. - Familiarity with Apache configuration files is essential for customizing your CGI setup.
- Testing your CGI setup ensures everything works as expected before deploying to a live environment.
With these steps and insights, you can effectively utilize CGI in your web development projects!


Leave a Reply Cancel reply