
This brief tutorial shows students and new users how to replace LibreOffice productivity suite with OpenOffice on Ubuntu desktops.
As you all know, all Ubuntu desktops come with LibreOffice installed. This is the default productivity tool on most Linux systems, including Ubuntu. But this wasn’t the case a few years back.
LibreOffice only became the default productivity suite after OpenOffice’s parent company (Oracle) made some changes to its licensing terms that had folks angry and started the LibreOffice project.
Some folks are still using OpenOffice despite what the Linux community thinks. So, if you’re one of the few who prefers OpenOffice, continue below to learn how to install it on Ubuntu.
One thing to remember is that you can’t have both LibreOffice and OpenOffice installed simultaneously on the same system. It’s not possible. You must first uninstall LibreOffice and all its packages before installing OpenOffice.
Uninstalling LibreOffice on Ubuntu
To uninstall LibreOffice from Ubuntu systems, run the commands below to update your system.
sudo apt-get update
Then, run the commands below to remove LibreOffice from your Ubuntu computer.
sudo apt-get -y remove --purge libreoffice* libexttextcat-data* && sudo apt-get -y autoremove
Download OpenOffice packages
After removing LibreOffice from your computer, run the commands below to download OpenOffice packages.
For the 32-bit version, run the commands below. As of the time of this writing, 4.1.2 was the latest version of OpenOffice.
cd /tmp && wget http://sourceforge.net/projects/openofficeorg.mirror/files/4.1.2/binaries/en-US/Apache_OpenOffice_4.1.2_Linux_x86_install-deb_en-US.tar.gz
For the 64-bit version, run the commands below
cd /tmp && wget http://downloads.sourceforge.net/project/openofficeorg.mirror/4.1.2/binaries/en-US/Apache_OpenOffice_4.1.2_Linux_x86-64_install-deb_en-US.tar.gz
Extract the downloaded package
After downloading the version for your platform, run the commands below to extract it.
tar -xvf Apache_OpenOffice*.tar.gz
Install OpenOffice
To install OpenOffice after extracting the packages, run the commands below.
sudo dpkg -i en-US/DEBS/*.deb
Install the desktop integration tool
Finally, install the Linux desktop integration tool. This will integrate OpenOffice with the Ubuntu desktop.
sudo dpkg -i en-US/DEBS/desktop-integration/*.deb
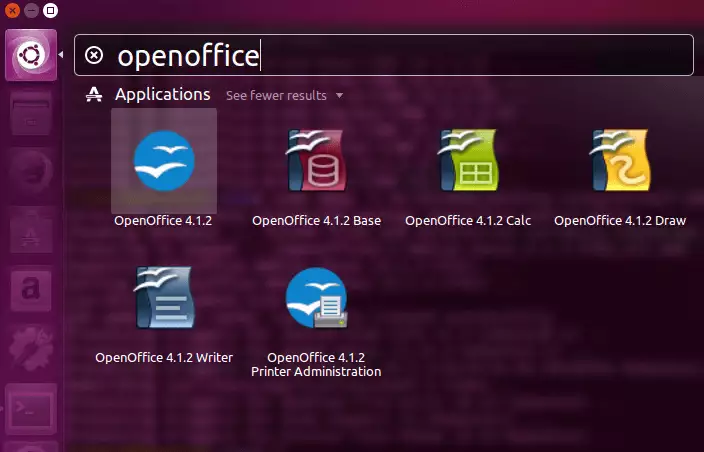
Next, go to Ubuntu Unity Dash and run OpenOffice.
Remove OpenOffice from Ubuntu
If you decide you want to go back to LibreOffice, remove OpenOffice from Ubuntu using the commands below
sudo apt-get -y purge openoffice*.* && sudo apt-get autoremove
Reinstalling LibreOffice
When OpenOffice has been removed, run the commands below to re-install LibreOffice.
sudo apt-get -y install libreoffice libreoffice-gnome
That’s it!
Leave a Reply