This article describes steps one can take to install Wiki.js on Ubuntu Linux.
Wiki.js is a free, lightweight, open-source wiki app built on Node.js. Installing it on Ubuntu Linux allows you to create and manage a wiki platform for your organization or personal use. Ubuntu is a popular and stable operating system that provides an excellent environment for running Wiki.js.
Wiki.js doesn’t need a database; instead, it saves all your content directly into Markdown (.md) files, making it easier to manage and back. Following the steps mentioned in the article, you can successfully install Wiki.js on Ubuntu Linux and use it for your wiki needs.
For more about this wiki platform, please visit its homepage.
Install Git
Git is required to run Wiki.js. Git comes on the Ubuntu server. Therefore, you might not need to install it. However, if you need the latest version of Git, add the repository below and install it from it.
sudo add-apt-repository -y ppa:git-core/ppa
sudo apt update && sudo apt upgrade
sudo apt install git
After that, the latest version of Git should be installed and ready to use.
Install Node.js
Another requirement for Wiki.js is Node.js. Wiki.js is built on Node.js and therefore required. Run the commands below to install Node.js.
sudo apt install curl
curl -sL https://deb.nodesource.com/setup_8.x | sudo -E bash -
sudo apt install -y nodejs
After that, Node.js should be installed and ready to use as well.
Install MongoDB
MongoDB is also one of the requirements for Wiki.js. First, install the version in the Ubuntu repository. To install MongoDB, run the commands below.
sudo apt install mongodb
That should do it.
Download and Install Wiki.js
Now that all the requirements have been met download the Wiki.js install script. To do that, run the commands below.
sudo mkdir /var/www/wikijs
cd /var/www/wikijs
curl -sSo- https://wiki.js.org/install.sh | sudo bash
You should see a success message after installing.
 __    __ _ _    _    _
/ / /\ \ (_) | _(_)  (_)___
\ \/  \/ / | |/ / |  | / __|
 \  /\  /| |   <| |_ | \__ \
  \/  \/ |_|_|\_\_(_)/ |___/
                   |__/
   < INSTALL >

[1/3] Fetching latest build.
[2/3] Fetching dependencies.
[3/3] Creating config file.
-> Installation Complete

Thank you for installing Wiki.js!
Please consider donating to our open collective to help maintain this project:
https://opencollective.com/wikijs/donate

- Launch configuration wizard: node wiki configure
- Start Wiki.js server: node wiki start
After the installation, you’ll be prompted to run the config wizard. You can start the wizard by running the commands below.
sudo node wiki configure
You will see a message to browse to http://localhost:3000 to configure Wiki.js.
Open your browser and browse to the server hostname or IP address followed by the port #
http://localhost:3000
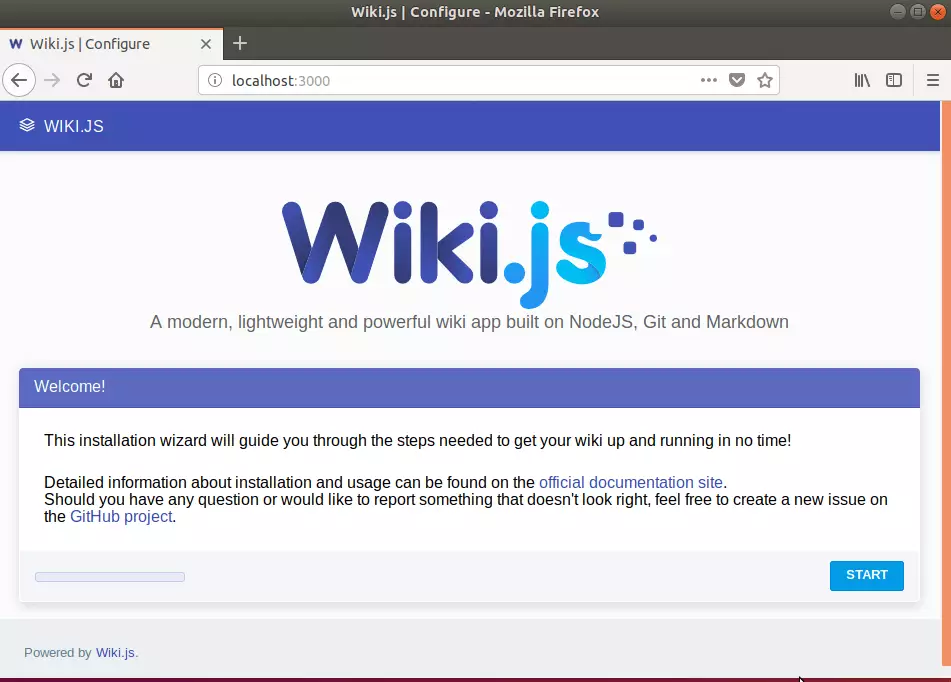
Start the wizard and configure it. Accept the default settings and continue.

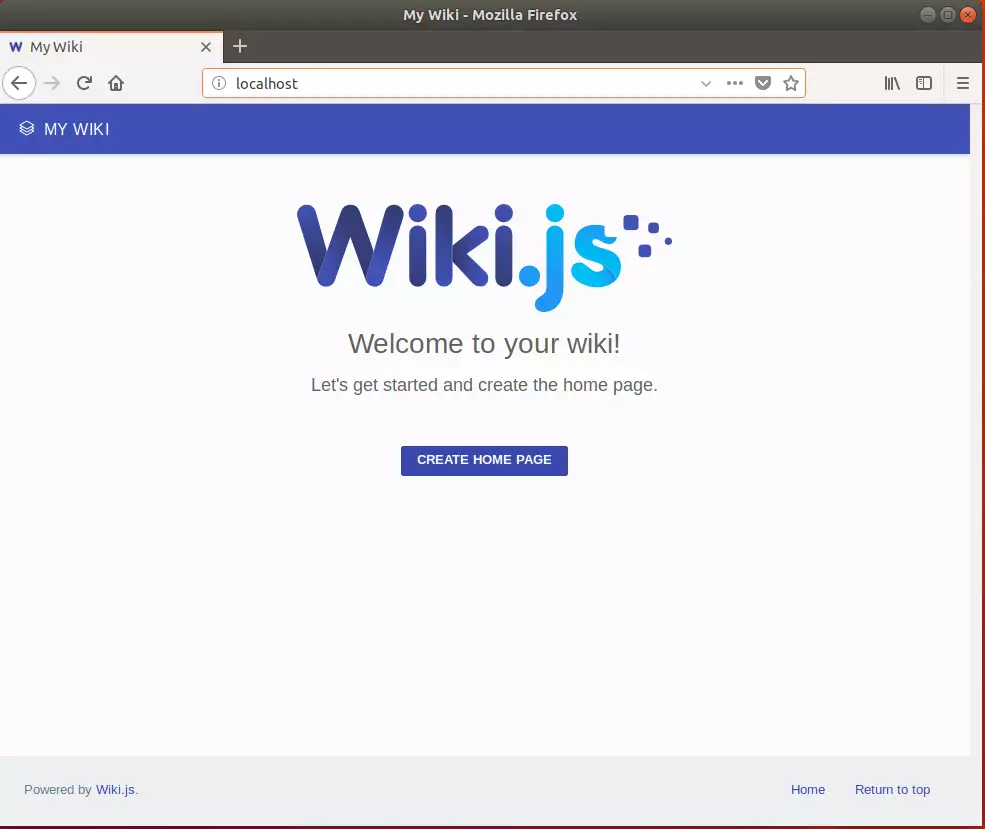
Validate that the info is correct. And create an admin account.

After that, Wiki.js should be installed and ready to use.
You may also like the post below:


Leave a Reply