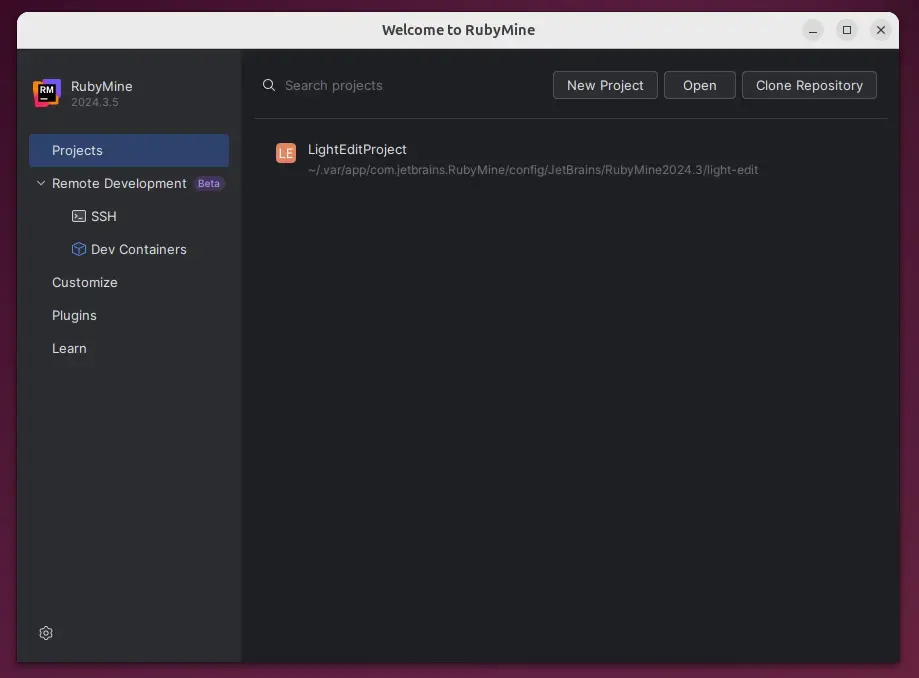
This article explains how to install WebStorm on Ubuntu 24.04.
WebStorm is an Integrated Development Environment (IDE) developed by JetBrains specifically for JavaScript and related technologies. It provides intelligent code completion, error detection, and helpful suggestions, enabling you to write clean and efficient code.
WebStorm offers support for Git, Mercurial, and other version control systems, advanced debugging tools for JavaScript and Node.js applications, and built-in support for various testing frameworks.
If you are involved in JavaScript or web development, installing WebStorm on Ubuntu can improve your workflow and enhance your coding experience.
Prepare Ubuntu
Before installing WebStorm, you may have to install some required packages and prepare Ubuntu.
Run the command below to update Ubuntu.
sudo apt update
sudo apt upgrade
Next, install these packages.
sudo apt install dirmngr ca-certificates software-properties-common apt-transport-https curl lsb-release
Add JetBrains PPA repository
After setting up the Ubuntu machine, execute the command below to add the official JetBrains PPA repository for installing WebStorm.
First, import the repository GPG key by running the command below.
curl -s https://s3.eu-central-1.amazonaws.com/jetbrains-ppa/0xA6E8698A.pub.asc | gpg --dearmor | sudo tee /usr/share/keyrings/jetbrains-ppa-archive-keyring.gpg > /dev/null
Then, add the repository by running the command below.
echo "deb [signed-by=/usr/share/keyrings/jetbrains-ppa-archive-keyring.gpg] http://jetbrains-ppa.s3-website.eu-central-1.amazonaws.com any main" | sudo tee /etc/apt/sources.list.d/jetbrains-ppa.list > /dev/null
Finally, update and install the WebStorm edition suitable for your projects. You can start with a 30-day free trial, after which a license will be required to continue using the service.
sudo apt update
sudo apt install webstorm
Once installed, you can start the different WebStorm editions by running the command below.
webstorm
You can launch WebStorm by going to Activities > Show Applications on the Linux desktop.

To uninstall the WebStorm edition you previously installed, use the command below.
sudo apt remove webstorm
Install WebStorm via Snap
Another method to install WebStorm is by using the Snap package manager. To do that, install the Snap package manager if it’s not already installed.
sudo apt install snapd
Next, install core Snap and enable classic support by running the command below.
sudo ln -s /var/lib/snapd/snap /snap
sudo snap install core
Then, run the command below to install WebStorm from the Snap package manager.
sudo snap install webstorm --classic
After installation, use the Dock on the left sidebar to search for and launch the WebStorm app.
You can also run the app using the command below.
snap run webstorm
Remove the app using the command below.
sudo snap remove webstorm
Install WebStorm via Flatpak
Another option for installing WebStorm is to use the Flatpak package manager. Flatpak utilizes a sandboxed installation method, which enhances security and simplifies updates.
Flatpak is a third-party application distribution system not included in Ubuntu by default.
You must install the Flatpak package manager and then install WebStorm from there.
First, update and install Flatpak.
sudo apt update && sudo apt upgrade
sudo apt install flatpak
Next, add the Flatpak repository to Ubuntu.
sudo flatpak remote-add --if-not-exists flathub https://flathub.org/repo/flathub.flatpakrepo
Finally, install WebStorm. The education edition is not available on Flatpak.
flatpak install flathub com.jetbrains.WebStorm
Once installed, you can launch it using the command below or open the app in the desktop apps center.
flatpak run com.jetbrains.WebStorm
Uninstall the app using the command below.
flatpak uninstall --delete-data com.jetbrains.WebStorm
That should do it!
Conclusion
- Installing WebStorm on Ubuntu enhances your development experience for JavaScript and related technologies.
- You can choose from different installation methods: via the JetBrains PPA, Snap, or Flatpak, depending on your preference.
- Each method requires simple commands that help set up the required dependencies and repositories.
- Once installed, WebStorm provides robust features for code completion, debugging, and version control.
- Remember to manage your installation using the provided commands to launch or uninstall the application.
- Please use the 30-day free trial to explore its full capabilities before committing to a license.

Leave a Reply