
This brief tutorial shows students and new users how to install and configure the Stacer monitoring and optimization package on Ubuntu 16.04 | 18.04 LTS desktops.
Stacer is a system monitoring and optimization tool designed for Linux, specifically tailored for Ubuntu and Debian-based distributions. It offers an intuitive interface for users to monitor system performance and manage different aspects of their operating system.
Installing Stacer can help you better maintain and optimize your Ubuntu system, making it a valuable tool for both novice and experienced users.
For more about Stacer, please visit its homepage.
Install Stacer Package
Stacer does not come with Ubuntu by default. However, if you want to install it, you may get the latest version from its release page or use the commands below to add its PPA.
To add its PPA, run the commands below:
sudo add-apt-repository ppa:oguzhaninan/stacer -y
sudo apt-get update
sudo apt-get install stacer -y
After installing Stacer, go to your desktop activities overview, then search for and launch Stacer.

When Stacer opens, it defaults to its main dashboard.
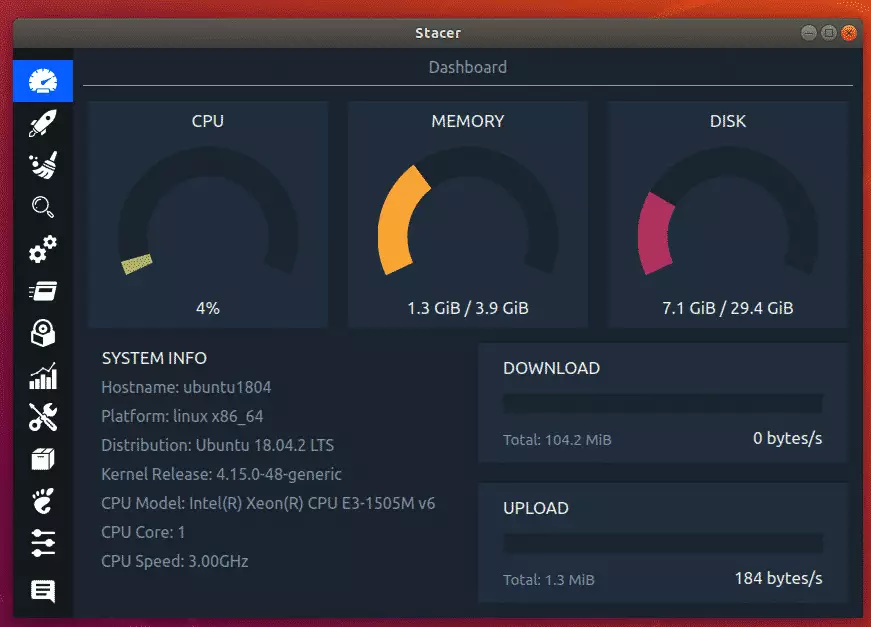
From the dashboard, you can monitor your desktop’s CPU, memory, and disk usage, as well as optimize your system by clearing caches and enhancing its performance.
Congratulations! You have learned to install and use the Stacer system optimizer and monitoring.


Leave a Reply