
This article explains how to install Splunk on Ubuntu Linux.
Splunk software is a popular log analyzer that you can deploy in your environment to gain insights and help you simplify log data from servers, networking devices, and others so you can make sense of them.
You may want to install a Splunk log analyzer on Ubuntu Linux for several reasons. First, Splunk is a popular log analyzer that allows you to monitor, search, and analyze large amounts of data from various sources, including servers, networking devices, etc. By deploying Splunk in your environment, you can gain valuable insights and simplify log data into a format that is easy to read and understand.
Secondly, Ubuntu Linux is a widely used operating system known for its stability, security, and ease of use. It is also open-source, meaning you can modify and customize it to suit your needs. By installing Splunk on Ubuntu Linux, you can take advantage of its features and benefits while using an operating system that is reliable and secure.
Finally, installing Splunk on Ubuntu Linux is relatively easy. The commands to download and install the software are simple and efficiently executed. Additionally, most networking devices deployed today are supported by Splunk, meaning you can use it in almost any environment.
Overall, if you are looking for a robust and reliable log analyzer that is easy to install and use, Splunk on Ubuntu Linux is a great choice.
For more about Splunk, please check its homepage.
When you’re ready to install Splunk, follow the steps below:
Download Splunk Installer
On Ubuntu systems, you’ll want to download the DEB installer. The commands below can be used to do that.
cd /tmp && wget https://download.splunk.com/products/splunk/releases/7.1.1/linux/splunk-7.1.1-8f0ead9ec3db-linux-2.6-amd64.deb
The commands above will download version 7.1.1 and save it into the /temp directory. All you need to do now is run the dpkg command and install it.
Install Splunk
Now that the Splunk installer has been downloaded, run the commands below to install it.
sudo dpkg -i splunk-7.1.1-8f0ead9ec3db-linux-2.6-amd64.deb
The commands above initiate the installation. I want a few minutes for the installation to complete. When done, you should see the completion messages below.
Selecting previously unselected package splunk.
(Reading database . 165107 files and directories currently installed.)
Preparing to unpack splunk-7.1.1-8f0ead9ec3db-linux-2.6-amd64.deb .
Unpacking splunk (7.1.1) .
Setting up splunk (7.1.1) .
complete
Finally, run the commands below to enable Splunk alto alwaystart up when the server starts. For example, the following command starts the service immediately.
sudo /opt/splunk/bin/splunk enable boot-start
sudo service splunk start
You must accept the licensing agreement when you run the above commands. Then, use the spacebar on your keyboard to scroll down the pages. In the end, type y to agree to the terms.
Splunk Software License Agreement 04.24.2018

Do you agree with this license? [y/n]: y
You’ll then be prompted to create and confirm the admin password. Use this password to access the web portal.
This appears to be your first time running this version of Splunk.

An Admin password must be set before installation proceeds.
Password must contain at least:
   * 8 total printable ASCII character(s).
Please enter a new password:
Please confirm new password:
Copying '/opt/splunk/etc/openldap/ldap.conf.default' to '/opt/splunk/etc/openldap/ldap.conf'.

Moving '/opt/splunk/share/splunk/search_mrsparkle/modules.new' to '/opt/splunk/share/splunk/search_mrsparkle/modules'.
Init script installed at /etc/init.d/splunk.
Init script is configured to run at boot.
Start Splunk.
sudo service splunk start
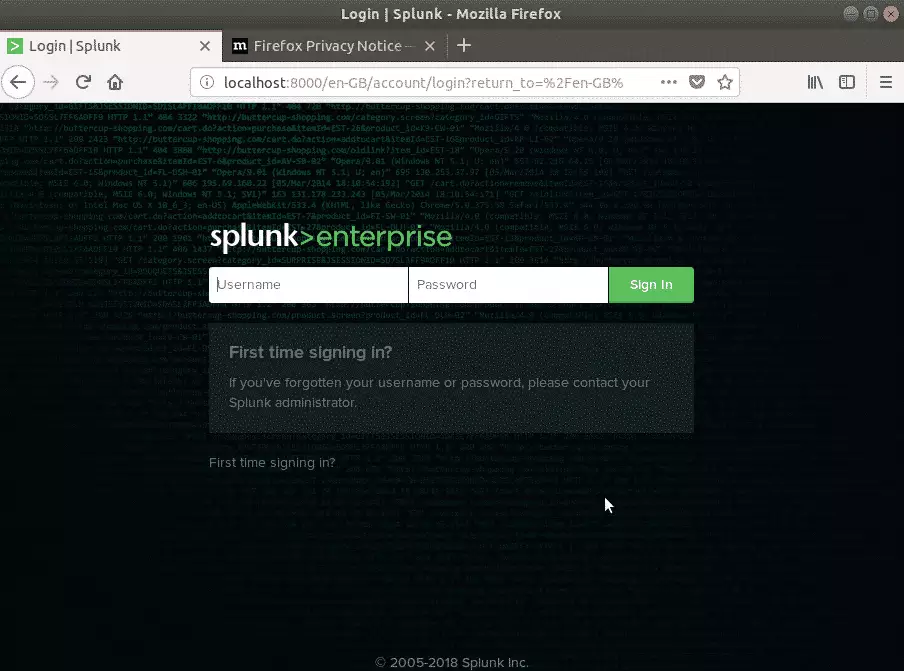
After that, open your browser and browse to the server hostname or IP address followed by port # 8000
http://localhost:8000
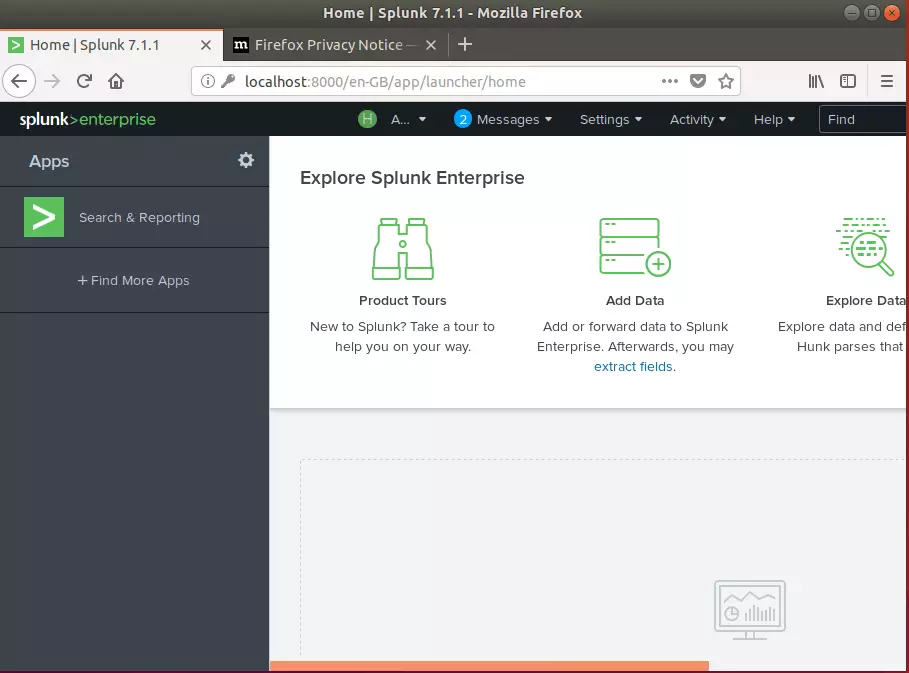
You should see the Splunk web portal for access. Then, use the credentials you created above to access the backend.
Enjoy~!
You may also like the post below:
Leave a Reply