This article explains how to install RainLoop with Apache support on Ubuntu Linux.
RainLoop is a simple web-based mail client that allows you to access all your external mailboxes from a single web interface.
One might want to install RainLoop with Apache on Ubuntu Linux for several reasons. Firstly, RainLoop is a simple web-based mail client that allows you to access all your external mailboxes from a single web interface. This means you can bring all your external emails like Google, Yahoo, and other SMTP inboxes onto your server, making it easier to manage your email.
Secondly, RainLoop is written in PHP, which makes it easy to install and use on Ubuntu Linux. With no database required and decent performance, it is a great choice for a simple, easy-to-use webmail client. Thirdly, Apache is the most popular web server in use, and is required to run RainLoop.
Installing RainLoop with Apache on Ubuntu ensures that your webmail client will be stable and secure while providing good performance. Installing RainLoop with Apache on Ubuntu Linux is a great way to bring all your external mailboxes onto your server. It provides a simple and easy-to-use webmail client that can be accessed anywhere.
For more about RainLoop, please check out its homepage. Some highlights of RainLoop:
- Modern user interface.
- Complete support of IMAP and SMTP protocols, including SSL and STARTTLS.
- Sieve scripts (Filters and vacation messages).
- Minimalistic resource requirements.
- Direct access to the mail server is used (mails are not stored locally on the web server).
- Allows for adding multiple accounts to the primary one; simultaneous access to different accounts in different browser tabs is supported.
When you’re ready to get RainLoop installed on Ubuntu, follow the steps below:
Install Apache2 HTTP Server
Apache2 HTTP Server is the most popular web server in use. Install it since RainLoop needs it. To install Apache2 HTTP on the Ubuntu server, run the commands below.
sudo apt update
sudo apt install apache2
After installing Apache2, the commands below can stop, start, and enable the Apache2 service to always start up with the server boots.
sudo systemctl stop apache2.service
sudo systemctl start apache2.service
sudo systemctl enable apache2.service
To test whether Apache2 is installed, open your browser and browse to the server hostname or IP address. When you see that, then Apache2 is working as expected.
http://localhost
Install PHP 7.2 and Related Modules
PHP 7.2 may not be available in Ubuntu default repositories. To install it, you will have to get it from third-party repositories.
Run the commands below to add the below third party repository to upgrade to PHP 7.2
sudo apt-get install software-properties-common
sudo add-apt-repository ppa:ondrej/php
Then update and upgrade to PHP 7.2
sudo apt update
Next, run the commands below to install PHP 7.2 and related modules.
sudo apt install php7.2 libapache2-mod-php7.2 php7.2-common php7.2-curl php7.2-mbstring php7.2-xmlrpc php7.2-mysql php7.2-gd php7.2-xml php7.2-json php7.2-cli
After installing PHP 7.2, run the commands below to open the PHP default config file for Apache2.
sudo nano /etc/php/7.2/apache2/php.ini
Then, save the changes on the following lines below in the file. The value below is an ideal setting to apply in your environment.
file_uploads = On
allow_url_fopen = On
short_open_tag = On
memory_limit = 256M
upload_max_filesize = 100M
max_execution_time = 360
date.timezone = America/Chicago
After making the change above, please save the file and close it.
After installing PHP and related modules, you must restart Apache2 to reload PHP configurations.
To restart Apache2, run the commands below
sudo systemctl restart apache2.service
To test PHP 7.2 settings with Apache2, create a phpinfo.php file in the Apache2 root directory by running the commands below
sudo nano /var/www/html/phpinfo.php
Then, type the content below and save the file.
<?php phpinfo( ); ?>
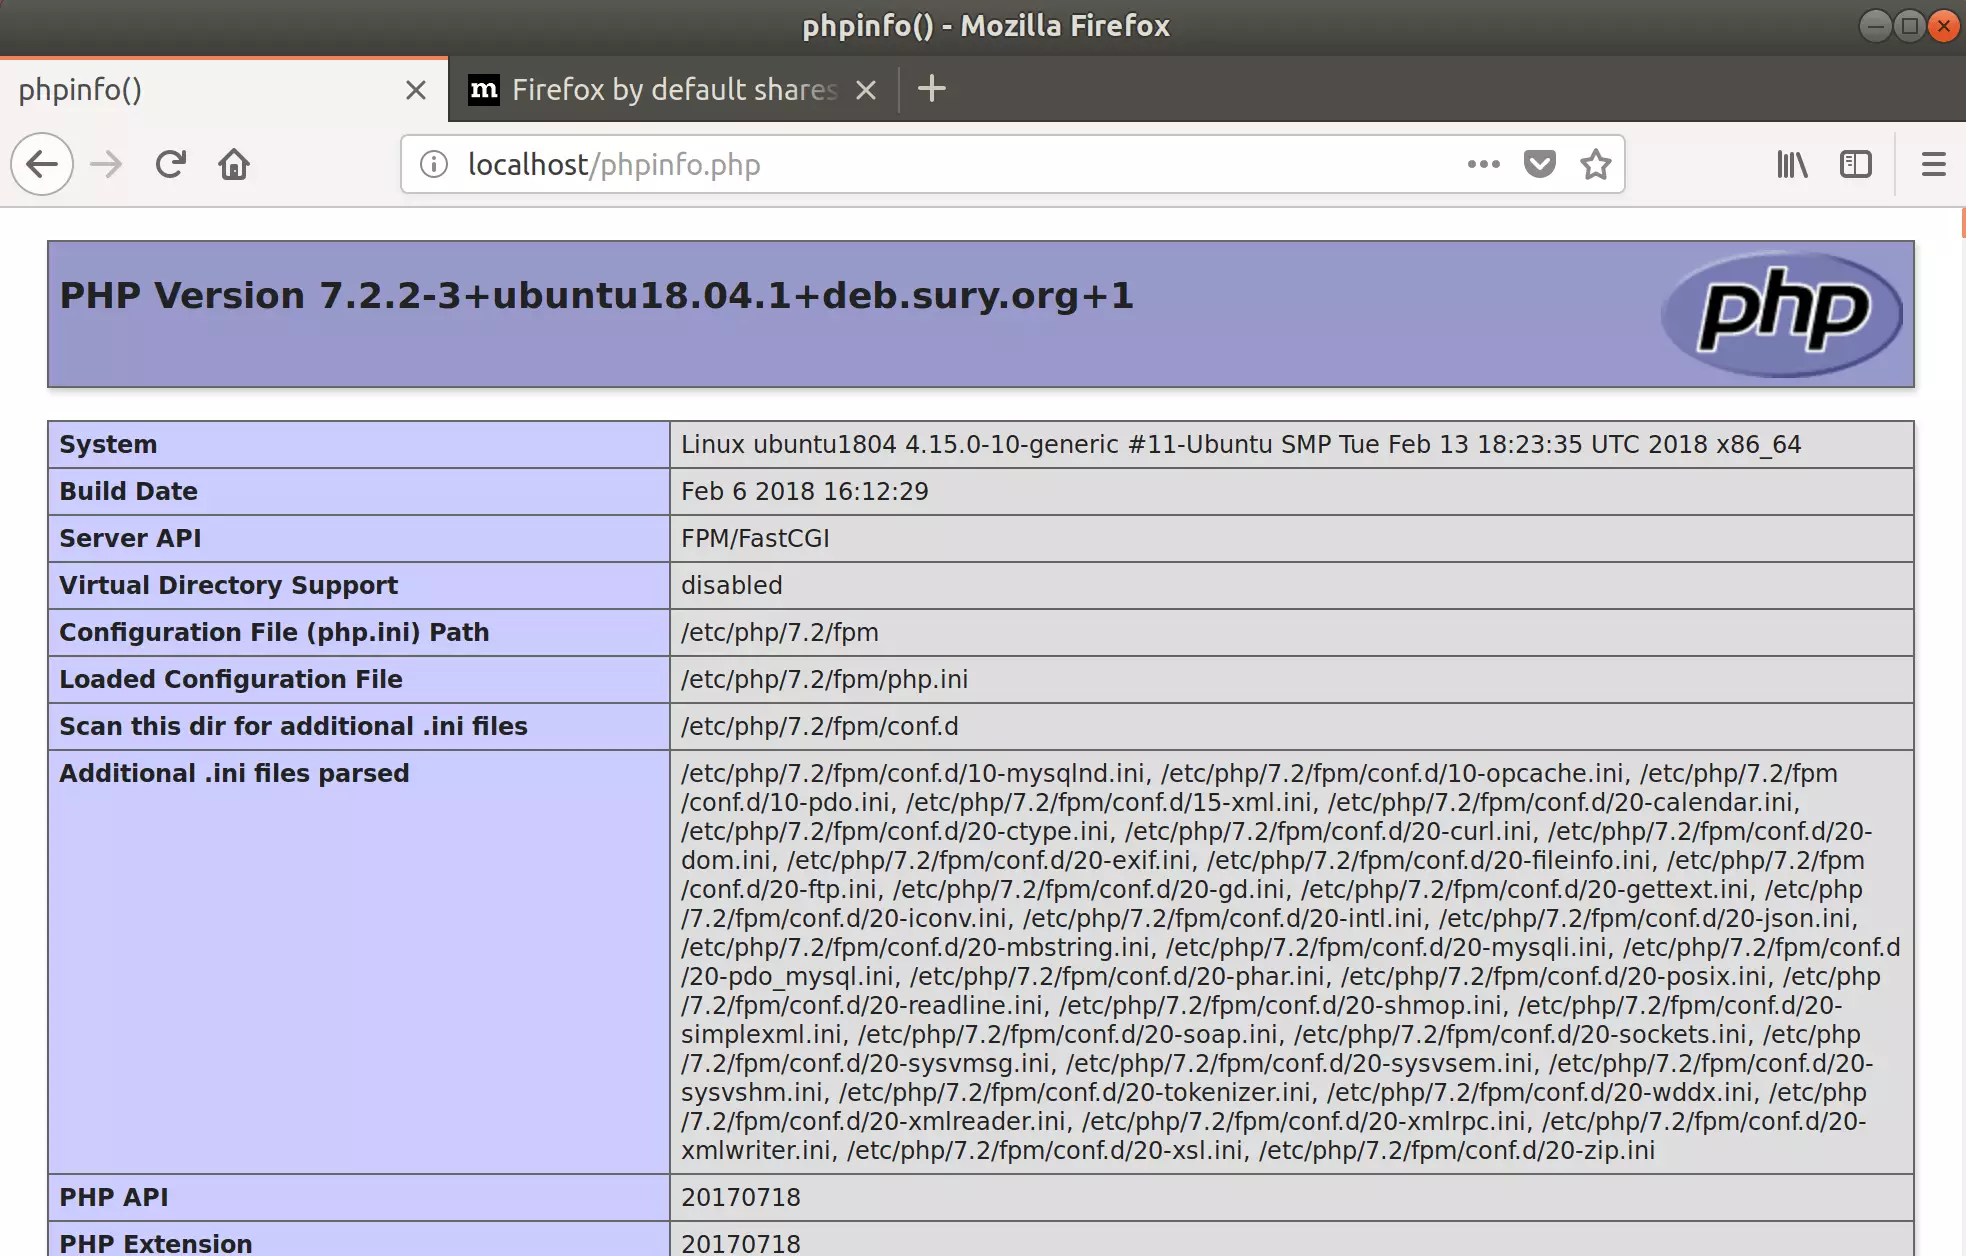
Save the file. Then browse to your server hostname followed by /phpinfo.php
http://localhost/phpinfo.php
You should see the PHP default test page.
Download and Configure RainLoop
Now that Apache2 and PHP 7.2 have been installed follow the steps below to download and configure the RainLoop environment on Ubuntu servers. First, use the commands below to download the latest version.
cd /tmp
wget http://www.rainloop.net/repository/webmail/rainloop-community-latest.zip
After that, create the RainLoop directory and extract the download content there.
sudo mkdir /var/www/html/rainloop
sudo unzip rainloop-community-latest.zip -d /var/www/html/rainloop
Next, configure the directory access permission for Apache2.
sudo chown -R www-data:www-data /var/www/html/rainloop/
sudo find /var/www/html/rainloop/ -type d -exec chmod 755 {} \;
sudo find /var/www/html/rainloop/ -type f -exec chmod 644 {} \;
When done, run the commands below to create a rain loop Apache2 configuration file.
sudo nano /etc/apache2/sites-available/rainloop.conf
Then copy and paste the content below into the file and save it.
<VirtualHost *:80>
     ServerAdmin admin@example.com
     DocumentRoot /var/www/html/rainloop
     ServerName webmail.example.com
     ServerAlias www.webmail.example.com

       <Directory />
           Options +Indexes +FollowSymLinks +ExecCGI
           AllowOverride All
           Order deny,allow
           Allow from all
           Require all granted
       </Directory>

     ErrorLog ${APACHE_LOG_DIR}/error.log
     CustomLog ${APACHE_LOG_DIR}/access.log combined

     <Directory /var/www/html/rainloop/data/>
            Options -Indexes
            Deny from all
     </Directory>
</VirtualHost>
Save the file and exit.
Next, run the commands below to enable the RainLoop virtual host and restart Apache2.
sudo a2ensite rainloop.conf
sudo systemctl reload apache2.service
Finally, open your web browser and browse the server name to access the back-end portal.
http://webmail.example.com/?admin
The default username and password: admin and password 12345
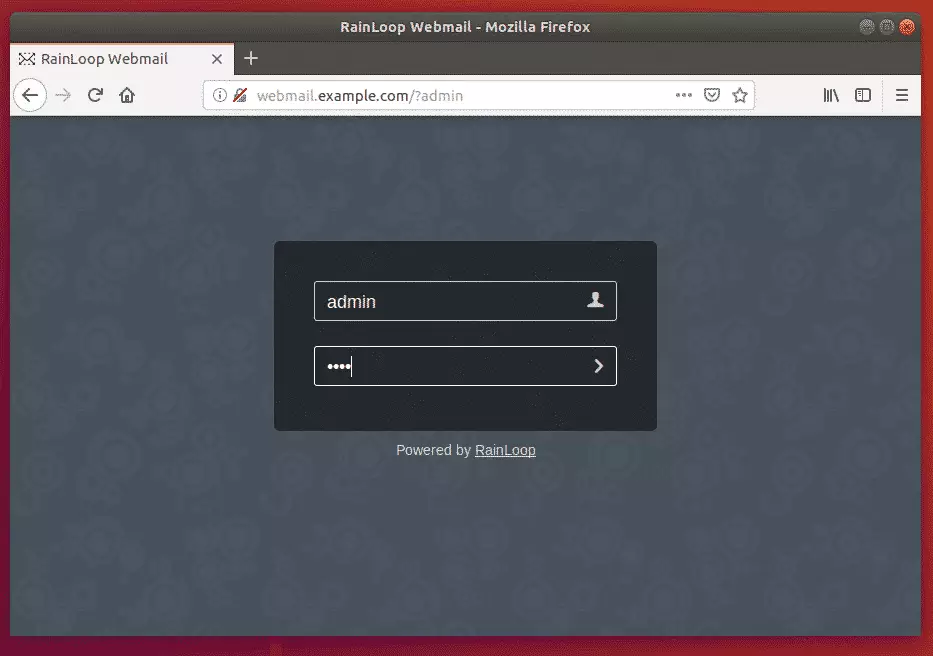
Log in and begin configuring RainLoop
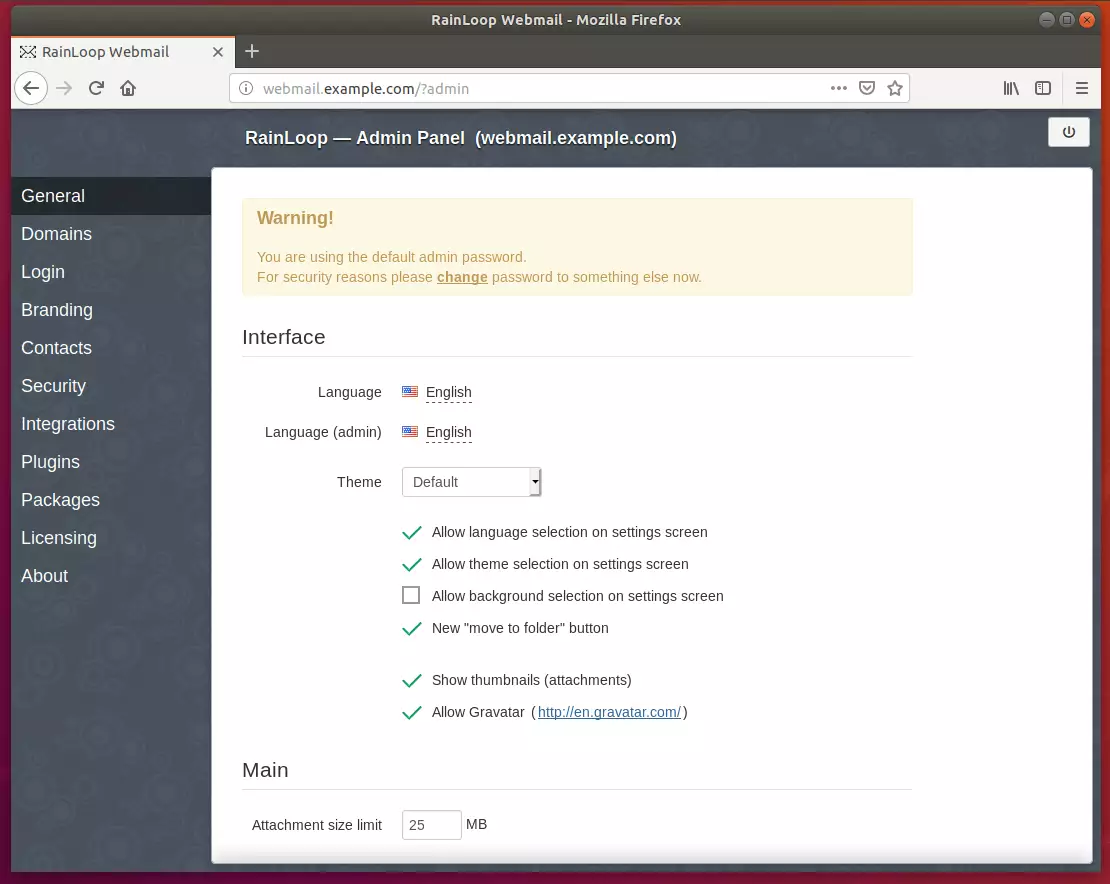
Congratulations! You have successfully installed and configured RainLoop on Ubuntu 16.04 | 18.04 with Apache2 and PHP 7.2.
You may also like the post below:

Leave a Reply