
This article explains how to install MyCollab Project Management on Ubuntu Linux.
MyCollab is a flexible open-source project management and CRM web platform written in Java. It provides the essential features of tasks, issues, knowledge management, and other project activities management. It also integrates with other popular open-source plugins, efficiently making and managing your projects.
MyCollab is built on an open-source core with support for open standards, which might be very useful in helping you run your projects.
MyCollab platform allows enterprises and business owners to collaborate and automate engaging experiences with users across multiple devices, including mobile.
For more about MyCollab, please check their Homepage
Install OpenJDK
MyCollab is a Java-based program and requires Java JDK installed. You can install Oracle JDK or use the open-source version, OpenJDK. The open-source version works great on Ubuntu.
To install it, run the commands.
sudo apt update
sudo apt-get install openjdk-8-jdk
After that, OpenJDK should be installed and ready to use.
Install MariaDB Database Server
MyCollab also requires a database server to store its content. MariaDB is a great place to start if you want a genuinely open-source database server. To install MariaDB, run the commands below:
sudo apt-get install mariadb-server mariadb-client
After installing MariaDB, the commands below can stop and start the service and enable it to start when the server boots.
Run these on Ubuntu 16.04 LTS
sudo systemctl stop mysql.service
sudo systemctl start mysql.service
sudo systemctl enable mysql.service
Run these on Ubuntu 18.10 and 18.04 LTS
sudo systemctl stop mariadb.service
sudo systemctl start mariadb.service
sudo systemctl enable mariadb.service
Next, run the commands below to secure the database server with a root password if you were not prompted to do so during the installation.
sudo mysql_secure_installation
When prompted, answer the questions below by following the guide.
- Enter current password for root (enter for none): Just press the Enter
- Set root password? [Y/n]: Y
- New password: Enter password
- Re-enter new password: Repeat password
- Remove anonymous users? [Y/n]: Y
- Disallow root login remotely? [Y/n]: Y
- Remove test database and access to it? [Y/n]: Y
- Reload privilege tables now? [Y/n]: Y
Once MariaDB is installed, run the commands below to test whether the database server was installed.
sudo mysql -u root -p
Type the root password when prompted.

The server was successfully installed if you see a similar screen.
Create MyCollab Database
Once you’ve installed all the packages required for MyCollab to function, continue below to start configuring the servers. First, run the commands below to create a blank MyCollab database.
To log on to the MariaDB database server, run the commands below.
sudo mysql -u root -p
Then, create a database called mycollab
CREATE SCHEMA mycollab DEFAULT CHARACTER SET utf8mb4;
Create a database user called mycollabuser with a new password
CREATE USER 'mycollabuser'@'localhost' IDENTIFIED BY 'new_password_here';
Then, grant the user full access to the database.
GRANT ALL ON mycollab.* TO 'mycollabuser'@'localhost' IDENTIFIED BY 'user_password_here' WITH GRANT OPTION;
Finally, save your changes and exit.
FLUSH PRIVILEGES;
EXIT;
Enable the MyCollab Site
After installing OpenJDK and MariaDB, run the commands below to download the latest version of MyCollab. As of this writing, the newest version is 5.3.4.
wget https://downloads.sourceforge.net/project/mycollab/MyCollab_5.3.4/MyCollab-All-5.3.4.zip
unzip MyCollab-All-5.3.4.zip
After extracting the downloaded content, move it to your home directory by running the commands below:
mv MyCollab-5.3.4/ ~/mycollab
After running the commands below to be installed.
sh ~/mycollab/bin/startup.sh
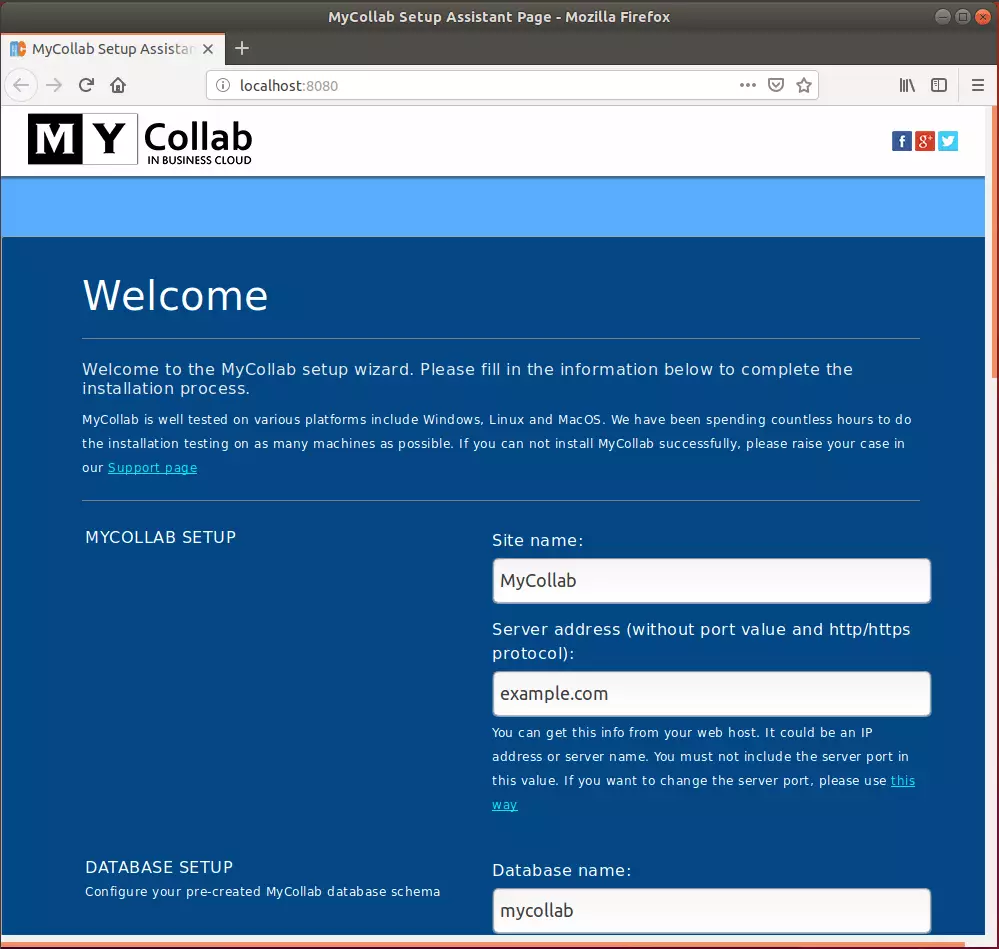
That should launch the MyCollab setup page, as shown below. On this page, set up your site name, URL, and database connection info you created above. Then click the Setup button.
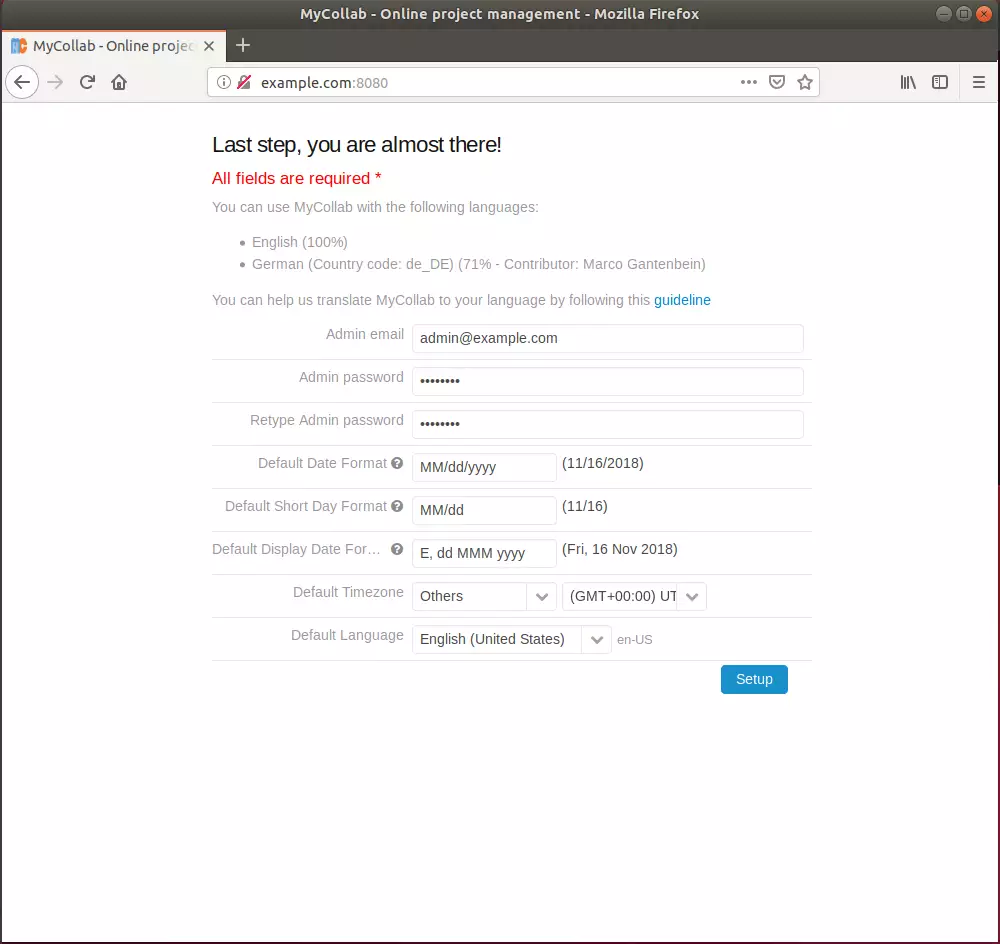
After that, create an admin account and continue.
After that, MyCollab should be installed and ready to use.
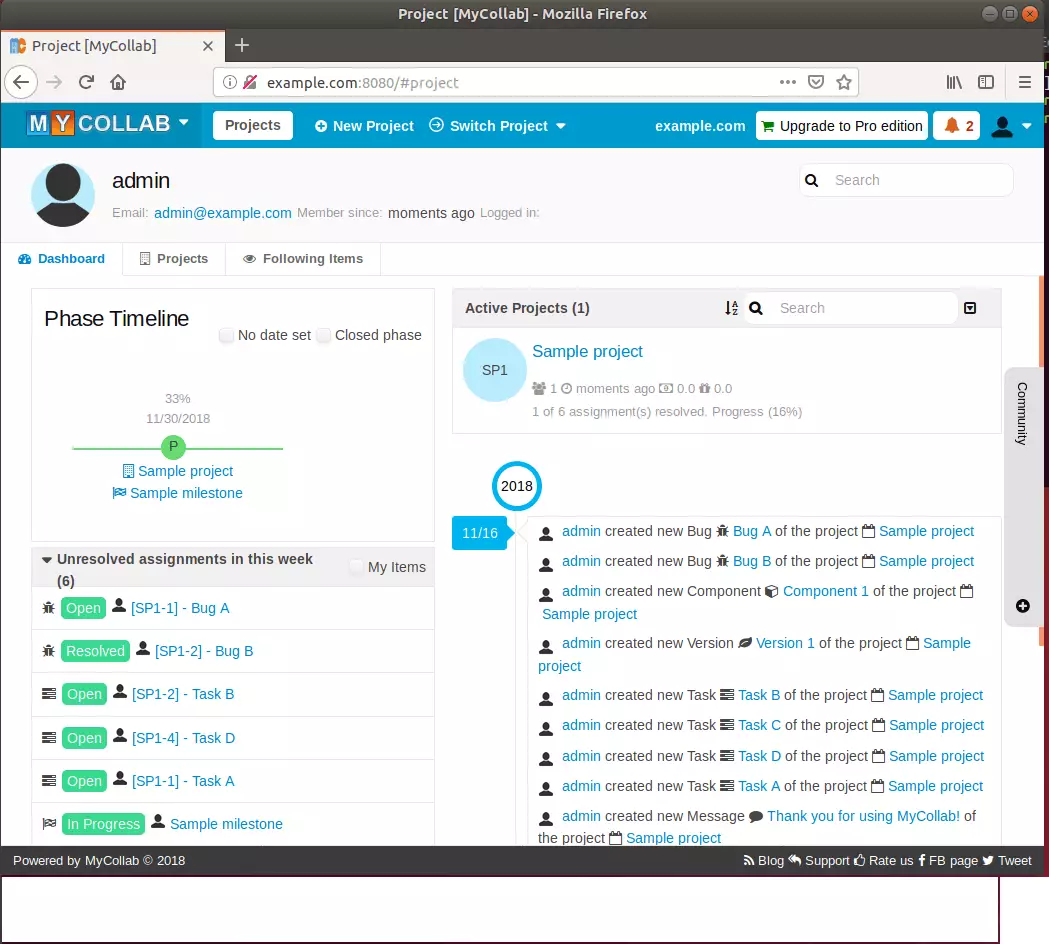
That’s it!
Congratulation! You have successfully installed MyCollab on Ubuntu 16.04 | 18.04 and 18.10.
You may also like the post below:


Leave a Reply