This post shows students and new users how to install Komodo Edit on Ubuntu Linux.
Komodo Edit is a free multi-language code editor that supports Python, Perl, Ruby, HTML/CSS, JavaScript, and many others.
When looking for a cross-platform, simple code editor for programming and web development, you should look at Komodo Edit.
This simple yet powerful code editor for programmers provides basic functionality, like editing and writing basic programming codes. It’s more like Notepad++ on steroids for Windows systems and other platforms.
For a more advanced version of Komodo, you’ll have to purchase Komodo IDE. It comes with all the power you need to create robust programs.
When you’re ready to install Komodo Edit, please continue with the steps below:
How to download Komodo Edit in Ubuntu Linux
To manually install Komodo Edit, you’ll have to go to its download page and get a copy of the installer. The download page can be found at the link below.
https://www.activestate.com/komodo-ide/downloads/edit
On the page, download the correct arch (32bit or 64bit) for your system. At the time of this writing, the latest version was 12.0.1.
The default download location on Ubuntu systems is in the /tmp folder of your home directory.
cd /tmp
wget https://downloads.activestate.com/Komodo/releases/12.0.1/Komodo-Edit-12.0.1-18441-linux-x86_64.tar.gz
tar xzvf Komodo-Edit-*.tar.gz
For the x86 version, use the link below:
wget https://downloads.activestate.com/Komodo/releases/12.0.1/Komodo-Edit-12.0.1-18441-linux-x86.tar.gz
How to install Komodo Edit in Ubuntu Linux
After downloading and extracting the file, as shown above, change into the newly extracted folder, then run the commands below to begin the installation.
cd Komodo-Edit-12.0.1-18441-linux-x86_64
sudo ./install.sh -I /opt/KomodoEdit
The installation is pretty straightforward. After a moment, you should get a message like the one below that the installation was successful.
Komodo Edit 12 has been successfully installed to:
    /opt/KomodoEdit

You might want to add 'komodo' to your PATH by adding the
install dir to you PATH. Bash users can add the following
to their ~/.bashrc file:

    export PATH="/opt/KomodoEdit/bin:$PATH"

Or you could create a symbolic link to 'komodo', e.g.:

    ln -s "/opt/KomodoEdit/bin/komodo" /usr/local/bin/komodo

Documentation is available in Komodo or on the web here:
    http://docs.activestate.com/komodo

Please send us any feedback you have through one of the
channels below:
    komodo-feedback@activestate.com
    irc://irc.mozilla.org/komodo
    https://github.com/Komodo/KomodoEdit/issues

Thank you for using Komodo.
==============================================================================
After completing the installation, add “komodo” to your PATH variable.
First, open the .bashrc file in a text editor:
gedit ~/.bashrc
Next, please copy and paste the line into the file, then save it.
export PATH="/opt/KomodoEdit/bin:$PATH"
Finally, run the commands below to apply the configuration.
source ~/.bashrc
You may also want to run this command:
sudo ln -s "/opt/KomodoEdit/bin/komodo" /usr/local/bin/komodo
After that, go to Ubuntu Activities ==> Komodo Edit
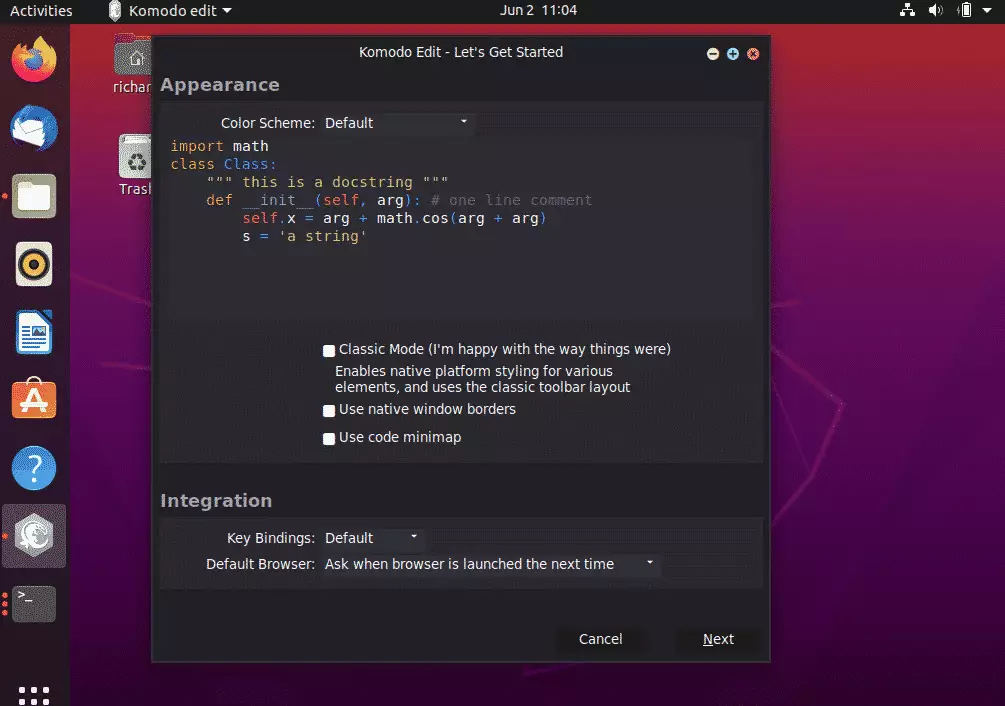
When you open Komodo Edit the first time, you’ll be prompted to customize it. I’d accept the default and continue.
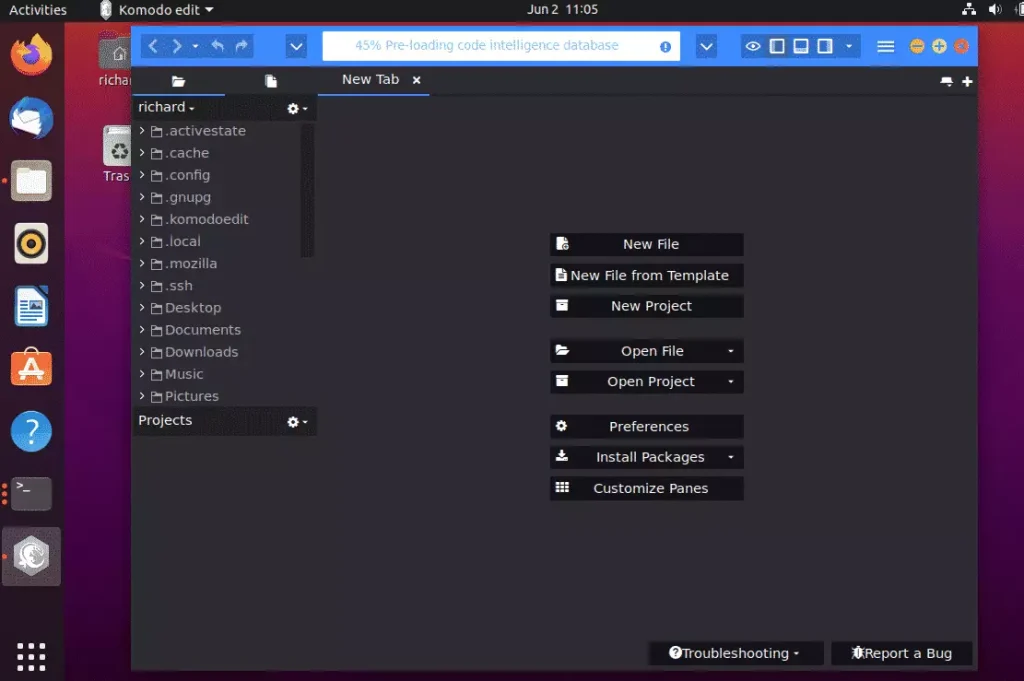
After customizing, begin enjoying Komodo Edit.
Conclusion:
This post showed you how to install Komodo Edit on Ubuntu Linux. If you find any error above or have something to add, please use the comment form below to report.


Leave a Reply