This brief tutorial shows students and new users how to install the Friendica Social Network Platform on Ubuntu 18.04 | 16.04 with an Apache2 HTTP server.
Friendica is a free, flexible, decentralized social networking platform that makes building and maintaining your social networking projects and communities easy.
This software supports ActivityPub, including platforms like Funkwhale, Hubzilla, Mastodon, Pleroma, Pixelfed, OStatus, and diaspora* protocols.
For more on Friendica social platform, please visit its home page
To get started with installing Friendica, follow the steps below:
Install Apache2 HTTP
Apache2 HTTP Server is the most popular web server in use. Install it since Friendica needs it.
To install Apache2 HTTP on the Ubuntu server, run the commands below.
sudo apt update
sudo apt install apache2
After installing Apache2, the commands below can stop, start, and enable the Apache2 service to always start up with the server boots.
sudo systemctl stop apache2.service
sudo systemctl start apache2.service
sudo systemctl enable apache2.service
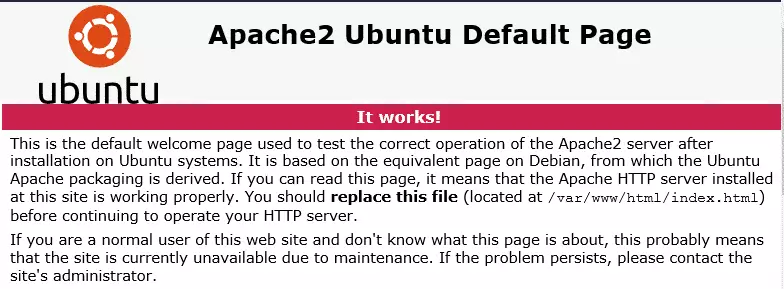
To test the Apache2 setup, open your browser and browse to the server hostname or IP address. You should see the Apache2 default test page, as shown below. When you see that, then Apache2 is working as expected.
http://localhost
Install MariaDB Database Server
Friendica also needs a database server to store its content, and the MariaDB database server is a great place to start when looking at open-source database servers to use with v.
To install MariaDB, run the commands below.
sudo apt install mariadb-server mariadb-client
After installing MariaDB, the commands below can stop, start, and enable the service to start when the server boots.
Run these on Ubuntu
sudo systemctl stop mariadb.service
sudo systemctl start mariadb.service
sudo systemctl enable mariadb.service
After that, run the commands below to secure the MariaDB server by creating a root password and disallowing remote root access.
sudo mysql_secure_installation
When prompted, answer the questions below by following the guide.
- Enter current password for root (enter for none): Just press the Enter
- Set root password? [Y/n]: Y
- New password: Enter password
- Re-enter new password: Repeat password
- Remove anonymous users? [Y/n]: Y
- Disallow root login remotely? [Y/n]: Y
- Remove test database and access to it. [Y/n]: Y
- Reload privilege tables now? [Y/n]: Y
Restart MariaDB server
To test if MariaDB is installed, type the commands below to log on to the MariaDB server.
sudo mysql -u root -p
Then, type the password you created above to sign on. If successful, you should see a MariaDB welcome message.
Install PHP 7.2 and Related Modules
PHP 7.2 may not be available in Ubuntu default repositories. To install it, you will have to get it from third-party repositories.
Run the commands below to add the below third party repository to upgrade to PHP 7.2
sudo apt-get install software-properties-common
sudo add-apt-repository ppa:ondrej/php
Then update and upgrade to PHP 7.2
sudo apt update
Next, run the commands below to install PHP 7.2 and related modules.
sudo apt install php7.2 libapache2-mod-php7.2 php7.2-common php7.2-gmp php7.2-curl php7.2-intl php7.2-mbstring php7.2-xmlrpc php7.2-mysql php7.2-gd php7.2-imagick php7.2-xml php7.2-cli php7.2-zip php7.2-sqlite
After installing PHP 7.2, run the commands below to open the PHP default config file for Apache2.
sudo nano /etc/php/7.2/apache2/php.ini
Then, save the changes on the following lines below in the file. The value below is an ideal setting to apply in your environment.
file_uploads = On
allow_url_fopen = On
short_open_tag = On
memory_limit = 256M
upload_max_filesize = 100M
max_execution_time = 360
max_input_vars = 1500
date.timezone = America/Chicago
After making the change above, please save the file and close it.
Create Friendica Database
Now that you’ve installed all the required packages continue below to start configuring the servers. First, create a Friendica database.
Run the commands below to log on to MariaDB. When prompted for a password, type the root password you created above.
sudo mysql -u root -p
Then, create a database called friendica
CREATE DATABASE friendica;
Create a database user called friendicauser with a new password
CREATE USER 'friendicauser'@'localhost' IDENTIFIED BY 'new_password_here';
Then, grant the user full access to the friendica database.
GRANT ALL ON friendica.* TO 'friendicauser'@'localhost' WITH GRANT OPTION;
Finally, save your changes and exit.
FLUSH PRIVILEGES;
EXIT;
After installing PHP and related modules, you must restart Apache2 to reload PHP configurations.
To restart Apache2, run the commands below
sudo systemctl restart apache2.service
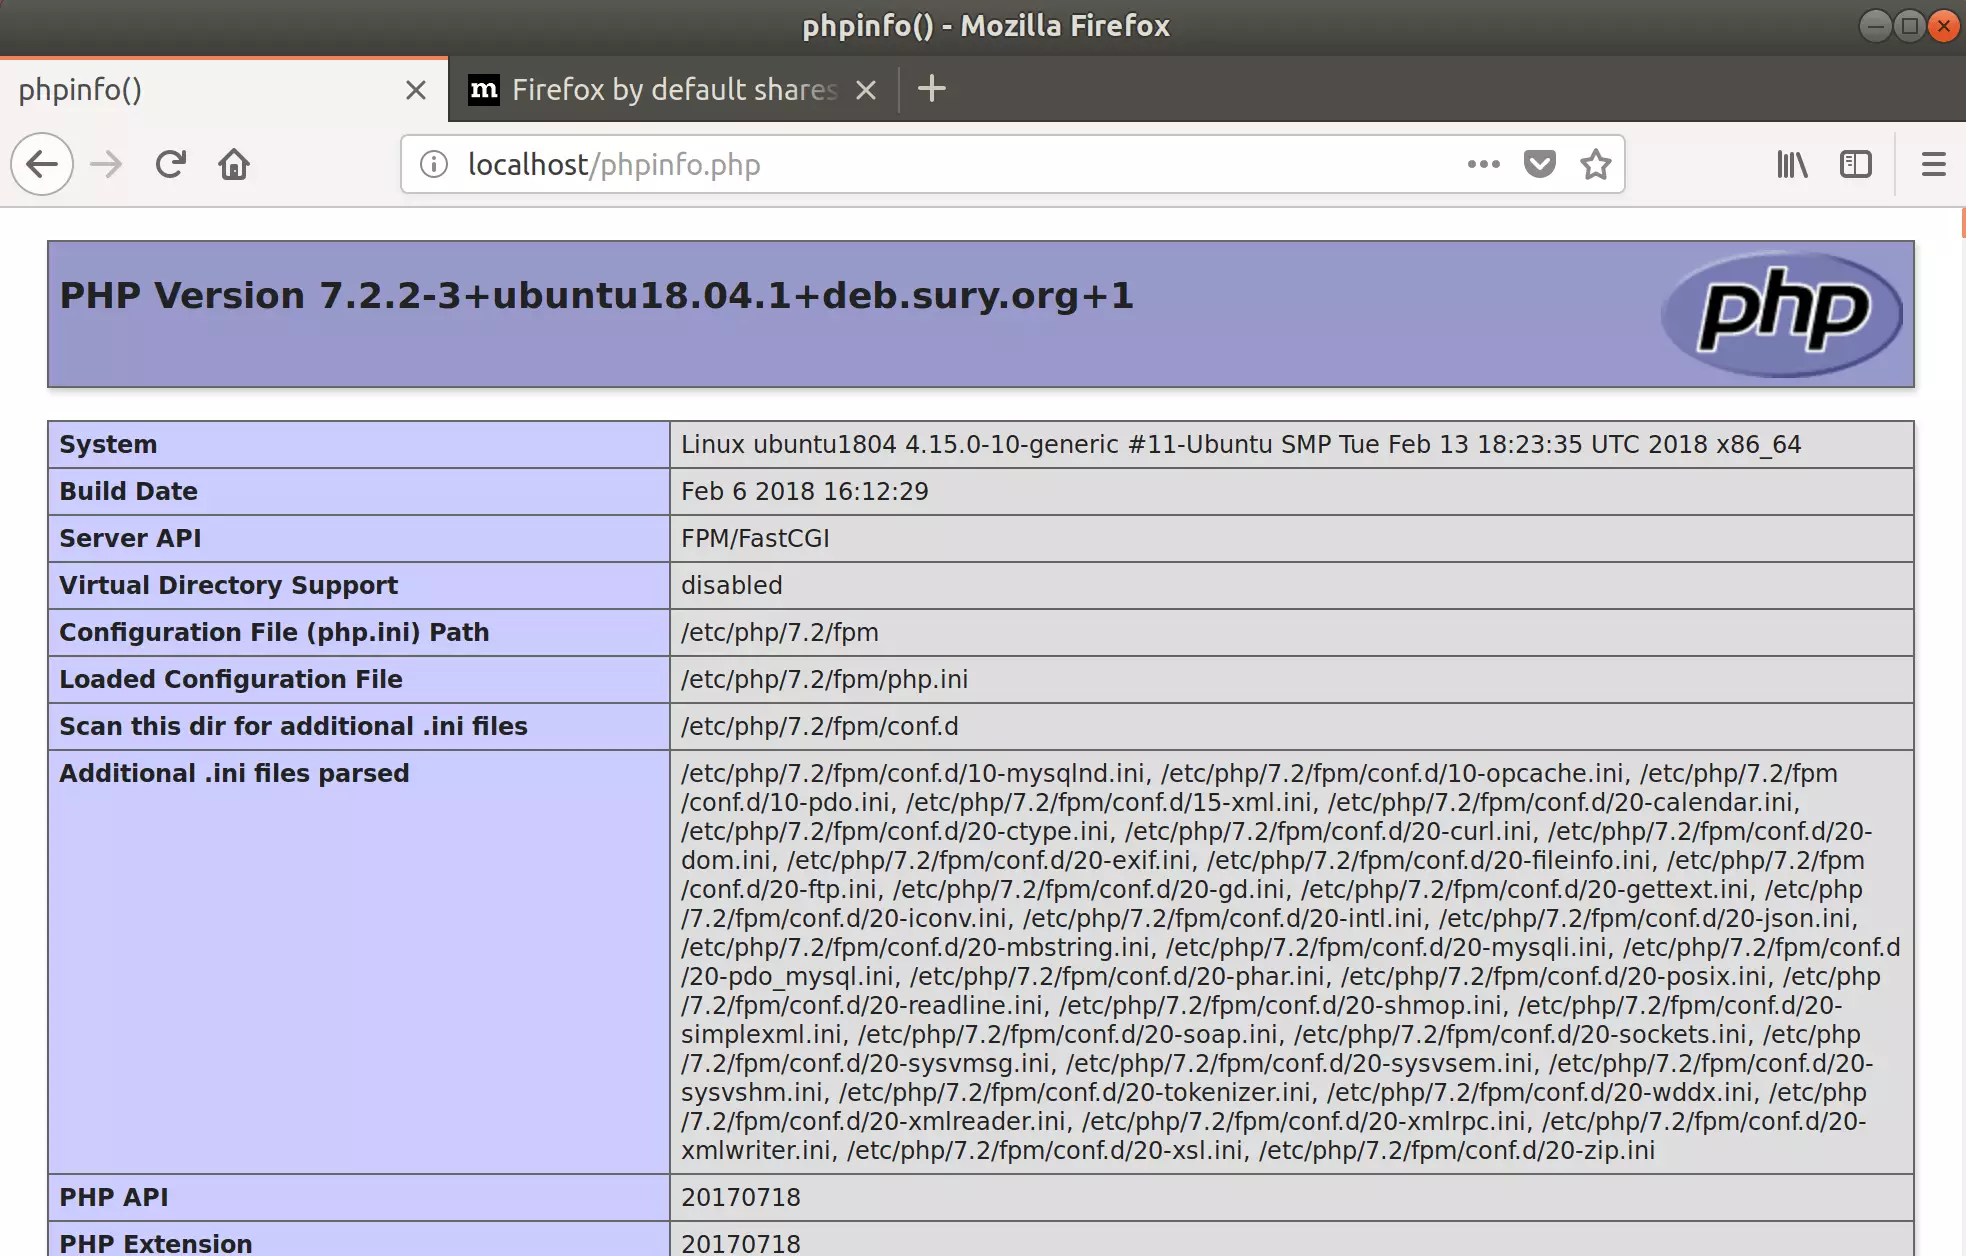
To test PHP 7.2 settings with Apache2, create a phpinfo.php file in the Apache2 root directory by running the commands below
sudo nano /var/www/html/phpinfo.php
Then, type the content below and save the file.
<?php phpinfo( ); ?>
Save the file. Then browse to your server hostname followed by /phpinfo.php
http://localhost/phpinfo.php
You should see the PHP default test page.
Download friendica’s Latest Release
To get Friendica’s latest release, you may use the GitHub repository… Install Composer, Curl, and other dependencies to get started.
sudo apt install curl git
curl -sS https://getcomposer.org/installer | sudo php -- --install-dir=/usr/local/bin --filename=composer
Then, change into the Apache2 home directory and download Friendica packages and dependencies using Composer.
cd /var/www
sudo git clone https://github.com/friendica/friendica.git -b master friendica
cd /var/www/friendica
sudo composer install --no-dev
sudo git clone https://github.com/friendica/friendica-addons.git -b master addon
After that, run the commands below to create an Apache2 .htaccess file.
sudo cp /var/www/friendica/.htaccess-dist /var/www/friendica/.htaccess
Since you just ran the web server as root, you should ensure the www-data user and group own any newly created files.
To do that, run the commands below:
sudo chown -R www-data:www-data /var/www/friendica/
sudo chmod -R 755 /var/www/friendica/
Configure Apache2
Finally, configure the Apahce2 site configuration file for Friendica. This file will control how users access Friendica content. Run the commands below to create a new configuration file called friendica. conf
sudo nano /etc/apache2/sites-available/friendica.conf
Then copy and paste the content below into the file and save it. Replace the highlighted line with your domain name and directory root location.
<VirtualHost *:80>
     ServerAdmin [email protected]
     DocumentRoot /var/www/friendica
     ServerName example.com
     ServerAlias www.example.com

     <Directory /var/www/friendica/>
        Options +FollowSymlinks
        AllowOverride All
        Require all granted
     </Directory>

     ErrorLog ${APACHE_LOG_DIR}/error.log
     CustomLog ${APACHE_LOG_DIR}/access.log combined

</VirtualHost>
Save the file and exit.
Enable the Friendica and Rewrite Module
After configuring the VirtualHost above, please enable it by running the commands below.
sudo a2ensite friendica.conf
sudo a2enmod rewrite
sudo systemctl restart apache2.service
Then open your browser and browse to the server domain name or hostname. This is often localhost but can be a hostname or IP address. Your server admin or hosting company will have this information available.
http://example.com/
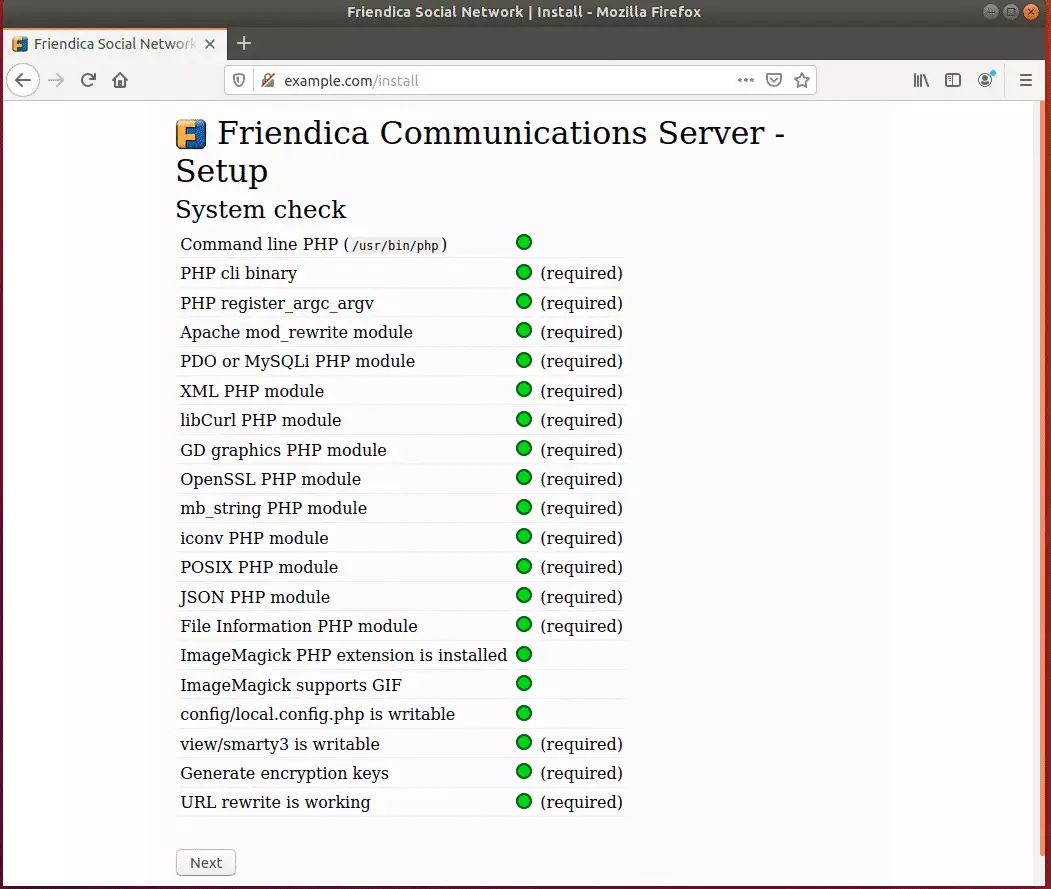
Validate that all requirements are met, then continue with the wizard.
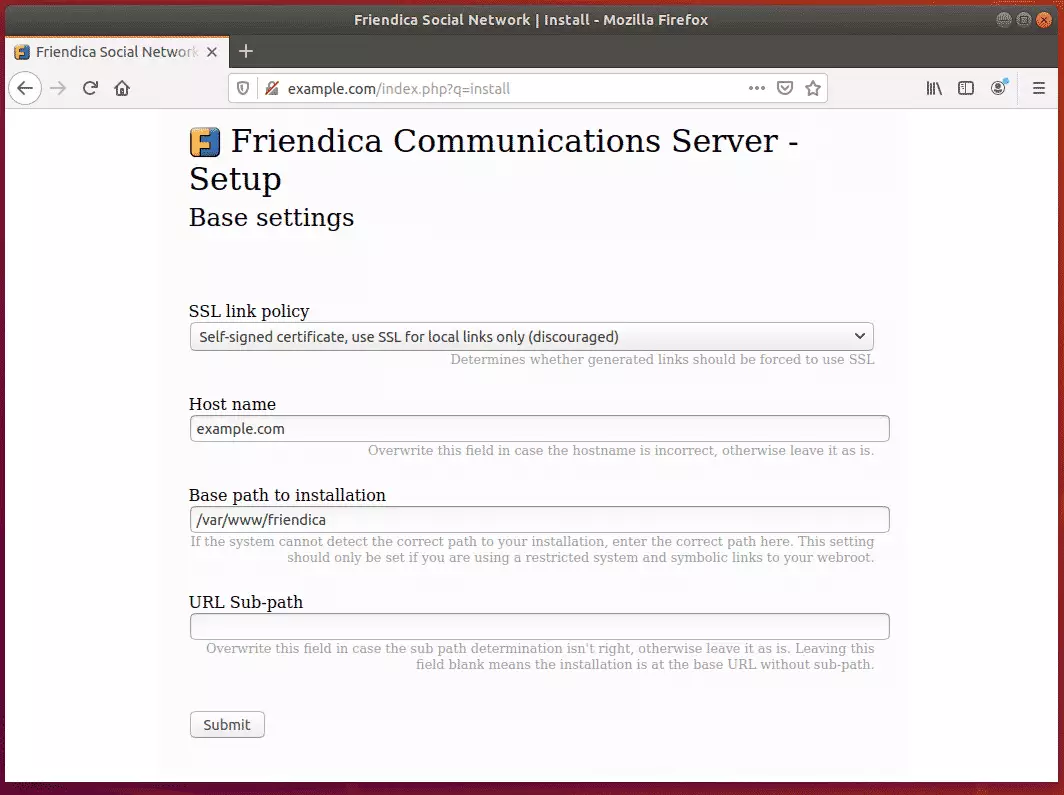
Next, choose whether to use SSL or not. You can use self-signed or public certificates if you’re setting up with an SSL certificate.
Next, set up your site admin account and continue
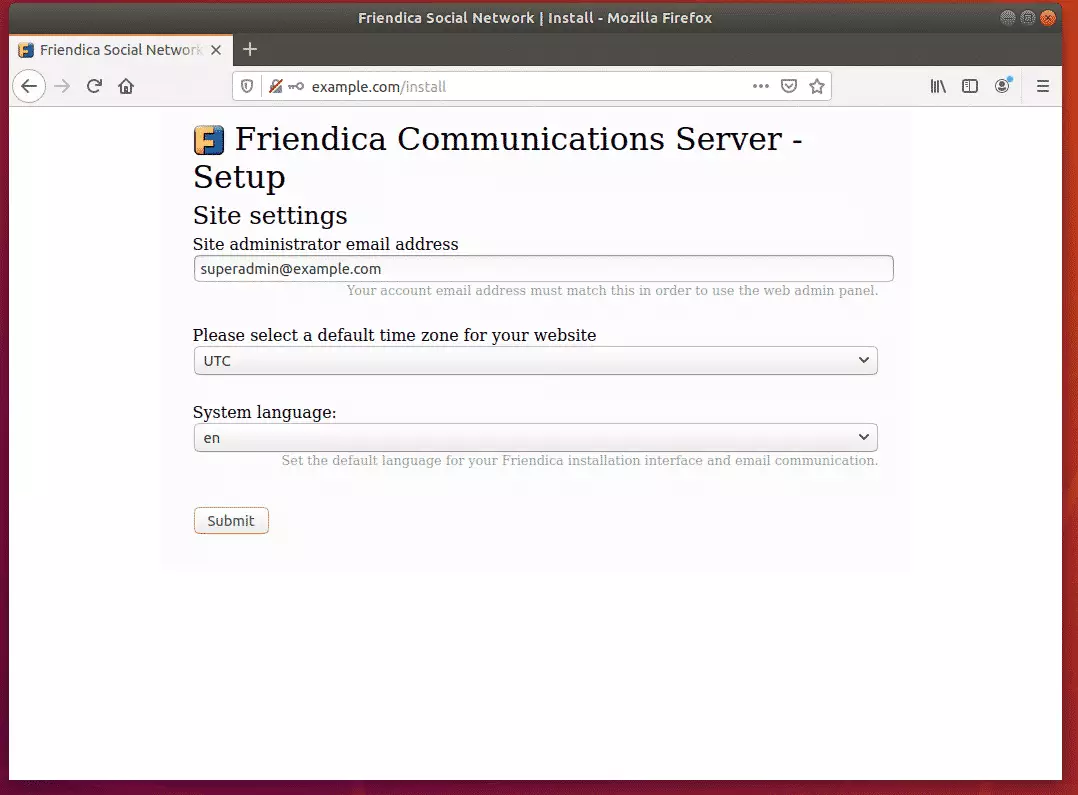
That should complete the setup.
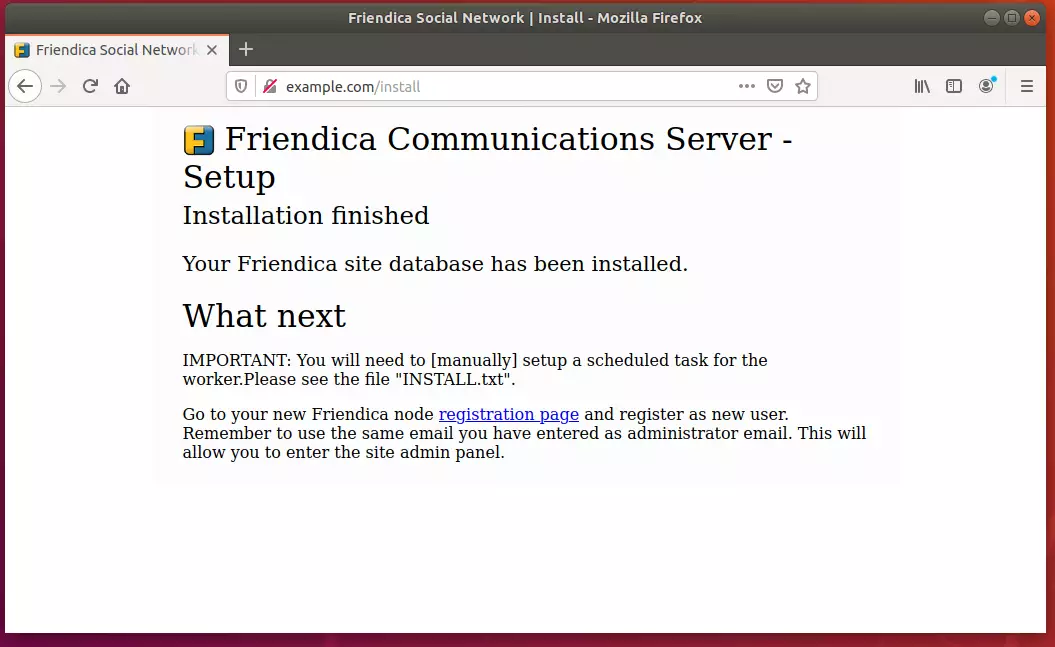
Log in and begin building your network.
Conclusion:
You have learned how to install Friendica on Ubuntu with an Apache2 HTTP server. If you find any errors above, please leave a comment below.
Thanks,

Leave a Reply