
This article explains installing Ubuntu Linux on VMware Workstation.
There are several reasons why someone might want to install Ubuntu Linux on a VMware Workstation.
Firstly, it allows users to test out the Ubuntu desktop without installing it as the primary operating system on their computer. This is especially useful for those new to Linux who want to understand how it works before committing to it.
Secondly, installing Ubuntu on a virtual machine like VMware Workstation is a quick and cost-effective way to experience Ubuntu. It eliminates the need for additional hardware and allows users to run Ubuntu alongside their existing operating system.
Lastly, using a virtual machine also provides a safe and isolated environment for testing and experimentation. Users can install and try out different software and configurations without affecting their primary operating system or risking data loss.
Create Ubuntu Desktop Guest Machine
You’ll have to create a guest machine for Ubuntu Desktop on VMware Workstation software; follow the guide below to create a Ubuntu desktop guest machine.
Click File –> New Virtual Machine from VMware Host software to do that. This should open the guest machine creation wizard. Use the screenshots below to help.
When the wizard opens, choose Typical (recommended) machine configuration and click Next.

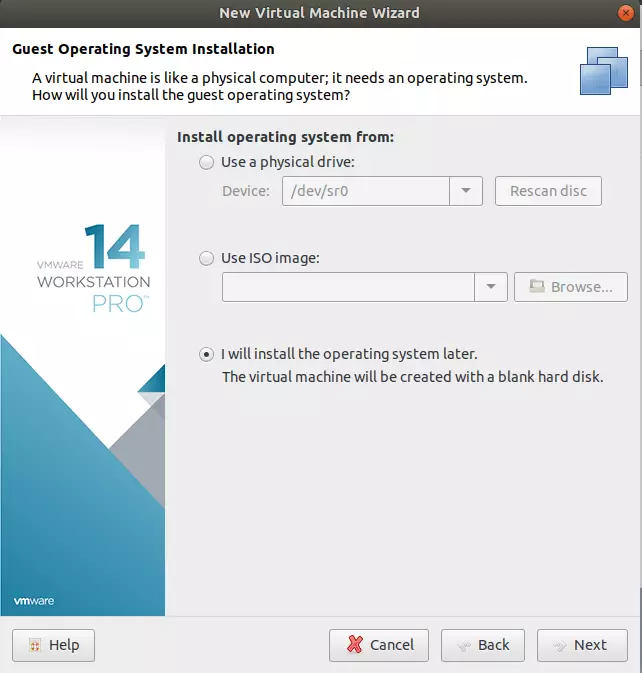
Then, select the option to install the operating system later. This will create a blank virtual machine without the OS. You will be able to add the OS later after completing it.
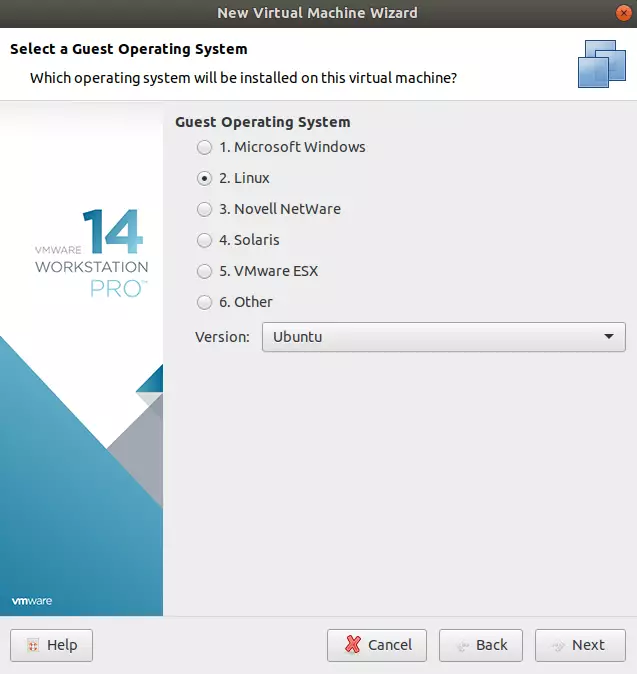
Next, select the guest operating system type. For this post, we’re going with Ubuntu. Click Next to continue.
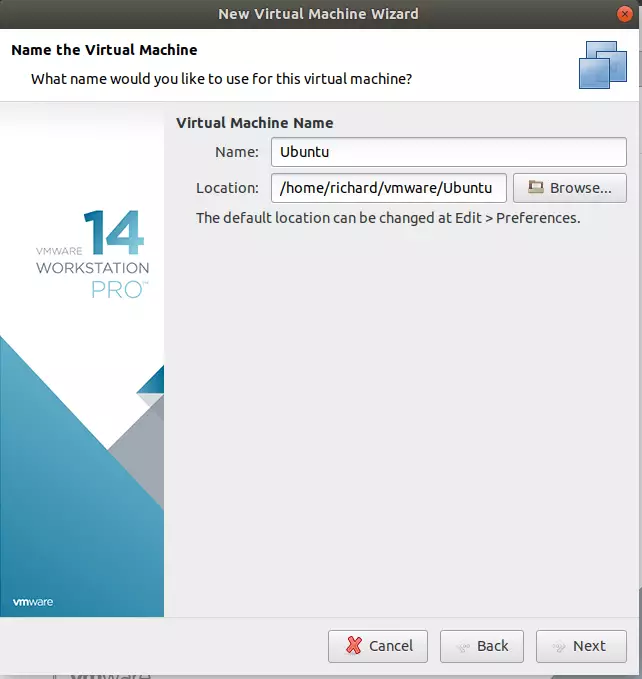
Then, please create a new virtual machine and location to store it. The default is fine.
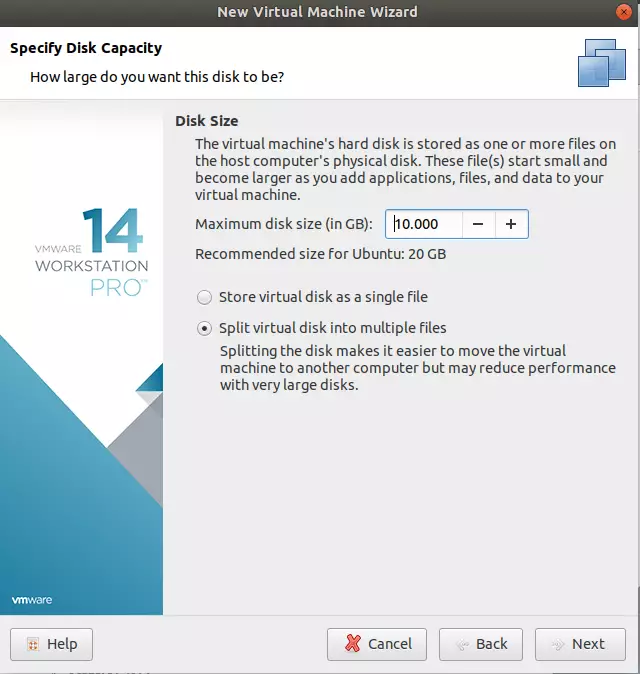
Next, set the maximum disk size to use and click Next.
Finally, click Finish to complete the guest machine creation.
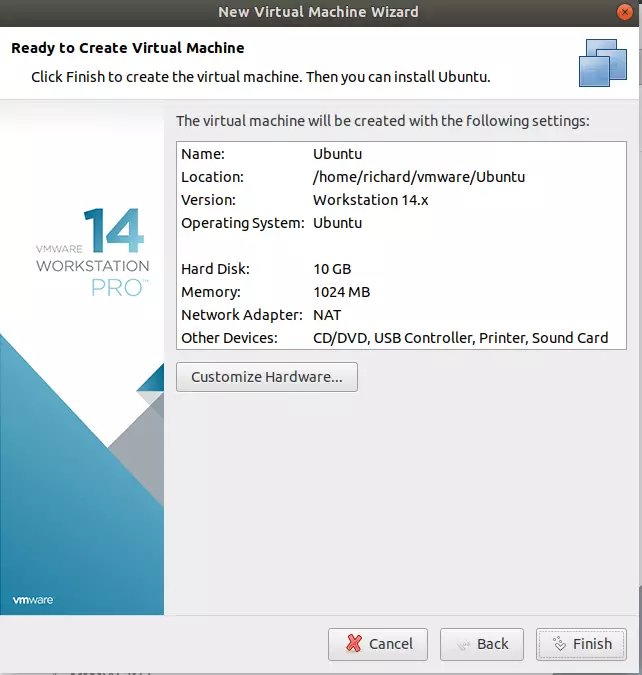
After that, a new guest machine should be ready to install the operating system of your choice.
Install Ubuntu Desktop
You may likely get the Ubuntu Desktop ISO image file.… Ubuntu comes in either 32-bit or 64-bit arch; however, for newer editions. only 64-bit is available… Whichever version you have, copy the ISO image on the host computer running VMware Workstation software…
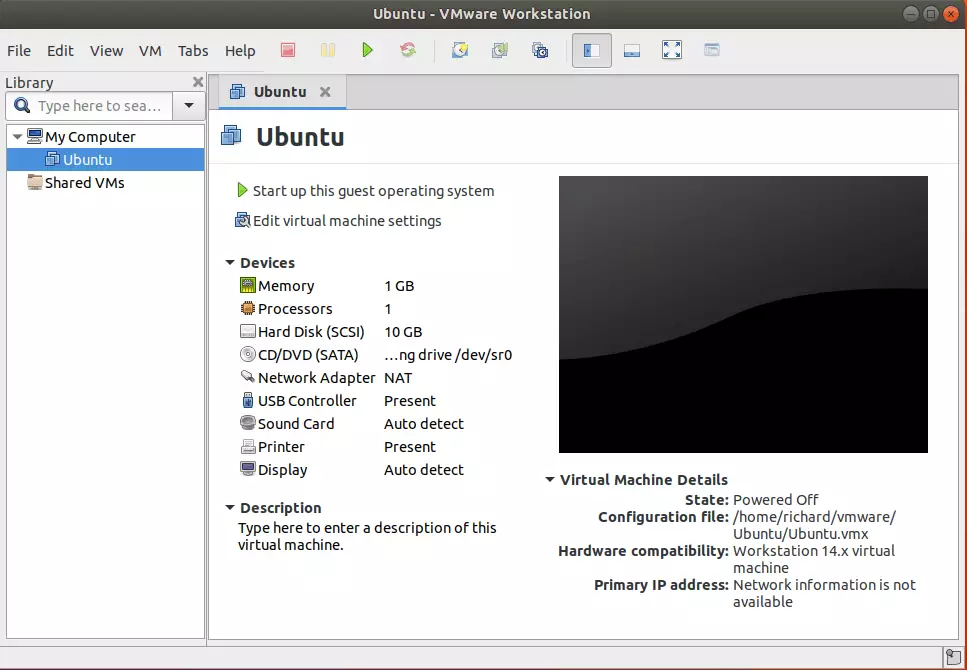
Now that you’ve downloaded the image and created a new guest machine add the ISO image to the guest machine to boot from it. To add the ISO image, select the guest machine and select and click VM –> Settings from the host software menu.
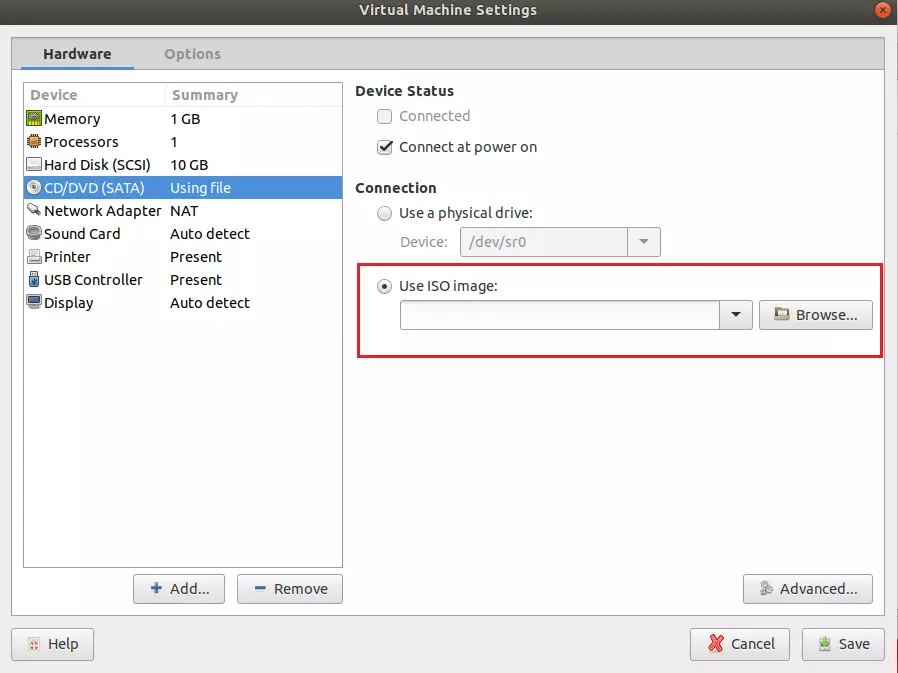
Then select CD/DVD (SATA) from the device list, and to the right, select the option to Use ISO image. Then, browse the ISO image, select it, and save it. Finally, power on the guest machine; in most cases, you should see the Ubuntu installation wizard screen.
Save the settings and start the virtual machine…
When the virtual machine boots up, you should see the Ubuntu installation screen, as shown below….
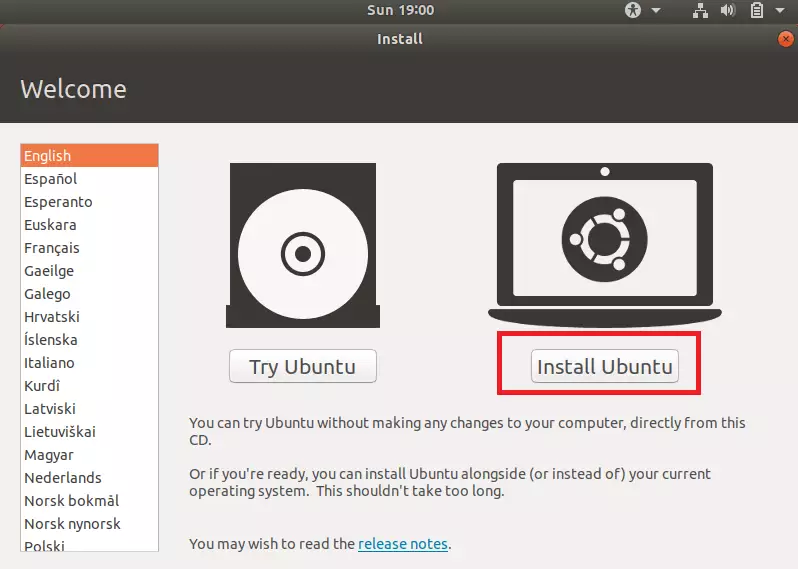
Click the Install Ubuntu button to begin the installation. You could Try Ubuntu without making changes to your computer. But your goal is to install Ubuntu. So click Install Ubuntu to continue.
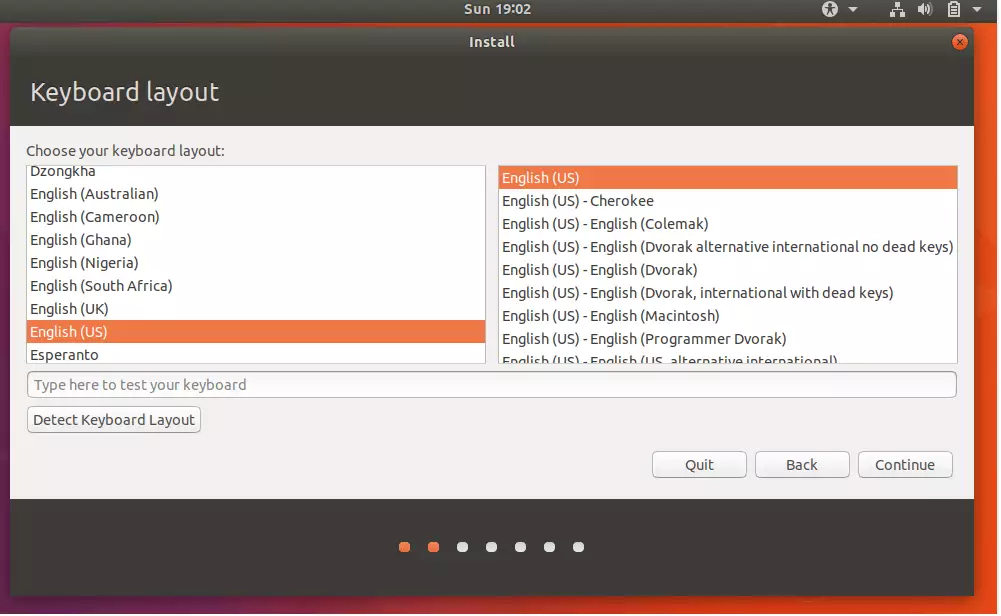
Next, select your Keyboard layout. Ubuntu installation picks the US Keyboard layout by default. This is an excellent place to change it if it’s not your default. Click Continue to move on.

The installation should be prepared to install Ubuntu packages. On this screen, you can Download updates while installing Ubuntu, saving time after installation. And to install third-party software for graphics, Wi-Fi devices, and media codes.
You do not have to select these boxes. I believe installing the software packages is the best way to install Ubuntu. So ignore these choices and continue.
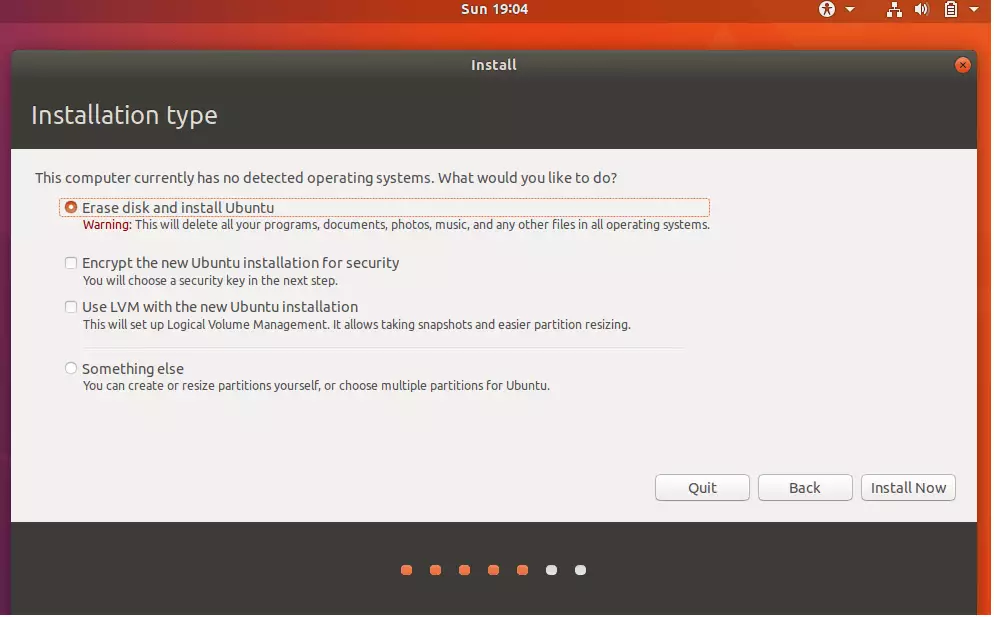
On this screen is where you select the installation type. The first option to Erase the disk and install Ubuntu is the easiest of them. This option deletes everything on the hard drive and installs Ubuntu on it.
Option #2 Something else: Perform a custom installation for advanced users.
You can choose to encrypt Ubuntu and use other advanced settings. But for new users and students, select the first option and continue.
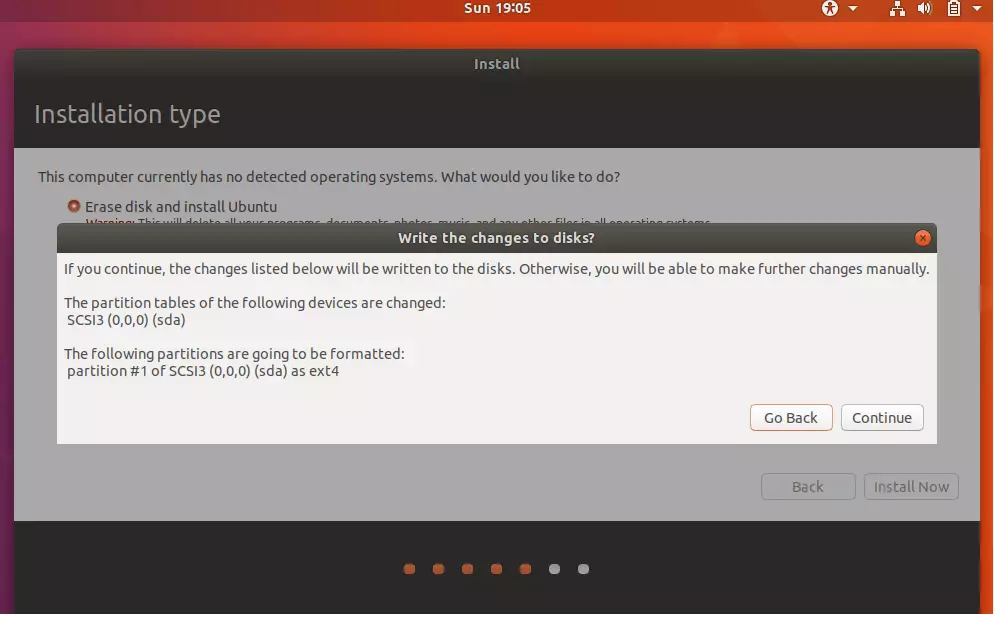
Accept that the installation will erase the hard drive and install Ubuntu. Click Continue to move on.
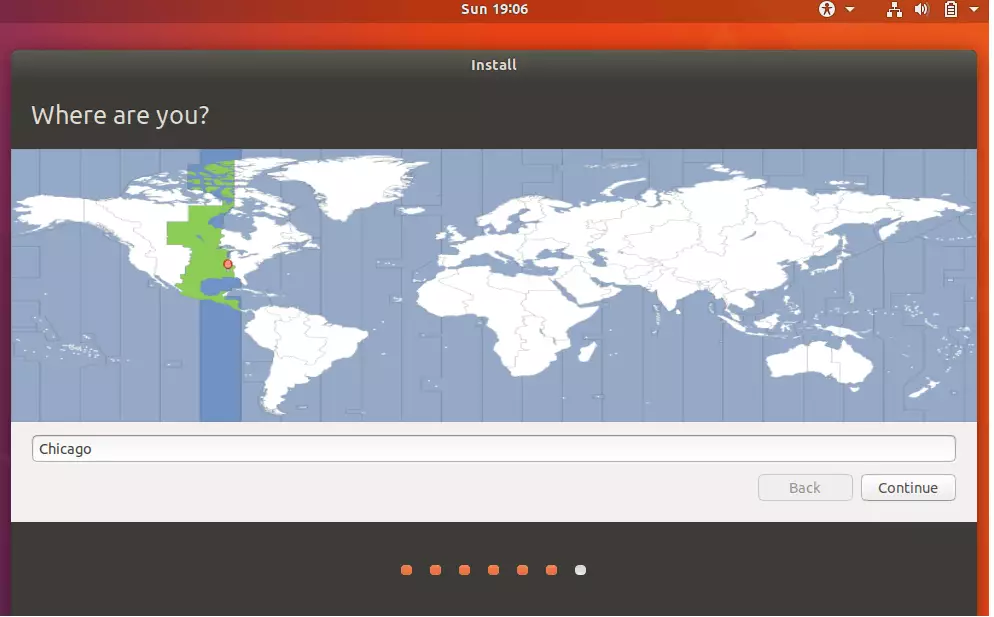
On this screen is where you choose your timezone. Next, type the city name you live in and click Continue.
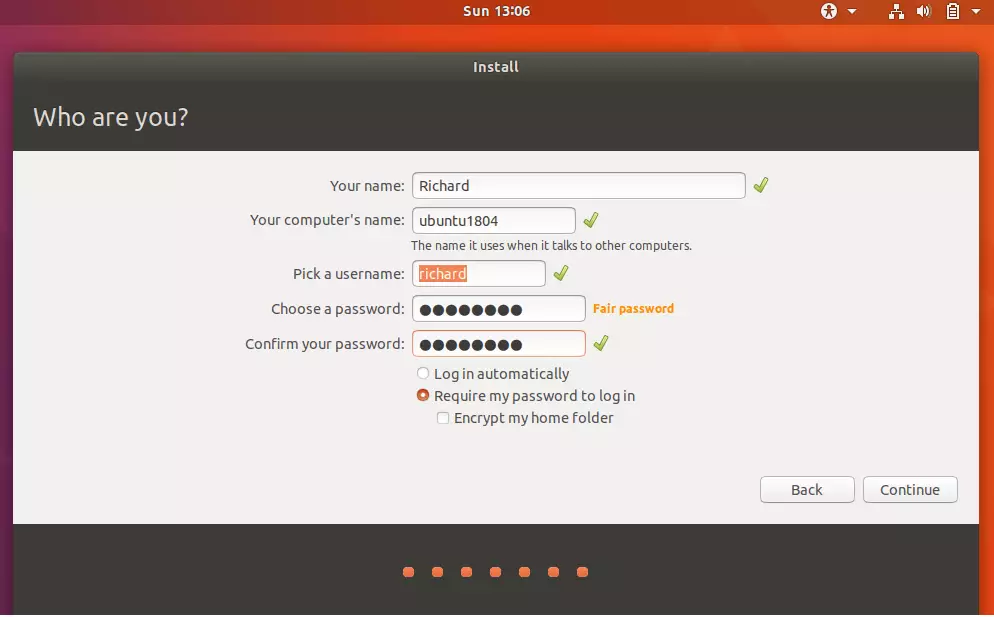
The next screen is where you type the first user account. Type your name, username, and password, and choose whether you always want to type a password to sign in. When you’re done, click Continue.
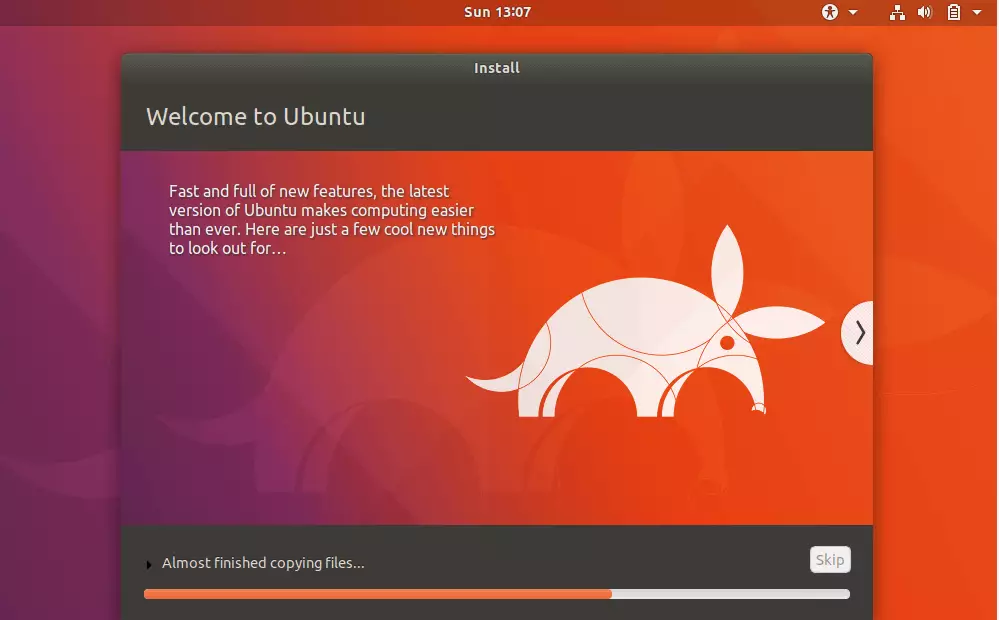
Wait for the installation to complete. This should take about 7 mins, depending on the computer’s speed. When the installation is done, you’ll be prompted to restart.
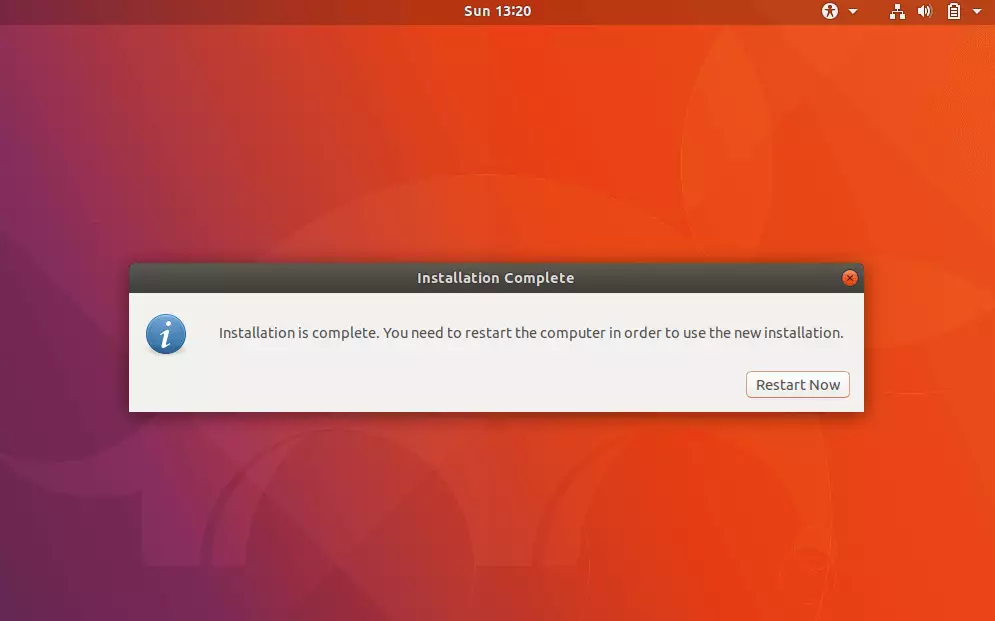
This is the last screen, and the installation is complete. Next, restart your computer, remove the disc from the drive, and log back in.
After logging back into Ubuntu, your first task should be to update Ubuntu. Press Ctrl — Alt — T on your keyboard to open the terminal. Then, run the commands below to update Ubuntu.
sudo apt update && sudo apt dist-upgrade && sudo apt autoremove
Restart once more, and you should be set.
Install VMware Tools Software
To install the VMware Tools on Ubuntu virtual machine operating systems, select the VM from the WMware Workstation application menu and click Install VMware Tools…

This should mount a virtual CD/DVD drive inside the Ubuntu guest machine. When that happens, open the Ubuntu terminal and run the commands below to extract the content from the CD/DVD drive to the /tmp drive by running the commands below.
tar -xvf /media/$USER/"VMware Tools"/VMwareTools*.gz -C /tmp
Next, run the commands below to install the guest tool using the default configuration.
sudo /tmp/vmware-tools-distrib/vmware-install.pl
VMware Tools utility suites are the official tools for VMware Workstation guest machines. You’ll have a series of prompts when you run the commands above the installation.
Do you still want to proceed with this installation? [yes]
Answer Yes to begin the installation and continue answering [Yes] and pressing the Enter key to accept the default directories to install all features and modules… when you’re done, restart, and you’re all set! ~
If you run into issues where the installation cannot find the ifconfig commands, run the commands below to install net tools.
sudo apt install net-tools
Then start the installation over… this time, it should go through.
This is it. A new Ubuntu guest machine should be ready to use
Leave a Reply