This brief tutorial shows students and new users how to install the Apache openCRX CRM platform on Ubuntu 18.04 | 16.04.
Apache openCRX is a Java-based web framework that provides an enterprise-wide CRM platform for businesses that want to manage customer relationships.
openCRX is very flexible and comes with a wide range of modules, including sales generation, sales fulfillment, marketing and service activities to customers, partners, suppliers, and much more right out of the box.
When looking for an open-source enterprise CRM platform for your business, openCRX is an excellent place to start. This open source is built on the Java framework and offers features that help you run your business and collaborate with your customers.
For more about openCRX, please check its homepage.
To get started with installing Apache openCRX on Ubuntu, please follow the steps below:
Install OpenJDK 8
Apache openCRX is a Java-based app, so you’ll need Java installed. First, download the Java 8 Development Kit: the official Oracle or Open JDK.
For this tutorial, we’re going to install OpenJDK.
To do that, run the commands below:
sudo apt update
sudo apt-get install openjdk-8-jdk openjdk-8-doc openjdk-8-jre-lib
After installing Java, you can verify it by running the commands below:
java -version
It should output something similar, as shown below:
Output:
openjdk version "1.8.0_242"
OpenJDK Runtime Environment (build 1.8.0_242-8u242-b08-0ubuntu3~18.04-b08)
OpenJDK 64-Bit Server VM (build 25.242-b08, mixed mode)
After, continue below to install Apache Ant.
Download and Install Ant
Apache Ant is also required to run openCRX.
If you want to download and install Apache Ant yourself manually, follow the steps below:
You can download Ant distribution from the Apache Ant website. Currently, the latest release of Ant is version 1.10.7.
To download, run the commands below, then extract them.
cd /tmp
wget http://mirror.downloadvn.com/apache//ant/binaries/apache-ant-1.10.7-bin.tar.gz
sudo tar -xf apache-ant-1.10.7-bin.tar.gz -C /usr/local
The above command will unpack the Ant distribution to /usr/local/apache-ant-1.10.7
Next, create a symbolic link to the Ant distribution by running the commands below.
sudo ln -s /usr/local/apache-ant-1.10.7/ /usr/local/ant
After that, create an ant.sh file at /etc/profile.d folder.
sudo nano /etc/profile.d/ant.sh
Please copy and paste these lines into the file and save it.
export ANT_HOME=/usr/local/ant
export PATH=${ANT_HOME}/bin:${PATH}
Save the file and exit.
After that, run the command below to activate the above environment variables.
source /etc/profile
You can verify the Ant version by running the commands below:
ant -version
Notice the latest version is now used?
Output:
Apache Ant(TM) version 1.10.7 compiled on September 1 2019
This is how to install Apache Ant on Ubuntu.
Download and install openCRX
Now that Java and Ant are installed run the commands below to download and install the openCRX package. At this time, the latest version of openCRX is 4.2.0.
You can download the latest from the link below:
https://sourceforge.net/projects/opencrx/files/opencrx/4.2.0/
Or use the commands below:
cd /tmp
wget https://sourceforge.net/projects/opencrx/files/opencrx/4.2.0/opencrxServer-4.2.0-installer.jre-1.8.jar
After downloading the file, run the commands below to run the installer.
java -jar opencrxServer-4.2.0-installer.jre-1.8.jar
That should begin the installer wizard. Follow the screenshots below to set up your environment.
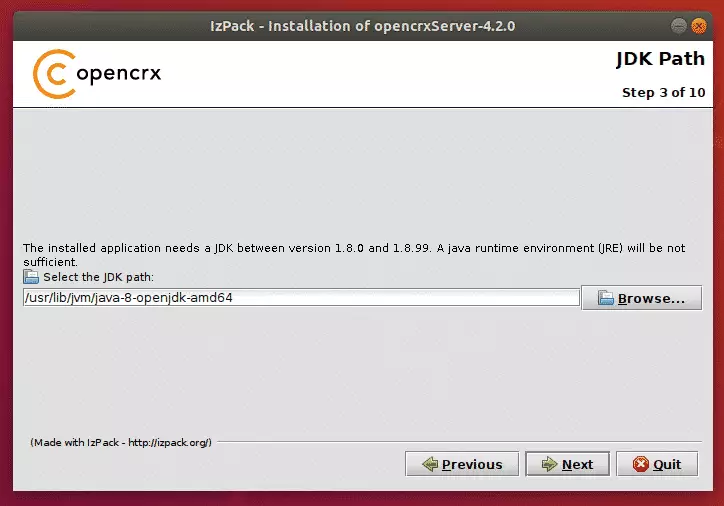
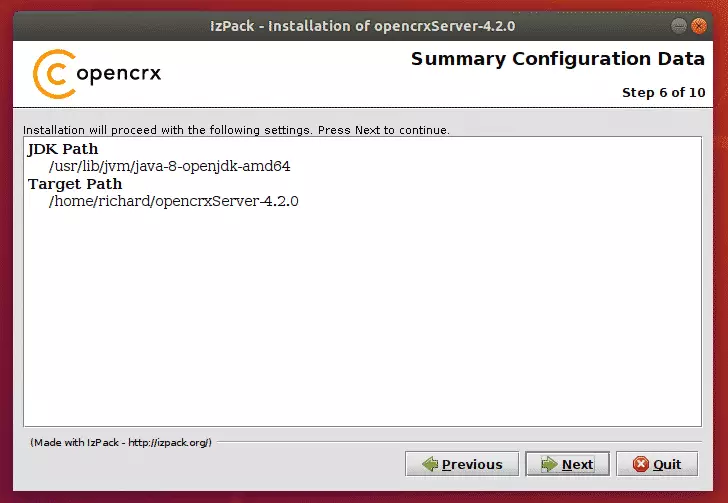
Select the home directory of your JDK 1.8 installation (automatically selected if the environment
variable JAVA_HOME is set) – for example,/usr/lib/jvm/java-8-openjdk-amd64 – and then click
Next to continue:
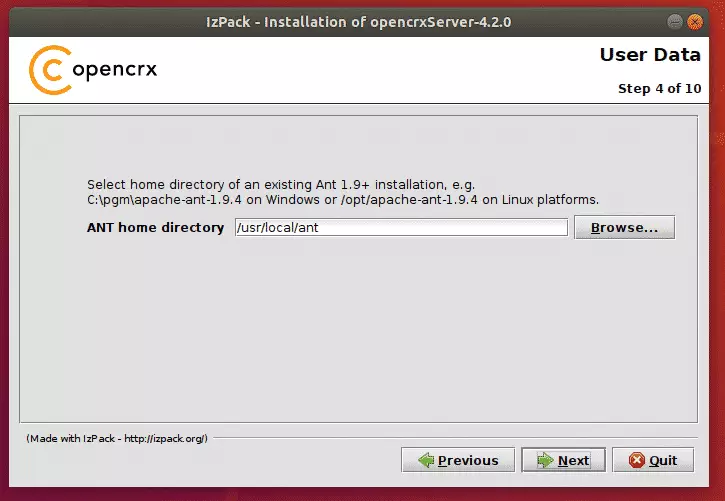
Select the home directory of your Ant installation (automatically selected if the environment
variable ANT_HOME is set correctly) – for example /usr/local/ant – and then click Next
To continue:
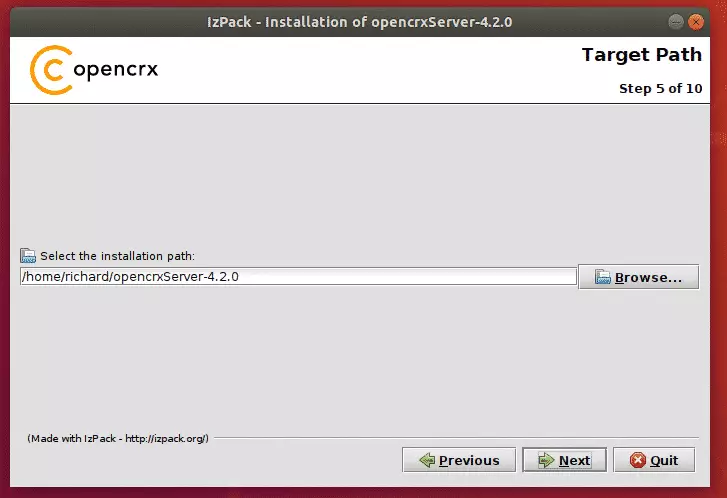
Select the installation directory – for example /home/crx/opencrxServer-4.2.0 – and then click
Next, continue. Note that if you create a new directory, you must confirm
your choice by clicking OK in the respective pop-up.
Verify the configuration and click Next to continue.
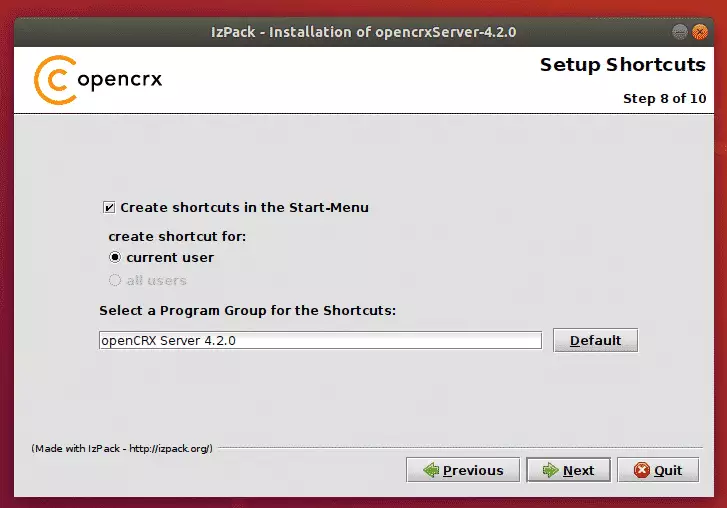
Next, create a shortcut for the current user and continue
After that, the setup should be complete.
Launch the shortcut. Start openCRX Server 4.2.0 (8080).
If you did not create the shortcuts (or if the installer could not create them), you could start
openCRX Server with the command:
cd ~/opencrxServer-4.2.0/apache-tomee-plus-7.0.5/bin
./opencrx.sh run
That should start up the Server.
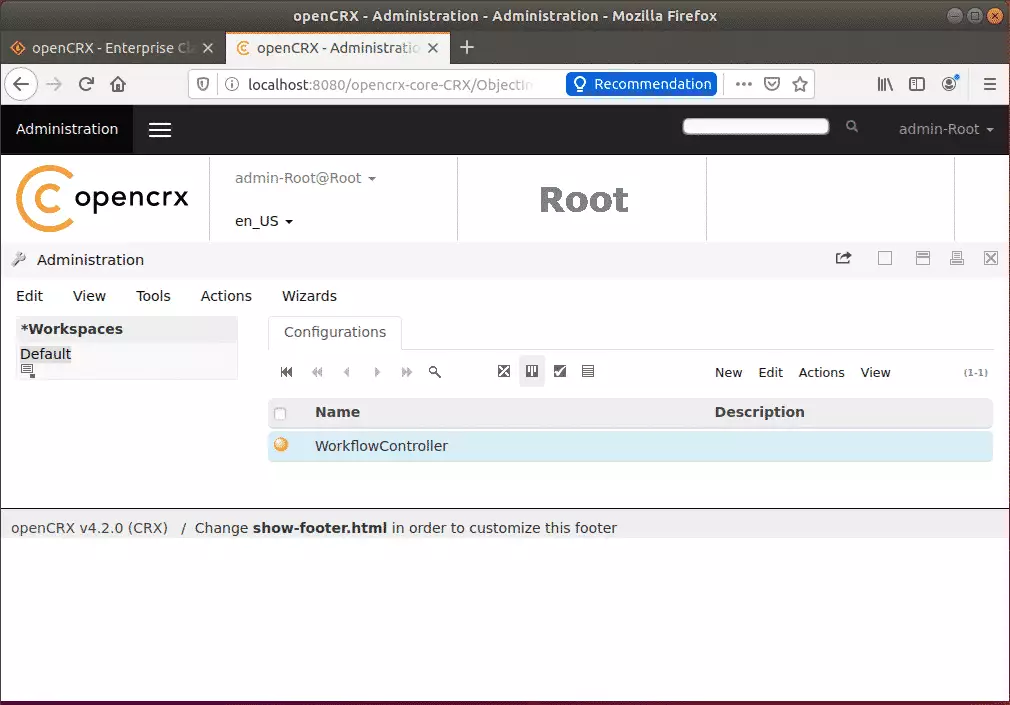
Next, open your browser and browse to the Server’s IP address or hostname and port #8080, followed by: opencrx-core-CRX
http://localhost:8080/opencrx-core-CRX/
Log in with the username and password below:
Username: admin-Root
Password: admin-Root

To change the admin username and password, open the configuration file below:
nano ~/opencrxServer-4.2.0/apache-tomee-plus-7.0.5/conf/tomcat-users.xml
Then edit the highlighted line shown below:
<?xml version='1.0' encoding='utf-8'?>
<tomcat-users>
<role rolename="OpenCrxAdministrator"/>
<role rolename="OpenCrxUser"/>
<role rolename="Guest"/>
<role rolename="OpenCrxRoot"/>
<role rolename="tomcat"/>
<role rolename="manager"/>
<user username="admin-Root" password="admin-Root" roles="OpenCrxRoot,manager"/>
<user username="tomcat" password="tomcat" roles="tomcat"/>
<user username="admin-Standard" password="admin-Standard" roles="OpenCrxAdministrator"/>
<user username="both" password="tomcat" roles="tomcat"/>
<user username="guest" password="guest" roles="OpenCrxUser,Guest"/>
</tomcat-users>
Save the file and exit
That’s it!
Conclusion:
You have learned how to install Apache openCRX on Ubuntu 18.04 | 16.04. If you find any error above, please use the form below to report it.
Thanks,


Leave a Reply