
This brief tutorial shows students and new users how to install MYKI Password Manager on Ubuntu 20.04 | 18.04 LTS systems.
MYKI is a cross-platform password manager that helps secure your password locally across multiple devices. Unlike most password managers, MYKI allows you to use your fingerprint, Face ID, or PIN code to access the app without always needing to type your master password.
MYKI seamlessly syncs across your devices via end-to-end encryption and automatically stores and fills your 2-factor authentication token. At the same time, you browse, providing the convenience of not constantly typing your password to log in online.
Whether you’re a single user or a member of a team of workers for a company, MYKI should work for you.
For more about MYKI, please visit its homepage.
To get started with installing MYKI on Ubuntu, follow the steps below:
There are multiple ways to install MYKI. Below are two methods you can use to get it working in Ubuntu. Choose either one for your environment.
Install via Official DEB Package
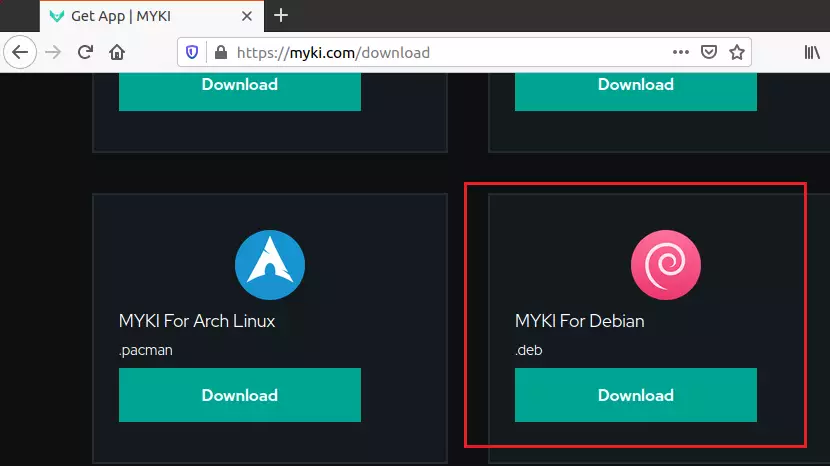
Most Ubuntu users might want to install MYKI from its office DEB package. Simply go to its download page and download a package developed for Debian-based systems, including Ubuntu.
Select the MYKI For Debian (.deb)
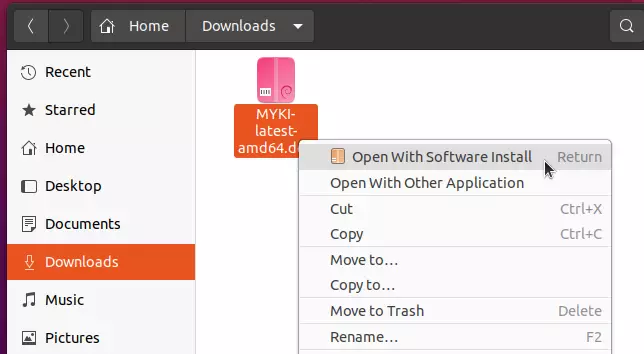
That should get downloaded to the Downloads folder of your home directory. Open Ubuntu File Manager and go to the Downloads folder.
Right-click the downloaded file and select Open With Software Install.
That should open the Ubuntu software installation app. From there, click Install.
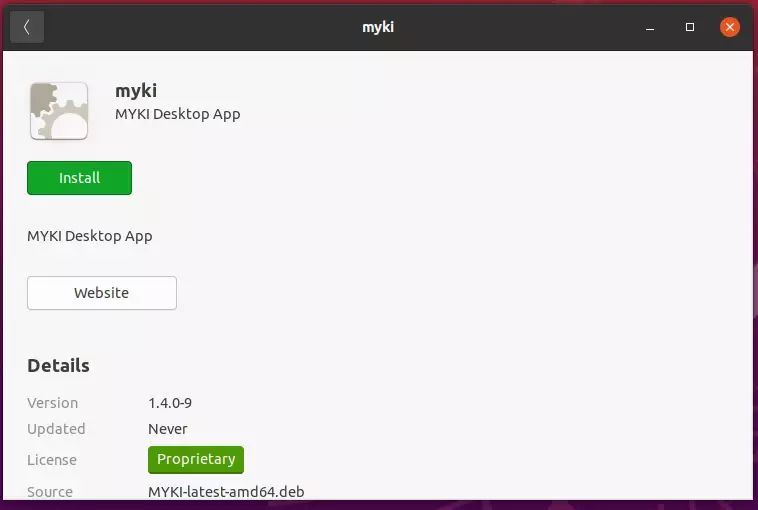
If you get prompted to type your password to it, continue the installation.
After the installation, go to the Activities Overview and search for MYKI. Launch it to open.

Install via Snap
Another way to install MYKI is via Snap package management. Snaps are containerized software packages that are simple to create and install.
Snap applications are packaged with all their dependencies to run on all popular Linux distributions from a single build, allowing them to update automatically and roll back gracefully.
From the same download page, choose the Snap version of the package to download.
To install, simply run the commands below:
sudo apt install snapd
cd ~/Downloads
sudo snap install --dangerous MYKI-latest-amd64.snap
That’s it!
Conclusion:
This post showed you how to install the MYKI password manager on Ubuntu. If you find any error above, please use the form below to report.
Leave a Reply