
This post shows students and new users how to install the open-source project called Mono on Ubuntu 20.04 | 18.04.
Mono is an open-source project that provides a .NET-compatible and C# compiler toolset, making it possible to develop and run C# code on Linux. Installing Mono on Ubuntu Linux is a great choice for developers and users who want to work with C# code on Linux.
With Mono, you can easily build and run .NET applications on Ubuntu Linux without switching to a Windows environment.
Additionally, Ubuntu Linux is a beginner-friendly Linux distribution, making it an ideal choice for students and new users who want to learn Linux and develop C# applications.
Installing Mono on Ubuntu is pretty straightforward. Simply add its repository and install it from there. To do that, follow the steps below:
Add Mono Repository
If you always want to use the Mono version on Ubuntu, add its repository. When its repository is added, all newer versions and updates will be available to install.
To add its repository, run the commands below.
sudo apt update
sudo apt install dirmngr gnupg apt-transport-https ca-certificates
Next, run the commands below to add its repository, key, and repository file to Ubuntu.
sudo apt-key adv --keyserver hkp://keyserver.ubuntu.com:80 --recv-keys 3FA7E0328081BFF6A14DA29AA6A19B38D3D831EF
sudo sh -c 'echo "deb https://download.mono-project.com/repo/ubuntu stable-bionic main" > /etc/apt/sources.list.d/mono-official-stable.list'
That should make the Mono repository available on Ubuntu
Install Mono
Now that the Mono repository and key are added run the commands below to install it.
sudo apt update
sudo apt install mono-complete
If you’re building a .NET project, the easiest way to do it is by using MonoDevelop IDE. To install MonoDevelop, run the commands below:
sudo apt install monodevelop
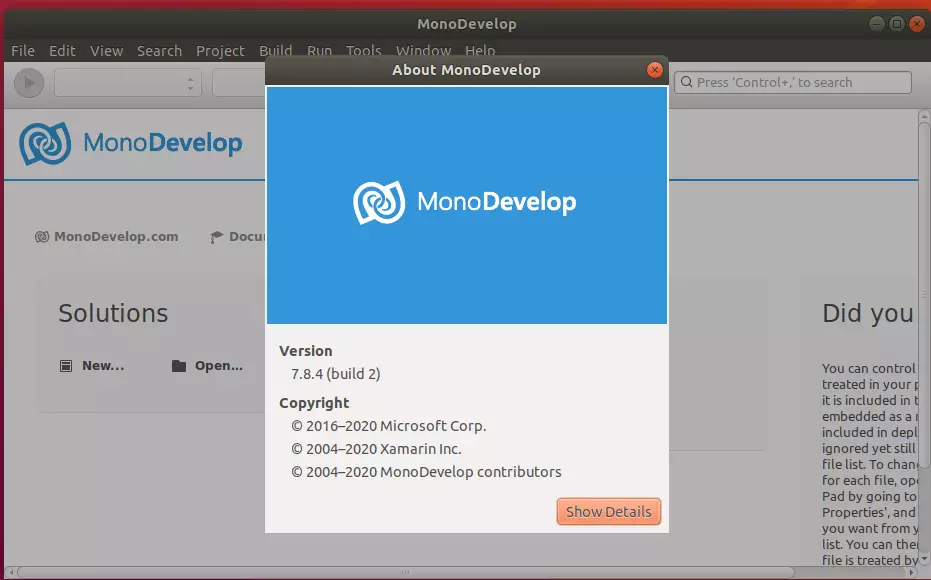
Use MonoDevelop to build your apps.
If you’re running the NUnit Unit Tests, you should install the NUnit Plugin for MonoDevelop. To do that, run the commands below:
sudo apt install monodevelop-nunit
To verify if Mono is installed, run the commands below:
mono --version
You should see similar lines below:
Output:
Mono JIT compiler version 6.6.0.161 (tarball Tue Dec 10 10:36:32 UTC 2019)
Copyright (C) 2002-2014 Novell, Inc, Xamarin Inc and Contributors. www.mono-project.com
	TLS:           __thread
	SIGSEGV:       altstack
	Notifications: epoll
	Architecture:  amd64
	Disabled:      none
	Misc:          softdebug
	Interpreter:   yes
	LLVM:          yes(610)
	Suspend:       hybrid
	GC:            sgen (concurrent by default)
That should do it
Conclusion:
- Installing Mono on Ubuntu 20.04 or 18.04 enables the development and execution of C# applications on Linux.
- The process is straightforward, involving adding the Mono repository and a simple installation command.
- To streamline their project building, developers can utilize MonoDevelop as an integrated development environment (IDE).
- The NUnit Plugin enhances testing capabilities within MonoDevelop, making it easier to run unit tests.
- Mono is a powerful tool for developers looking to leverage .NET technologies in a Linux environment.


Leave a Reply