
This article explains how to install iconCube Loader on Ubuntu Linux.
ionCube Loader is a tool that can be used to encode and secure PHP files and is typically used with commercial PHP applications to provide an additional layer of security. It helps prevent unauthorized access to your PHP code and can help protect your website from hacks and other security threats.
If you are developing or using any PHP applications that need to be secured, you may want to consider installing ionCube Loader on your Ubuntu Linux system. The installation process is relatively straightforward and can be done in just a few simple steps, as outlined in the tutorial I provided earlier.
It’s used chiefly with commercial PHP applications to provide another layer of security in an unpredictable world of website security. On Linux systems, including Ubuntu, it’s installed on the webserver (Physical) and made available to PHP configuration.
To install this PHP tool, follow the steps below:
Download ionCube Loader
There are other ways to install ionCube Loader; however, downloading and installing it manually is the safest way.
On 64-bit systems, use the link below:
cd /tmp && wget http://downloads3.ioncube.com/loader_downloads/ioncube_loaders_lin_x86-64.tar.gz
On 32-bit systems, you can use this link.
cd /tmp && wget http://downloads3.ioncube.com/loader_downloads/ioncube_loaders_lin_x86.tar.gz
After downloading the version for your platform, run the commands below to extract the loader.
tar xfz ioncube_loaders_lin_*.gz
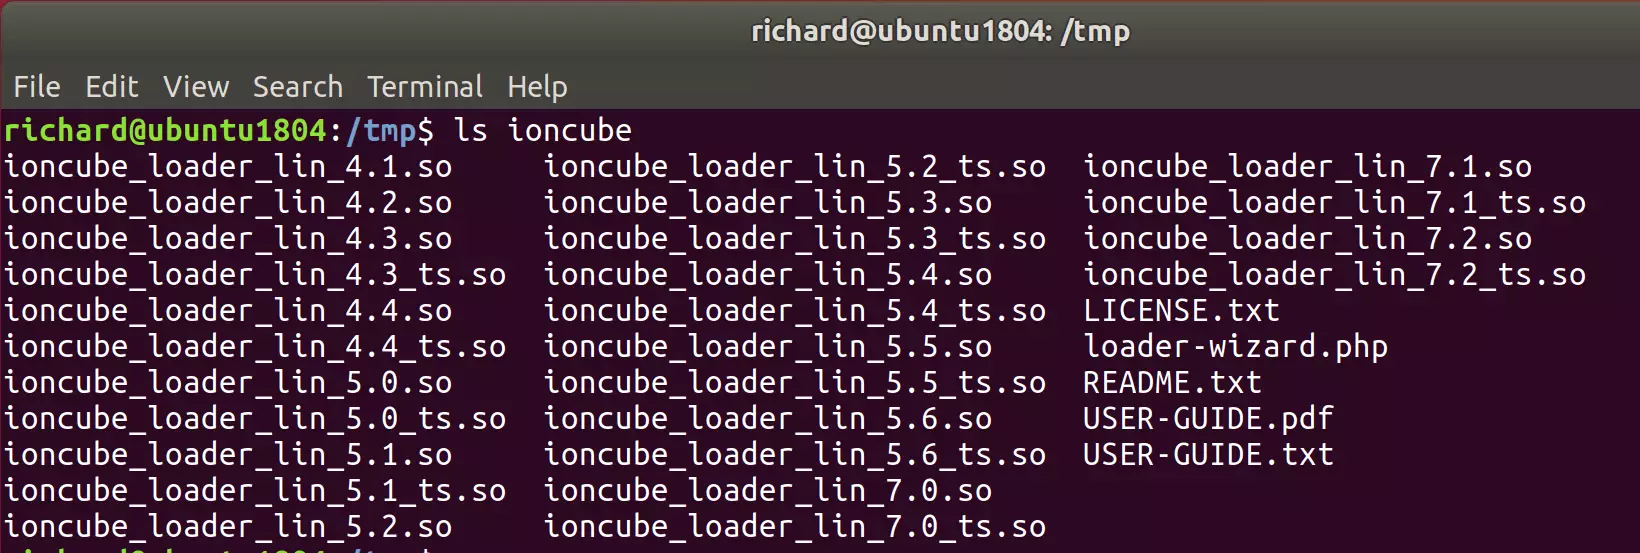
After extracting the list of all ionCube versions.
ls ioncube
Validate PHP Version Installed
Before you begin using a particular ionCube loader version, you must validate the PHP version installed on the system. Then, use that special loader for the specific PHP version.
To see which version of PHP is installed, run the commands below. You should see the PHP version installed on your system.
php -v
Output:
PHP 7.2.3-1ubuntu1 (cli) (built: Mar 14 2018 22:03:58) ( NTS )
Copyright (c) 1997-2018 The PHP Group
Zend Engine v3.2.0, Copyright (c) 1998-2018 Zend Technologies
    with Zend OPcache v7.2.3-1ubuntu1, Copyright (c) 1999-2018, by Zend Technologies
Next, find the PHP extensions directory on the system by running the commands below
php -i | grep extension_dir
Output:
extension_dir => /usr/lib/php/20170718 => /usr/lib/php/20170718
You should see the directory PHP uses for its extensions.
Next, copy the ionCube loader into the PHP directory above by running the commands below. Do this for each loader for the particular PHP version.
sudo cp /tmp/ioncube/ioncube_loader_lin_7.1.so /usr/lib/php/20170718/
sudo cp /tmp/ioncube/ioncube_loader_lin_7.2.so /usr/lib/php/20170718/
When finished, open the default PHP config file and include the loader.
Use ionCube Loader with PHP
Now that you’ve downloaded, extracted, and copied the ionCube loader to the PHP directory, open the PHP configuration file and include the loader.
PHP with Nginx
sudo nano /etc/php/7.2/fpm/php.ini
PHP with Apache2
sudo nano /etc/php/7.2/apache2/php.ini
PHP with CLI
sudo nano /etc/php/7.2/cli/php.ini
PHP with CGI
sudo nano /etc/php/7.2/cgi/php.ini
Then, add a line in the file to include the ionCube loader. It can be anywhere in the file below the [PHP] line. However, you’ll need to specify the exact location of the loader you copied above.
zend_extension = /usr/lib/php/20170718/ioncube_loader_lin_7.2.so
Save the file and restart PHP and the web server.
sudo systemctl restart apache2.service
sudo systemctl restart php7.2-fpm.service
Now check PHP to see all modules installed. You should see the output below when you run the PHP CLI command if you add it to the CLI config.
php -v
Output:
PHP 7.2.3-1ubuntu1 (cli) (built: Mar 14 2018 22:03:58) ( NTS )
Copyright (c) 1997-2018 The PHP Group
Zend Engine v3.2.0, Copyright (c) 1998-2018 Zend Technologies
    with the ionCube PHP Loader (enabled) + Intrusion Protection from ioncube24.com (unconfigured) v10.2.0, Copyright (c) 2002-2018, by ionCube Ltd.
    with Zend OPcache v7.2.3-1ubuntu1, Copyright (c) 1999-2018, by Zend Technologies
Enjoy!
Leave a Reply