
This brief tutorial shows students and new users how to install and configure the Apache Guacamole Remote Desktop Connection (RDP) tool on Ubuntu 20.04 | 18.04.
Apache Guacamole is a free, open-source, clientless remote desktop gateway for those who don’t know. It supports standard protocols like VNC, RDP, and SSH.
Installing Apache Guacamole on Ubuntu Linux allows you to access remote machines using standard protocols such as VNC, RDP, and SSH without installing client software on your local machine. Its clientless remote desktop gateway uses HTML5, which enables you to connect to the server via a web browser from anywhere with an internet connection.
This makes it convenient for remote workers, system administrators, and anyone who needs to access remote machines securely and efficiently. Additionally, Apache Guacamole is an open-source and free tool that makes it accessible to everyone.
To get started with installing Apache Guacamole on Ubuntu, please follow the steps below:
Install dependencies
Before installing Guacamole, you must install the required dependencies to build it from the source.
Run the commands below to update Ubuntu and install these packages.
sudo apt update
sudo apt install make gcc g++ libcairo2-dev libjpeg-turbo8-dev libpng-dev libtool-bin libossp-uuid-dev libavcodec-dev libavutil-dev libswscale-dev freerdp2-dev libpango1.0-dev libssh2-1-dev libvncserver-dev libtelnet-dev libssl-dev libvorbis-dev libwebp-dev
After installing the packages above, continue below.
Install Tomcat Server
Apache Guacamole uses Tomcat to connect clients to remote hosts via its web portal.
Since you’ll need Tomcat, run the commands below to install version 9 on Ubuntu quickly.
sudo apt install tomcat9 tomcat9-admin tomcat9-common tomcat9-user
After installing Tomcat above, the commands below can be used to start and enable it to start automatically when you boot up the machine.
sudo systemctl start tomcat9
sudo systemctl enable tomcat9
To verify that Tomcat is installed and running, run the commands below:
sudo systemctl status tomcat9
That will display similar lines as below:
● tomcat9.service - Apache Tomcat 9 Web Application Server
     Loaded: loaded (/lib/systemd/system/tomcat9.service; enabled; vendor prese>
     Active: active (running) since Fri 2021-02-26 16:12:16 CST; 55s ago
       Docs: https://tomcat.apache.org/tomcat-9.0-doc/index.html
   Main PID: 8809 (java)
      Tasks: 29 (limit: 4654)
     Memory: 81.0M
     CGroup: /system.slice/tomcat9.service
             └─8809 /usr/lib/jvm/default-java/bin/java -Djava.util.logging.conf>

Feb 26 16:12:27 ubuntu2004 tomcat9[8809]: Deployment of deployment descriptor [>
Install Guacamole
Ubuntu doesn’t have Guacamole packages in its repositories. To install Guacamole in Ubuntu, you must compile and build the source yourself.
The steps below will show you how to do that.
To start compiling Guacamole, run the commands below to download version 1.3.0.
cd /tmp
wget https://downloads.apache.org/guacamole/1.3.0/source/guacamole-server-1.3.0.tar.gz
Once downloaded, run the commands below to extract the download package.
tar -xvzf guacamole-server-1.3.0.tar.gz
After extracting the file, change it into the extracted folder and run the commands below to ensure all requirements are met.
cd guacamole-server-1.3.0
sudo ./configure --with-init-dir=/etc/init.d
When you run the above, you’ll see confirmations that packages and requirements are met. When everything is checked out, run the commands below to begin the installation.
sudo make
sudo make install
sudo ldconfig
After installation, the commands below can start and enable the Guacamole service to always start when the system is booted.
sudo systemctl enable guacd
sudo systemctl start guacd
To verify that Guacamole is installed and functioning, run the commands below:
sudo systemctl status guacd
That should display something similar to the lines below:
● guacd.service - LSB: Guacamole proxy daemon
     Loaded: loaded (/etc/init.d/guacd; generated)
     Active: active (running) since Fri 2021-02-26 16:22:10 CST; 8s ago
       Docs: man:systemd-sysv-generator(8)
    Process: 20381 ExecStart=/etc/init.d/guacd start (code=exited, status=0/SUC>
      Tasks: 1 (limit: 4654)
     Memory: 10.0M
     CGroup: /system.slice/guacd.service
             └─20384 /usr/local/sbin/guacd -p /var/run/guacd.pid

Feb 26 16:22:10 ubuntu2004 systemd[1]: Starting LSB: Guacamole proxy daemon.
Install Guacamole Client
After installing the server above, continue below to install its client. The client is Java-based and uses HTML5 to make connections to remote machines.
Run the commands below to download the Java client.
wget https://mirrors.estointernet.in/apache/guacamole/1.3.0/binary/guacamole-1.3.0.war
After downloading the file, copy it to the
sudo mkdir /etc/guacamole
sudo mv guacamole-1.3.0.war /etc/guacamole/guacamole.war
After that, run the commands below to create a symbolic link of the guacamole client to the Tomcat webapps directory.
sudo ln -s /etc/guacamole/guacamole.war /var/lib/tomcat9/webapps/
When you’re done, restart Tomcat8 and Guacamole services.
sudo systemctl restart tomcat9
sudo systemctl restart guacd
After restarting, continue below.
Configure Guacamole
At this point, you’ll want to configure the Guacamole configuration file. Run the commands below to create a config properties file.
sudo nano /etc/guacamole/guacamole.properties
Add these lines into the save.
guacd-hostname: localhost
guacd-port: 4822
user-mapping: /etc/guacamole/user-mapping.xml
Save the exit when done.
Next, run the commands below to create two directories for libraries and extensions.
sudo mkdir /etc/guacamole/{extensions,lib}
You’ll also want to set the guacamole home directory environment variable in the/etc/default/tomcat9 configuration file.
sudo sh -c "echo 'GUACAMOLE_HOME=/etc/guacamole' >> /etc/default/tomcat9"
After that, create a user-mapping.xml file. This file will contain settings to access the web portal.
You’ll need a password hash for the user-mapping configuration. To generate a password, use the commands below.
echo -n type_your_password_here | openssl md5
Replace type_your_password_here with your actual password. That should put a password hash. Copy the hash value to use in the config below.
(stdin)= 36160e235d67eb4d4e234r449a4798ee37a8d
Next, run the commands below to create a new user-mapping.xml
sudo nano /etc/guacamole/user-mapping.xml
Then copy and paste the content below into the file and save it.
<user-mapping>
<authorize
username="admin"
password="36160e235d67eb4d4e234r449a4798ee37a8d"
encoding="md5">
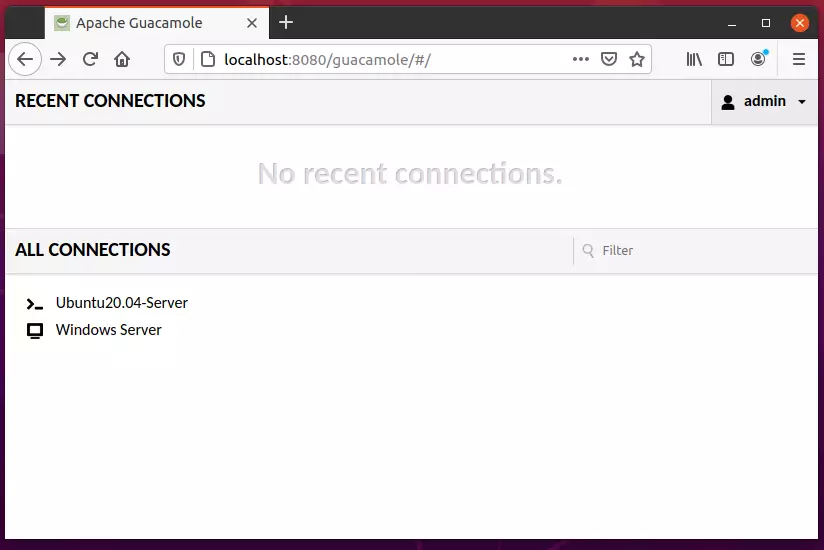
<connection name="Ubuntu20.04-Server">
<protocol>ssh</protocol>
<param name="hostname">192.168.1.2</param>
<param name="port">22</param>
<param name="username">root</param>
</connection>
<connection name="Windows Server">
<protocol>rdp</protocol>
<param name="hostname">192.168.2.3</param>
<param name="port">3389</param>
</connection>
</authorize>
</user-mapping>
Save and exit.
Next, restart the Tomcat and Guacamole service to apply the changes.
sudo systemctl restart tomcat9
sudo systemctl restart guacd
That should do it.
Open your browser and browse to the server hostname or IP address as shown below:
http://localhost:8080/guacamole
You should then see the Guacamole portal to log in.
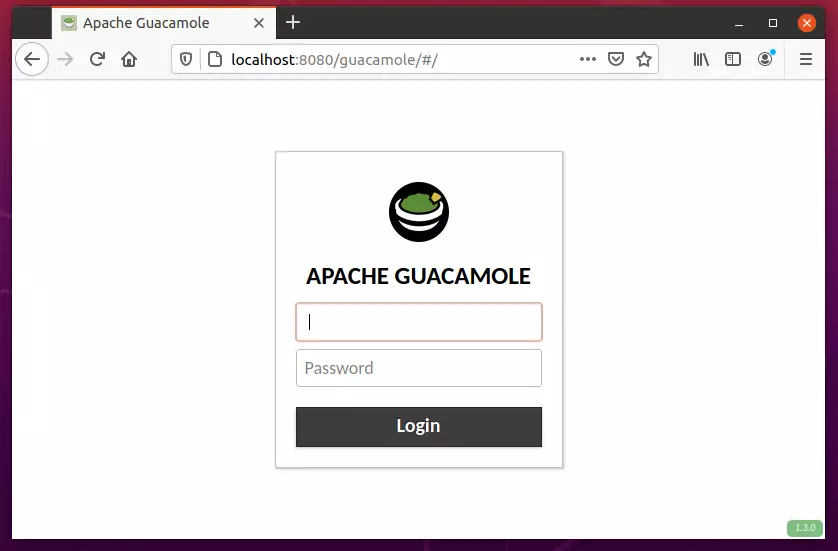
Enter the username and password you defined in the user-mapping file above.
That’s it!
Conclusion:
This post showed you how to install Apache guacamole on Ubuntu 20.04 | 18.04. If you find any error above, please use the form below to report.
Leave a Reply