
This brief tutorial shows students and new users how to install Ansible with AWX on Ubuntu 18.04 | 16.04.
Ansible is an open-source software provisioning, configuration management, and application-deployment tool that allows configuration managers painless processes to manage and deploy applications and services across diverse environments.
Installing Ansible with AWX on Ubuntu Linux provides a convenient and efficient way to manage and automate Ansible playbooks, inventories, secrets, and scheduled jobs from a web-based user interface.
AWX is built on Ansible and provides a REST API and task engine. With AWX, users can easily manage and deploy applications and services across diverse environments. The installation process outlined in the tutorial is straightforward, making it an excellent option for students and new users who want to learn how to use Ansible and AWX to automate their infrastructure.
To get started with installing Ansible AWX on Ubuntu, follow the steps below:
Install Docker and Docker Compose
Docker has two editions: The Enterprise Edition (EE) and the Community Edition (CE).
For this tutorial, we will install the community edition of Docker.
If you always want to get the latest version of Docker on Ubuntu automatically, you must add its official repository to the Ubuntu system. To do that, run the commands below to install prerequisite packages.
sudo apt update
sudo apt-get install apt-transport-https ca-certificates curl gnupg-agent software-properties-common
Next, run the commands below to download and install Docker’s official GPG key. The key validates packages installed from Docker’s repository, ensuring they’re trusted.
curl -fsSL https://download.docker.com/linux/ubuntu/gpg | sudo apt-key add -
sudo apt-key fingerprint 0EBFCD88
You should see an output shown below:
Output:
pub   rsa4096 2017-02-22 [SCEA]
      9DC8 5822 9FC7 DD38 854A  E2D8 8D81 803C 0EBF CD88
uid           [ unknown] Docker Release (CE deb) <[email protected]>
sub   rsa4096 2017-02-22 [S]
Now that the official GPG key has been installed, run the commands below to add its stable repository to Ubuntu. To add the nightly or test repository, add the word nightly or test (or both) after the word stable in the commands below.
sudo add-apt-repository "deb [arch=amd64] https://download.docker.com/linux/ubuntu $(lsb_release -cs) stable"
At this point, Docker’s official GPG and repository should be installed on Ubuntu.
For those who currently have older versions of Docker, run the commands below to remove them.
sudo apt-get remove docker docker-engine docker.io containerd runc
When you have removed all previous versions of Docker, run the commands below to install the latest and current stable version of Docker.
To install a specific version of Docker, run the apt-cache command. Then, select the version to install.
apt-cache madison docker-ce

Output:
docker-ce | 5:18.09.5~3-0~ubuntu-bionic | https://download.docker.com/linux/ubuntu bionic/stable amd64 Packages
docker-ce | 5:18.09.4~3-0~ubuntu-bionic | https://download.docker.com/linux/ubuntu bionic/stable amd64 Packages
docker-ce | 5:18.09.3~3-0~ubuntu-bionic | https://download.docker.com/linux/ubuntu bionic/stable amd64 Packages
docker-ce | 5:18.09.2~3-0~ubuntu-bionic | https://download.docker.com/linux/ubuntu bionic/stable amd64 Packages
.
Now, to install a specific version, run the commands below with the version you wish to install
sudo apt-get install docker-ce=5:18.09.5~3-0~ubuntu-bionic docker-ce-cli=5:18.09.5~3-0~ubuntu-bionic containerd.io
If you want the latest version without specifying the above, run the commands below. The command below will always install the highest possible version.
sudo apt update
sudo apt-get install docker-ce docker-ce-cli containerd.io
That should install Docker software on Ubuntu.
Add your account to the Docker group and restart.
sudo usermod -aG docker $USER
sudo systemctl restart docker
Verify that Docker CE is installed correctly by running the hello-world image. Run the commands below:
sudo docker run hello-world
You should see a similar line below:
Output:
Hello from Docker!
This message shows that your installation appears to be working correctly.
The Docker is installed correctly!
Install Docker Compose
You can download the Docker Compose binary on Ubuntu Linux from the Compose repository release page on GitHub.
To install it, run the commands below to download version 1.24.0. As of this writing, this is the current version.
sudo curl -L "https://github.com/docker/compose/releases/download/1.24.0/docker-compose-$(uname -s)-$(uname -m)" -o /usr/local/bin/docker-compose
To install a different version of Compose, substitute 1.24.0 with the version of Compose you want to use.
After downloading it, run the commands below to apply executable permissions to the binary file and create a symbolic link to /usr/binary
sudo chmod +x /usr/local/bin/docker-compose
sudo ln -s /usr/local/bin/docker-compose /usr/bin/docker-compose
That should get Docker Compose working. To test, run the commands below:
docker-compose --version
You should see a similar output as below:
Output:
docker-compose version 1.24.0, build 0aa59064
This is how to install Docker and Docker Compose on Ubuntu
Install Ansible
Now that Docker and Docker Compose are installed use the commands below to install the latest version of Ansible.
echo "deb http://ppa.launchpad.net/ansible/ansible/ubuntu bionic main" | sudo tee /etc/apt/sources.list.d/ansible.list
sudo apt-key adv --keyserver keyserver.ubuntu.com --recv-keys 93C4A3FD7BB9C367
sudo apt update
sudo apt install ansible
After installing, you can use the commands below to verify that Ansible is installed and show its version number.
ansible --version
The commands should output similar lines as shown below
ansible 2.9.6
  config file = /etc/ansible/ansible.cfg
  configured module search path = [u'/home/richard/.ansible/plugins/modules', u'/usr/share/ansible/plugins/modules']
  ansible python module location = /usr/lib/python2.7/dist-packages/ansible
  executable location = /usr/bin/ansible
  python version = 2.7.17 (default, Nov  7 2019, 10:07:09) [GCC 7.4.0]
Install AWX
At this point, Docker, Docker Compose, and Ansible should be installed.
Next, follow the steps below to install AWX. First, install and configure a few prerequisite packages.
sudo apt install nodejs npm
sudo npm install npm --global
sudo apt install python-pip git pwgen
pip install docker
Next, clone the AWX source code from GitHub using the git command.
cd ~/
git clone --depth 50 https://github.com/ansible/awx.git
Change into the installer folder.
cd ~/awx/installer/
Generate AWX secret key using the commands below. You’ll need this key in the configuration file below:
pwgen -N 1 -s 30
It should output a string similar to the one below. Copy and save it somewhere.
vqr6egDqcJpE4VVJ8tMlfAcFrHz7gY
After that, open the inventory file, add the secret key generated above, and save the file.
nano inventory
Edit the highlighted line and save the file.
# This will create or update a default admin (superuser) account in AWX, if not provided
# then these default values are used
admin_user=admin
admin_password=password

# Whether or not to create preload data for demonstration purposes
create_preload_data=True

# AWX Secret key
# It's *very* important that this stay the same between upgrades or you will lose the ability to decrypt
# your credentials
secret_key=vqr6egDqcJpE4VVJ8tMlfAcFrHz7gY

# Build AWX with official logos
Next, run the ansible-playbook command below to install and configure its environment.
The name of the playbook file is install.yml.
ansible-playbook -i inventory install.yml
After a brief moment, the setup should be complete.
Open your browser and browse to the server hostname or IP address.
http://localhost
That should bring up the AWX portal to log in.
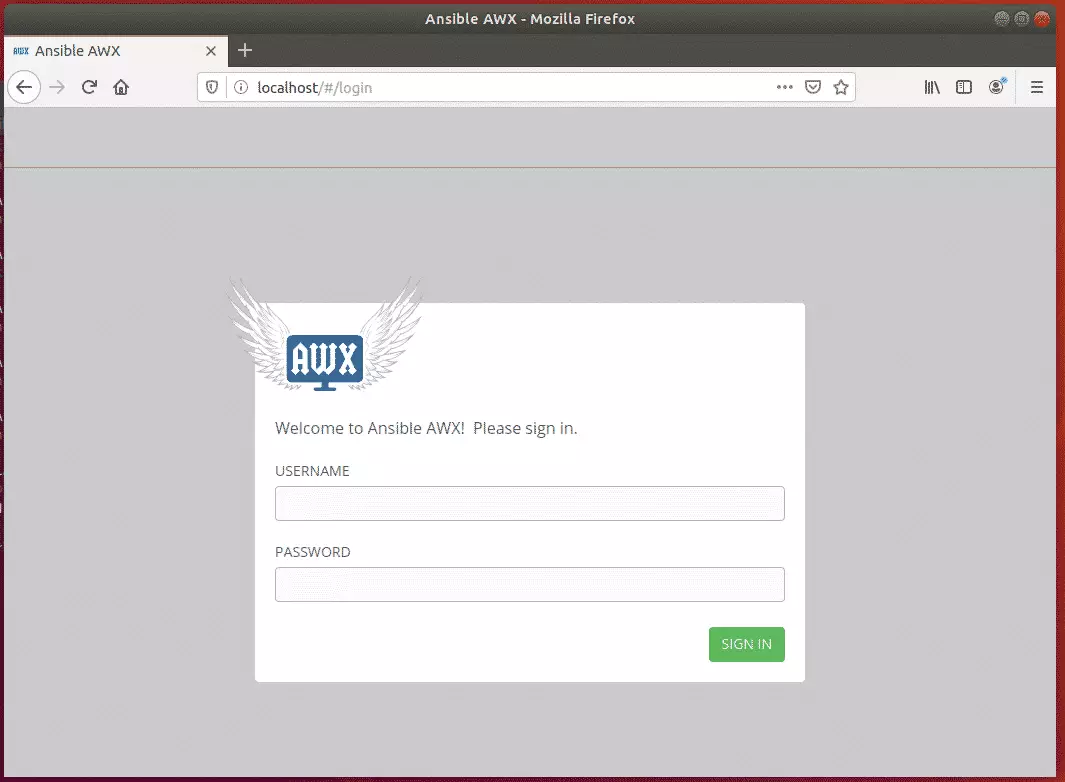
Log in with the username and password in the configuration file above.
The default is admin and password
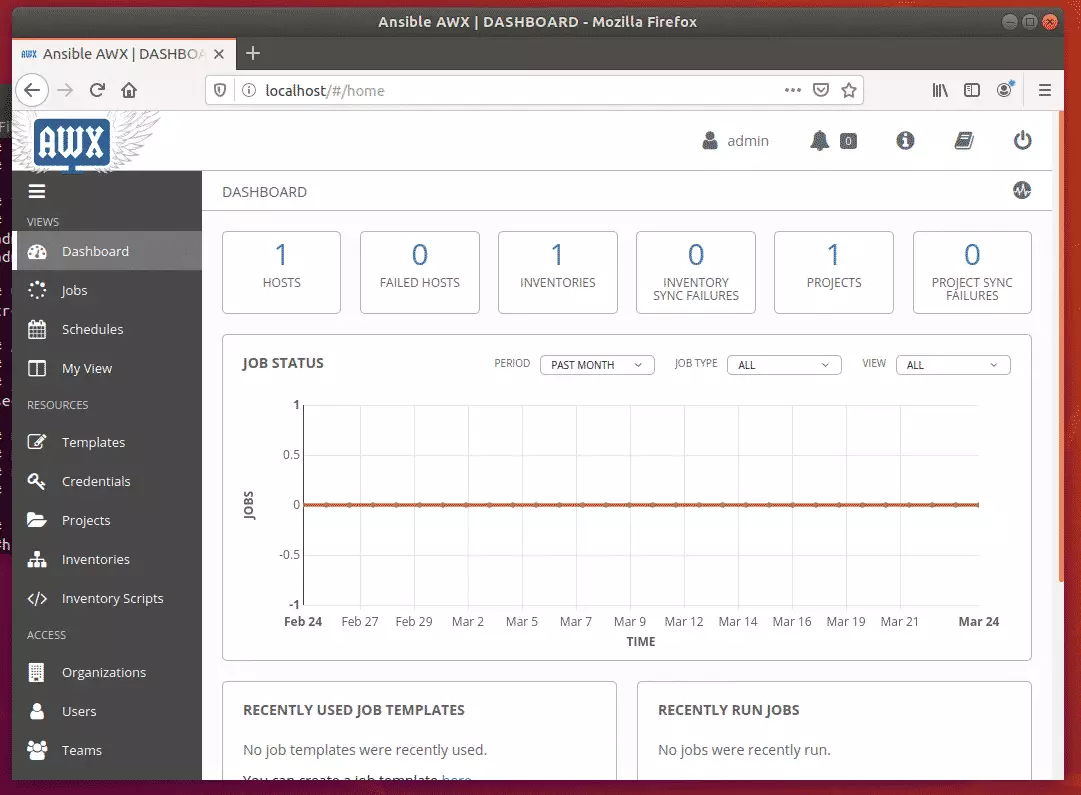
Enjoy!
Conclusion:
This post showed you how to install and configure Ansible AWX on Ubuntu 18.04 | 16.04. If you find any error above, please use the comment form below to report.
Thanks,
You may also like the post below:
Leave a Reply