This brief tutorial shows students and new users how to install Wekan on Ubuntu 18.04 | 16.04.
For the uninitiated, Wekan is an open-source Kanban board built with the Meteor JavaScript framework. It is one of many alternatives to Trello, providing almost the same features and capabilities.
Kanban board is an agile project management tool designed to help visualize work and help teams complete tasks efficiently and collaboratively.
If you’re looking for an open-source Kanban board platform that is easy to use and manage, then Wekan is a great place to start.
For more about Wekan, please check its homepage.
To get started with installing Wekan, follow the steps below:
Create Wekan User
Since we want Wekan to run as its user instead of a root account, run the commands below to create a new user account.
The second command will prompt you to create a new password for the account.
sudo useradd -m -s /bin/bash wekan
sudo passwd wekan
When you create a password above, it should display a success message similar to the one below:
Output:
Enter new UNIX password:
Retype new UNIX password:
passwd: password updated successfully
That should create a new account that we can use to run the Wekan service.
Install Nodejs
Because we want weekend users to run as a service for the app, run the commands below to assume the wekan user account and install Nodejs.
su - wekan
curl -o- https://raw.githubusercontent.com/creationix/nvm/v0.33.8/install.sh | bash
That should get Nodejs installed.
While still running as wekan user, run the commands below to install nvm.
source ~/.bashrc
nvm install v4.8
nvm use node
The above steps will get Nodejs and NVM installed.
Exit from the wekan account.
Install MongoDB
To get the latest version of MongoDB, you must add its repository to Ubuntu. To do that, run the commands below to add the official repository key.
sudo apt-key adv --keyserver hkp://keyserver.ubuntu.com:80 --recv 2930ADAE8CAF5059EE73BB4B58712A2291FA4AD5
After adding the repository key to Ubuntu, run the commands below to add the MongoDB repository to your system.
echo "deb [ arch=amd64,arm64 ] https://repo.mongodb.org/apt/ubuntu xenial/mongodb-org/3.6 multiverse" | sudo tee /etc/apt/sources.list.d/mongodb-org-3.6.list
Now that the repository and key have been added to Ubuntu, run the commands below to install the package.
sudo apt update
sudo apt install -y mongodb-org
After installing MongoDB, the commands below can be used to stop, start and enable MongoDB to automatically startup when the system boots up.
sudo systemctl stop mongod.service
sudo systemctl start mongod.service
sudo systemctl enable mongod.service
By default, MongoDB listens on port 27017. after installing, the local server should be able to communicate with MongoDB. To verify whether MongoDB is running and active, run the commands below:
sudo systemctl status mongod
You should see something like the lines below:
richard@ubuntu1604:~$ sudo systemctl status mongod
● mongod.service - High-performance, schema-free document-oriented database
   Loaded: loaded (/lib/systemd/system/mongod.service; enabled; vendor preset: enabled)
   Active: active (running) since Sat 2018-01-27 08:53:42 CST; 13min ago
     Docs: https://docs.mongodb.org/manual
 Main PID: 2383 (mongod)
    Tasks: 23
   Memory: 60.7M
      CPU: 2.613s
   CGroup: /system.slice/mongod.service
           └─2383 /usr/bin/mongod --config /etc/mongod.conf

Jan 27 08:53:42 ubuntu1604 systemd[1]: Started High-performance, schema-free document-oriented database.
Jan 27 09:05:49 ubuntu1604 systemd[1]: Started High-performance, schema-free document-oriented database.
To connect to the MongoDB shell, run the commands below:
mongo --host 127.0.0.1:27017
After installing MongoDB, you can run the commands below to create a new password for the admin and set a role.
If you want to enable authentication, run the commands to create a new admin user after you’ve logged into the MongoDB server.
> use admin
Then run the commands below to create a new admin user
> db.createUser({user:"admin", pwd:"new_password_here", roles:[{role:"root", db:"admin"}]})
You should see a successful admin user-created
Successfully added user: {
	"user" : "admin",
	"roles" : [
		{
			"role" : "root",
			"db" : "admin"
		}
	]
}
Exit and continue below to enable MongoDB login authentication
After that, exit, then go and configure MongoDB authentication
sudo nano /etc/mongod.conf
Then update the lines
security:
authorization: enabled
Restart MongoDB when one.
sudo systemctl restart mongod
After setting the above configurations, create a wekan user in the database.
mongo -u admin -p
Then add the wekan user access using the lines below:
use wekan
db.createUser(
{
user: "wekan",
pwd: "new_password_here",
roles: ["readWrite"]
    }
)
When you’re done, continue below to install Wekan
Install Wekan
At this point, all should be set up and ready to install Wekan.
Assume the wekan user account again, install Wekan, and download the Wekan package.
su - wekan
Download, extract, and install Wekan
wget https://github.com/wekan/wekan/releases/download/v0.63/wekan-0.63.tar.gz
tar xf wekan-0.63.tar.gz
cd bundle/programs/server
npm install
After that, run the commands below to export Wekan environment variables:
export MONGO_URL='mongodb://wekan:db_password_here@127.0.0.1:27017/wekan?authSource=wekan'
export ROOT_URL='http://localhost/'
export MAIL_URL='smtp://user:pass@example.com:25/'
export MAIL_FROM='wekan@example.com' export PORT=8000
After that, change into the bundle directory and run the wekan app.
cd ~/bundle
node main.js
The Wekan app should be started and will be listening on post 8000
http://localhost:8000
That should display the Wekan login page.
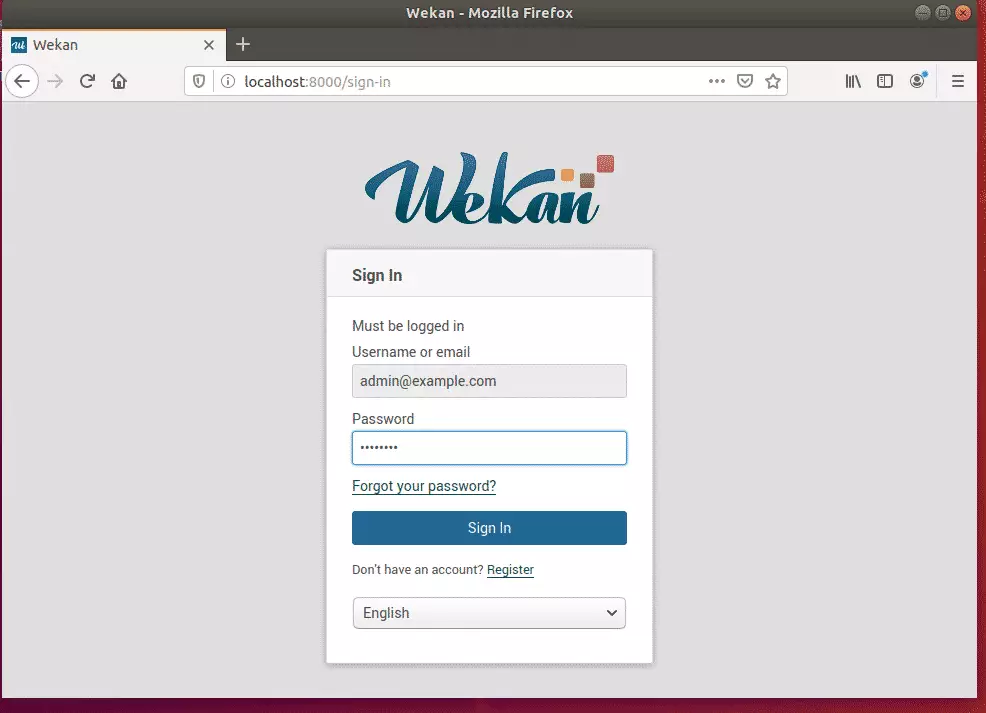
Wekan is successfully installed and ready to use.
Create an environment setting if you want to manage Wekan service via Systemd.
To do that, create an environment file in the bundle directory.
nano .env
Then copy the environment settings above and paste them into the file.
export MONGO_URL='mongodb://wekan:db_password_here@127.0.0.1:27017/wekan?authSource=wekan'
export ROOT_URL='http://localhost/'
export MAIL_URL='smtp://user:pass@example.com:25/'
export MAIL_FROM='wekan@example.com' export PORT=8000
Save the file and exit.
Now create a Wekan service file.
sudo nano /etc/systemd/system/wekan.service
Then copy and paste the lines below into the file and save.
[Unit]
Description=Wekan Server
After=syslog.target
After=network.target
[Service]
Type=simple
Restart=on-failure
StartLimitInterval=86400
StartLimitBurst=5
RestartSec=10
ExecStart=/home/wekan/.nvm/versions/node/v4.8.7/bin/node bundle/main.js
EnvironmentFile=/home/wekan/bundle/.env
ExecReload=/bin/kill -USR1 $MAINPID
RestartSec=10
User=wekan
Group=wekan
WorkingDirectory=/home/wekan
StandardOutput=syslog
StandardError=syslog
SyslogIdentifier=Wekan
[Install]
WantedBy=multi-user.target
After that, reload the systemd service and startup Wekan.
sudo systemctl daemon-reload
sudo systemctl start wekan.service
sudo systemctl enable wekan.service
That should do it!
Conclusion:
This post showed you how to install and configure the Wekan server on Ubuntu 18.04 | 16.04. If you find any error above, please use the comment form below to report.
Thanks,

Leave a Reply