
This article explains how to set up RainLoop on Ubuntu Linux with Nginx support.
RainLoop is a simple and modern web-based email client that allows you to access all your external email accounts from one place.
Setting up RainLoop with Nginx on Ubuntu Linux allows you to use RainLoop as your primary webmail client, with all the benefits that come with it, such as improved performance, easy installation and upgrade, and support for multiple email accounts and protocols.
Additionally, Nginx is a popular and reliable web server that provides a stable and secure environment for running web applications.
By setting up RainLoop with Nginx on Ubuntu Linux, you can have a powerful and user-friendly email client accessible from anywhere at any time.
For more about RainLoop, please check out its homepage. Some highlights of RainLoop:
- Modern user interface.
- Complete support of IMAP and SMTP protocols, including SSL and STARTTLS.
- Sieve scripts (Filters and vacation messages).
- Minimalistic resource requirements.
- Direct access to the mail server is used (mails are not stored locally on the web server).
- It allows for adding multiple accounts to the primary one; simultaneous access to different accounts in different browser tabs is supported—different identities.
When you’re ready to get RainLoop installed on Ubuntu, follow the steps below:
Install Nginx HTTP Server
Nginx HTTP Server is probably the most popular web server, so install it since RainLoop needs it. To install Nginx HTTP on the Ubuntu server, run the commands below.
sudo apt update
sudo apt install nginx
After installing Nginx, the commands below can be used to stop, start, and enable the Nginx service to always start up with the server boots.
sudo systemctl stop nginx.service
sudo systemctl start nginx.service
sudo systemctl enable nginx.service
To test whether Nginx is installed, open your browser and browse to the server hostname or IP address. When you see that, then Nginx is working as expected.
http://localhost

Install PHP 7.2-FPM and Related Modules
PHP 7.2-FPM may not be available in Ubuntu default repositories. To install it, you will have to get it from third-party repositories.
Run the commands below to add the below third party repository to upgrade to PHP 7.2-FPM
sudo apt-get install software-properties-common
sudo add-apt-repository ppa:ondrej/php
Then update and upgrade to PHP 7.2-FPM
sudo apt update
Next, run the commands below to install PHP 7.2-FPM and related modules.
sudo apt install php7.2-fpm php7.2-common php7.2-curl php7.2-mbstring php7.2-xmlrpc php7.2-mysql php7.2-gd php7.2-xml php7.2-json php7.2-cli
After installing PHP 7.2, run the commands below to open Nginx’s PHP default config file.
sudo nano /etc/php/7.2/fpm/php.ini
Then, save the changes on the following lines below in the file. The value below is an ideal setting to apply in your environment.
file_uploads = On
allow_url_fopen = On
short_open_tag = On
memory_limit = 256M
cgi.fix_pathinfo = 0
upload_max_filesize = 100M
max_execution_time = 360
date.timezone = America/Chicago
After making the change above, please save the file and close it out.
After installing PHP and related modules, you must restart Nginx to reload PHP configurations.
To restart Nginx, run the commands below
sudo systemctl restart nginx.service
To test PHP 7.2 settings with Nginx, create a phpinfo.php file in the Nginx root directory by running the commands below
sudo nano /var/www/html/phpinfo.php
Then, type the content below and save the file.
<?php phpinfo( ); ?>
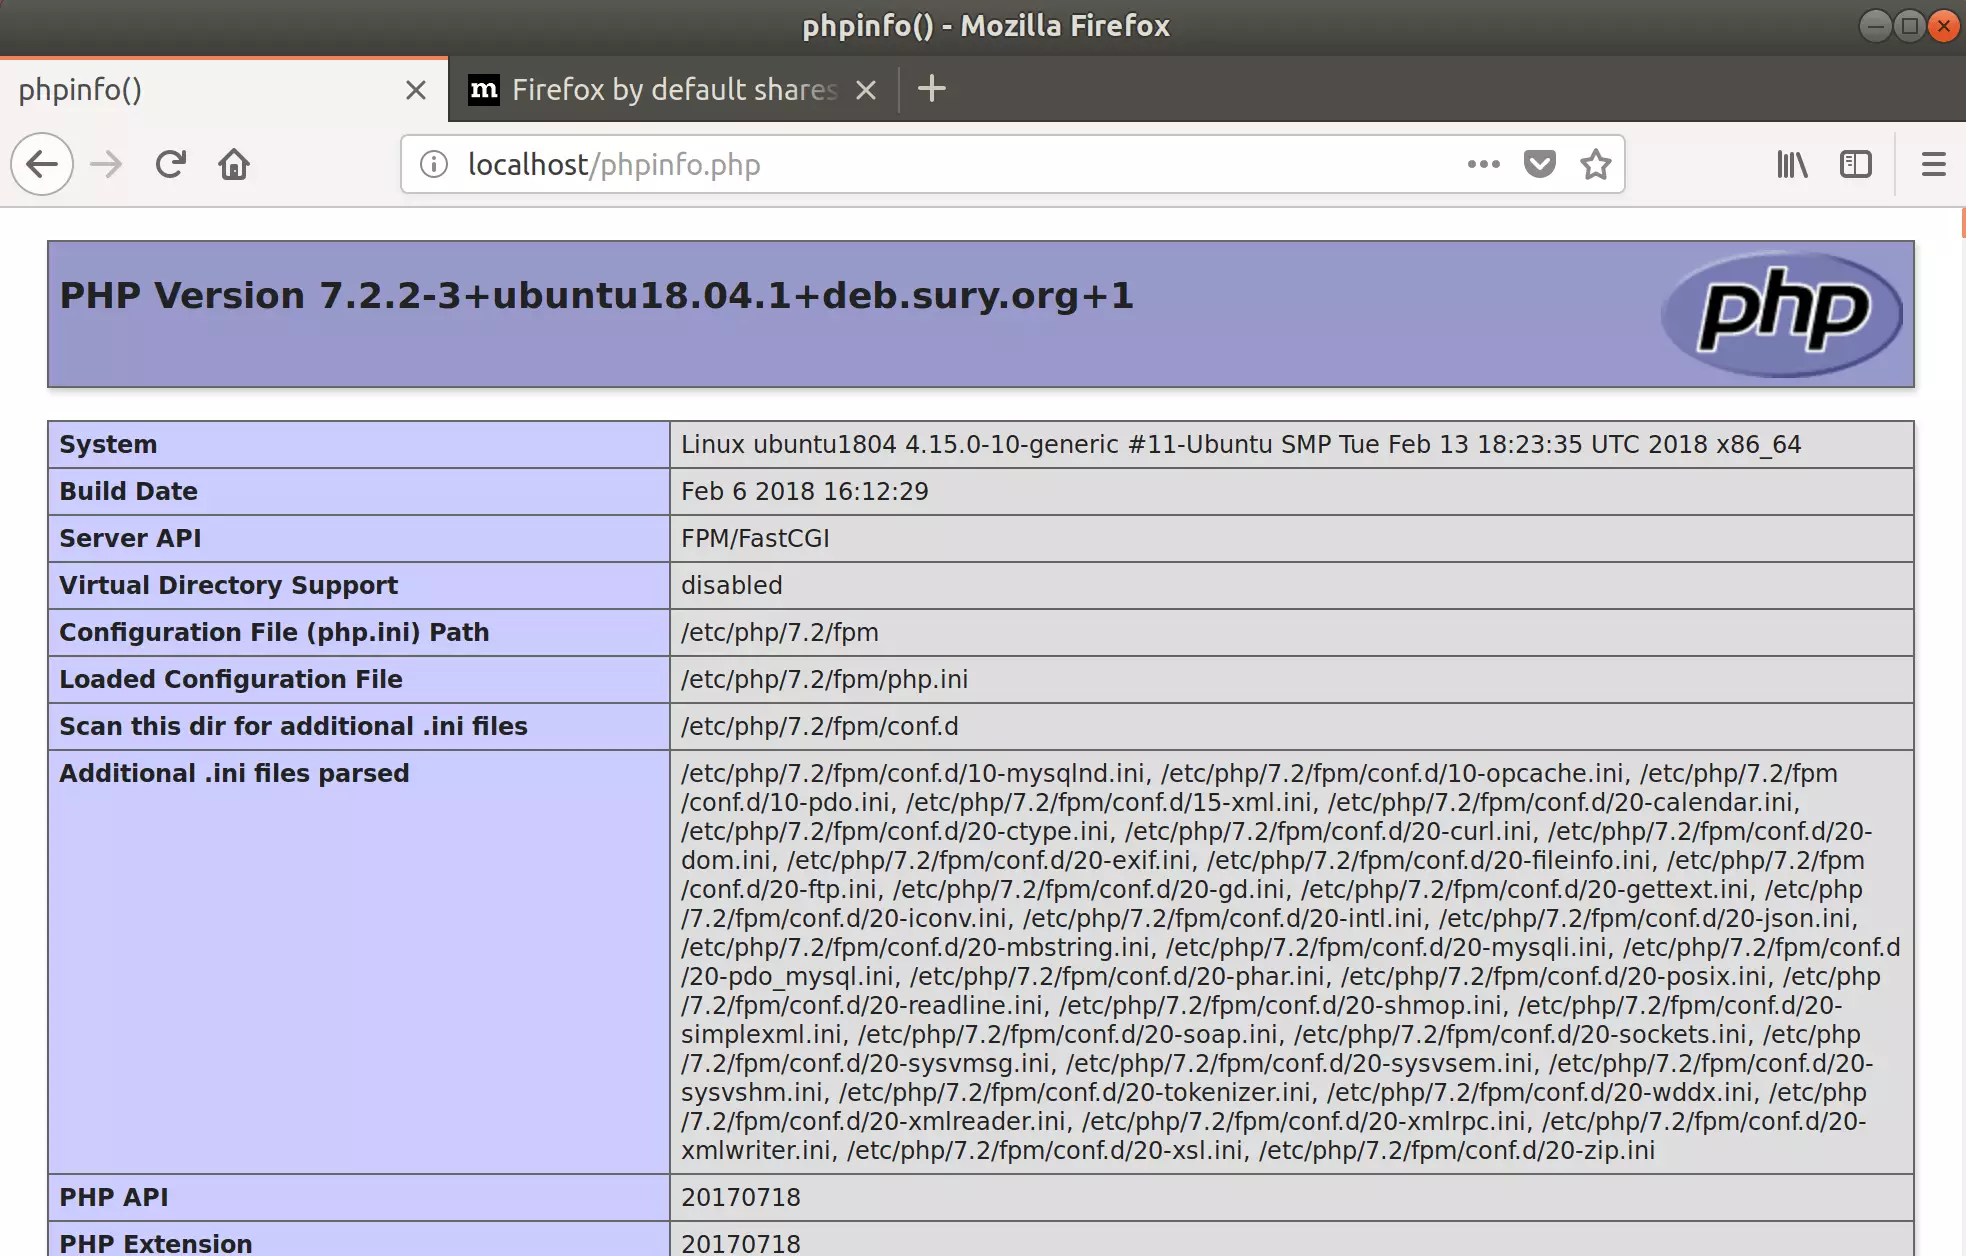
Save the file. Then browse to your server hostname followed by /phpinfo.php
http://localhost/phpinfo.php
You should see the PHP default test page.
Download and Configure RainLoop
Now that Nginx and PHP 7.2-FPM is installed use the steps below to download and configure the RainLoop environment on Ubuntu servers. But first, use the commands below to download the latest version.
cd /tmp
wget http://www.rainloop.net/repository/webmail/rainloop-community-latest.zip
After that, create the RainLoop directory and extract the download content there.
sudo mkdir /var/www/html/rainloop
sudo unzip rainloop-community-latest.zip -d /var/www/html/rainloop
Next, configure the directory access permission for Nginx.
sudo chown -R www-data:www-data /var/www/html/rainloop/
sudo find /var/www/html/rainloop/ -type d -exec chmod 755 {} ;
sudo find /var/www/html/rainloop/ -type f -exec chmod 644 {} ;
When done, run the commands below to create a rain loop Nginx configuration file.
sudo nano /etc/nginx/sites-available/rainloop
Then copy and paste the content below into the file and save it.
server {
    listen 80;
    listen [::]:80;
    root /var/www/html/rainloop;
    index  index.php index.html index.htm;
    server_name  example.com www.example.com;

    client_max_body_size 100M;

    location / {
    try_files $uri $uri/ /index.php?$query_string;
         }

    location ~ \.php$ {
         include snippets/fastcgi-php.conf;
         fastcgi_pass unix:/var/run/php/php7.2-fpm.sock;
         fastcgi_param SCRIPT_FILENAME $document_root$fastcgi_script_name;
         include fastcgi_params;
    }

     location ^~ /data {
         deny all;
      }
}
Save the file and exit.
Next, run the commands below to enable the RainLoop virtual host and restart Nginx.
sudo ln -s /etc/nginx/sites-available/rainloop /etc/nginx/sites-enabled/
sudo systemctl restart nginx.service
Finally, open your web browser and browse the server name to access the back-end portal.
http://webmail.example.com/?admin
The default username and password: admin and password 12345
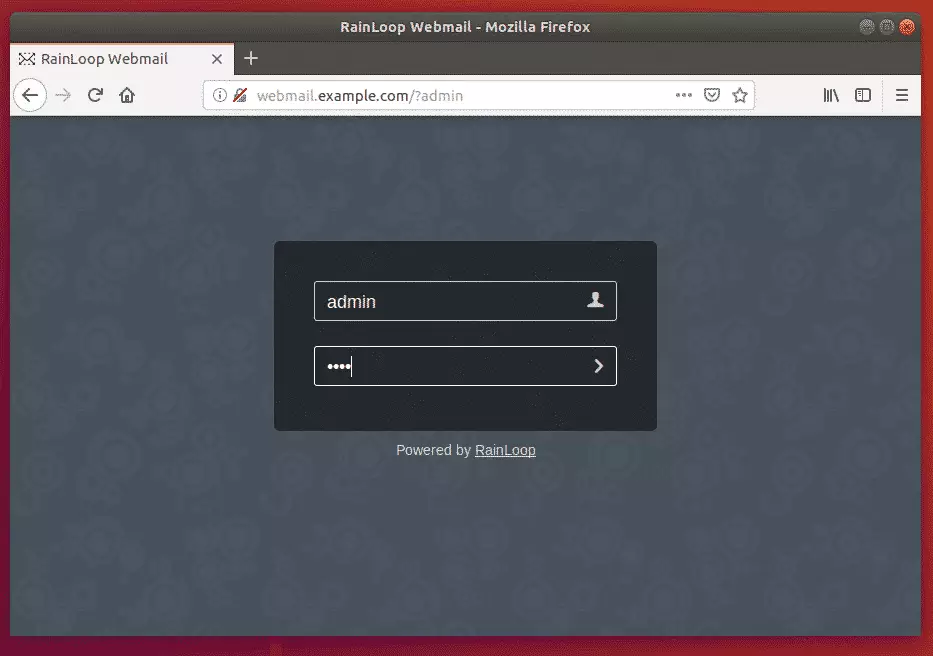
Log in and begin configuring RainLoop
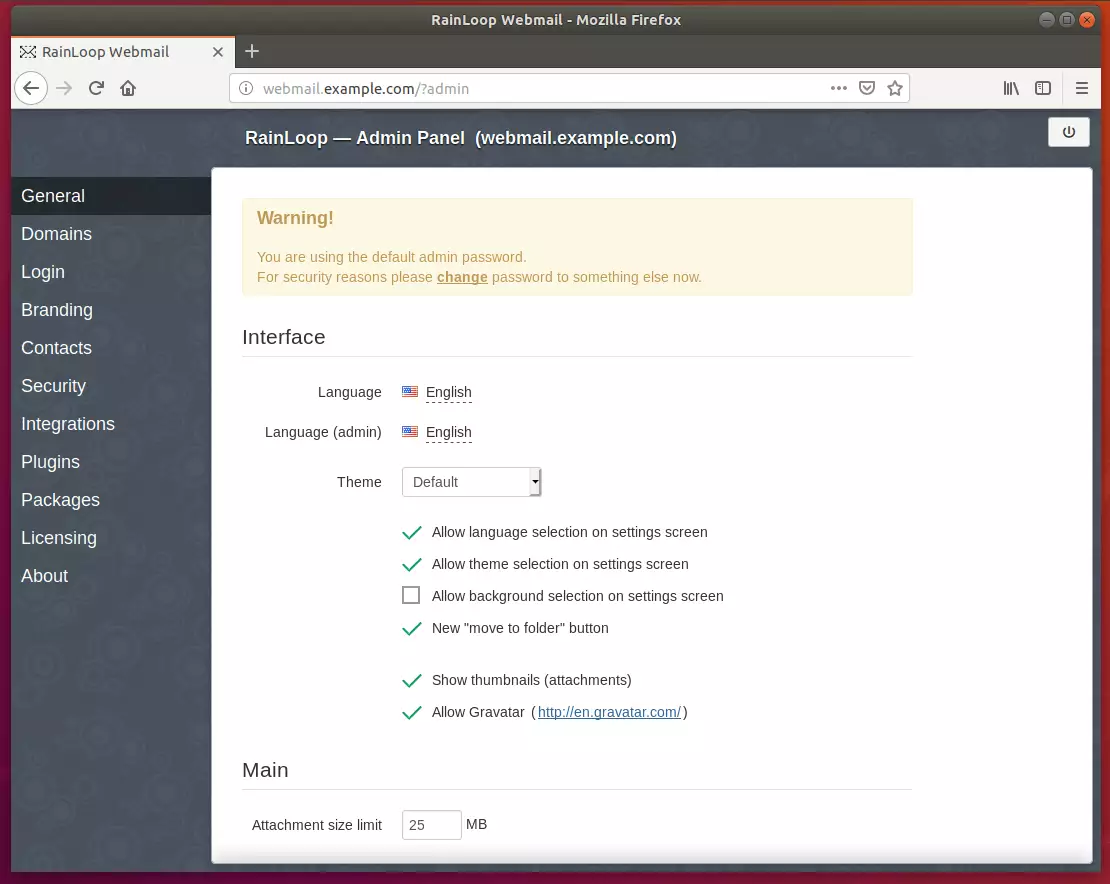
Congratulations! You have successfully installed and configured RainLoop on Ubuntu 16.04 | 18.04 with Nginx and PHP 7.2-FPM.
You may also like the post below:
Leave a Reply