
This brief tutorial shows students and new users how to disable or re-enable the Windows 10 SmartScreen filter.
SmartScreen filter was introduced with Microsoft Internet Explorer 8 (IE 8) web browser. It was developed to protect user computers from viruses and spyware programs online.
SmartScreen filter seems so successful that Microsoft implemented this security mechanism within the OS, starting with Windows 8, and it is enabled by default.
This feature helps protect your computer from malicious software (malware) and other potentially dangerous programs from the internet. It is always recommended to keep this feature enabled to ensure maximum security.
However, you may want to turn it off temporarily if it blocks a safe program or application you are trying to install or use. But please note that disabling this feature puts your computer at risk, and it is always advisable to turn it back on as soon as possible.
Whenever Windows suspects an unrecognized application, it blocks and displays a screen error message that reads:
Windows SmartScreen prevented an unrecognized app from starting. Running the apps might put your PC at risk.
You’re then given a choice to run the program anyway or don’t run it at all. If you trust the application, you can run it. If not, don’t run.
Disabling Windows SmartScreen Filter
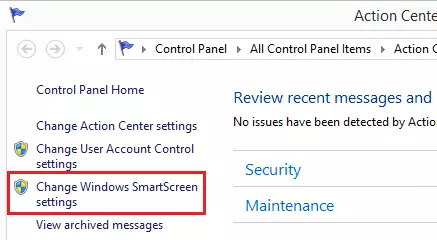
To disable Windows SmartScreen, open the control panel and type Action Center using the search box at the top right. Open Action Center and select Change Windows SmartScreen settings.
To quickly open Action Center in Windows, press the Windows logo key and R on your keyboard (hint: the logo key is left of your spacebar with the Microsoft logo) to open the Run command box.
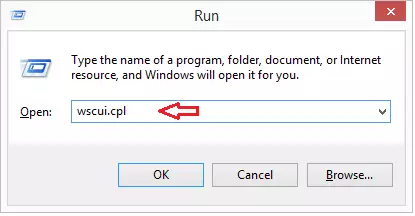
When the Windows program run box opens, type the command below to open Windows Security and Maintenance window.
wscui.cpl
When that page opens, select Change Windows SmartScreen settings
Disable or Re-enable Windows SmartScreen Filter
When you click the link above, it should open the SmartScreen filter settings page.
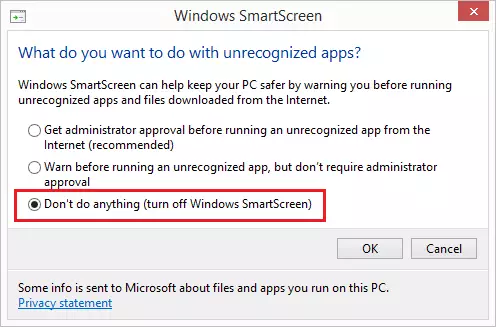
The options are:
- Get administrator approval before running an unrecognized app from the Internet (Recommended) – this is the default option.
- Warn before running an unrecognized app, but don’t require administrator approval.
- Don’t do anything (turn off Windows SmartScreen)
Select the option to disable or turn off Windows SmartScreen and click OK.
Your computer will not prompt you again with the SmartScreen error page. However, turning off SmartScreen may put your PC at risk. This feature was developed to protect against malicious programs from the Internet.
If you’re having difficulty installing a particular application, you can temporarily disable or turn it off and re-enable it immediately after installing the program application.
This is how you disable or re-enable the Windows SmartScreen filter!
Leave a Reply