
This article explains how to install the Zoom client on Ubuntu Linux.
Zoom is a cross-platform video communication tool on Windows, macOS, Android, and Linux systems. It allows users to schedule and join meetings and video webinars and provide remote technical support.
Installing the Zoom app on Ubuntu Linux allows you to use all the features of Zoom, including scheduling and joining meetings, video webinars, and remote technical support.
Zoom is available on multiple platforms, and Linux is one of the few operating systems fully supported by Zoom.
Whether participating in Zoom conference calls or scheduling Zoom meetings, installing the Zoom app on Ubuntu Linux will ensure you can use all the Zoom features.
There are multiple ways to install Zoom clients on Ubuntu. You can use the command line terminal as well as the desktop GUI.
For fast installation, use the command line terminal
Install Zoom via the command line
The quickest way to install Zoom client is via the Ubuntu command line interface. Run the commands below to install the client.
First, press Ctrl + Alt + T on your keyboard to launch the command line terminal.
Then type the commands below to install:
sudo apt update
wget https://cdn.zoom.us/prod/6.3.1.5673/zoom_amd64.deb
sudo apt install ./zoom_amd64.deb
When prompted during the installation, type Y for Yes and continue the installation.
Reading package lists… Done
Building dependency tree
Reading state information… Done
Note, selecting 'zoom' instead of '/home/richard/Downloads/zoom.deb'
The following additional packages will be installed:
libegl1-mesa libgl1-mesa-glx libxcb-xtest0
The following NEW packages will be installed:
libegl1-mesa libgl1-mesa-glx libxcb-xtest0 zoom
0 upgraded, 4 newly installed, 0 to remove and 12 not upgraded.
Need to get 16.7 kB/41.5 MB of archives.
After this operation, 155 MB of additional disk space will be used.
Do you want to continue? [Y/n] Y
You can now go to the Activities Dashboard and start the Zoom client.
Start using Zoom.
Install Zoom from the DEB package
If the commands above are complex to type, use the steps below to download and install.
Open your browser and browse the link below. Then, choose Ubuntu as the Linux type.
https://zoom.us/download?os=linux
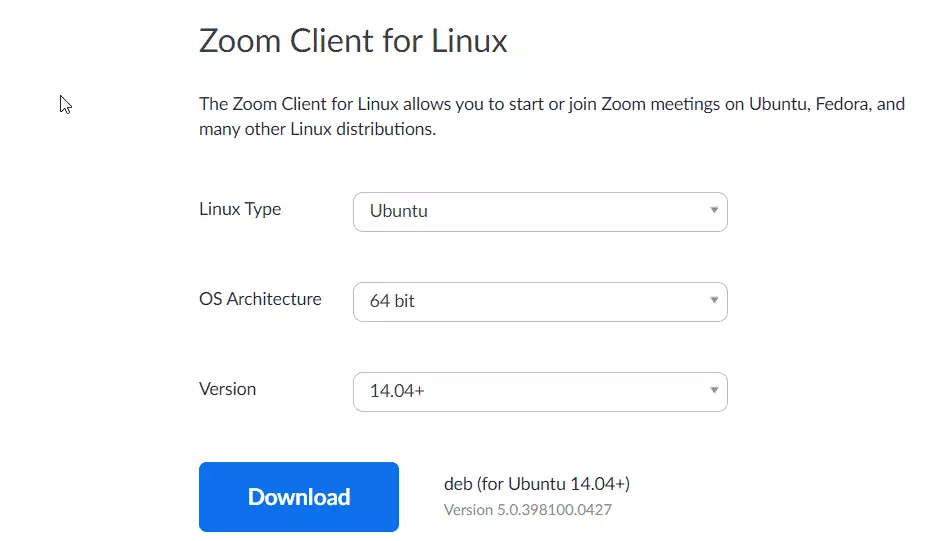
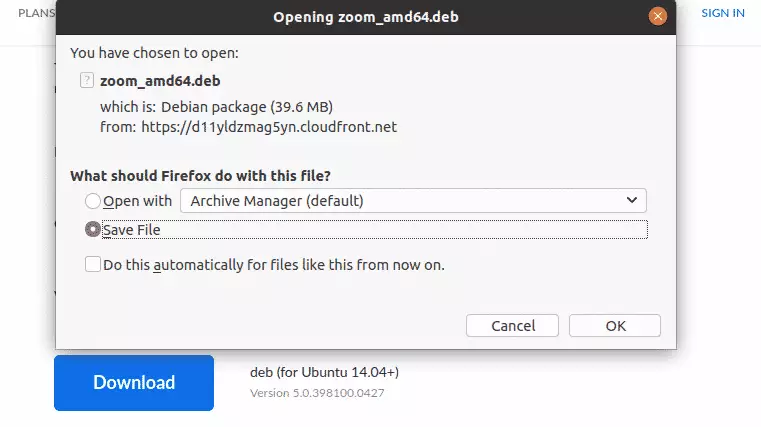
Click the Download button to save to your desktop, usually in the Downloads folder of your Home directory.
After downloading, navigate to your Downloads folder in your Home directory, right-click the downloaded file, and select Open With Software Install.
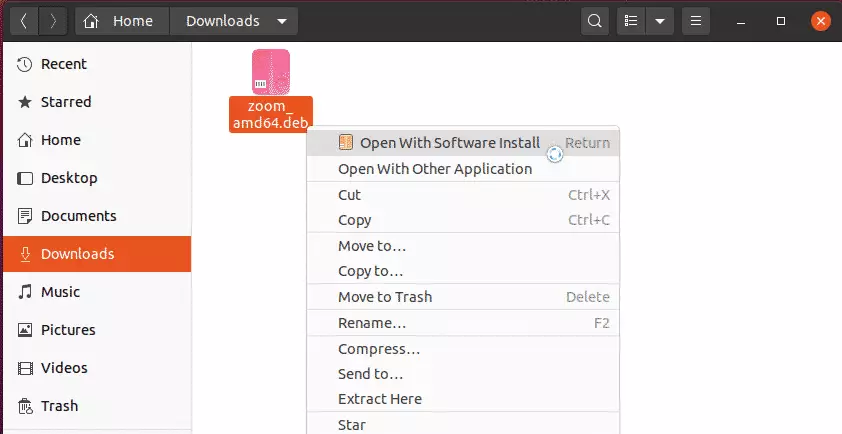
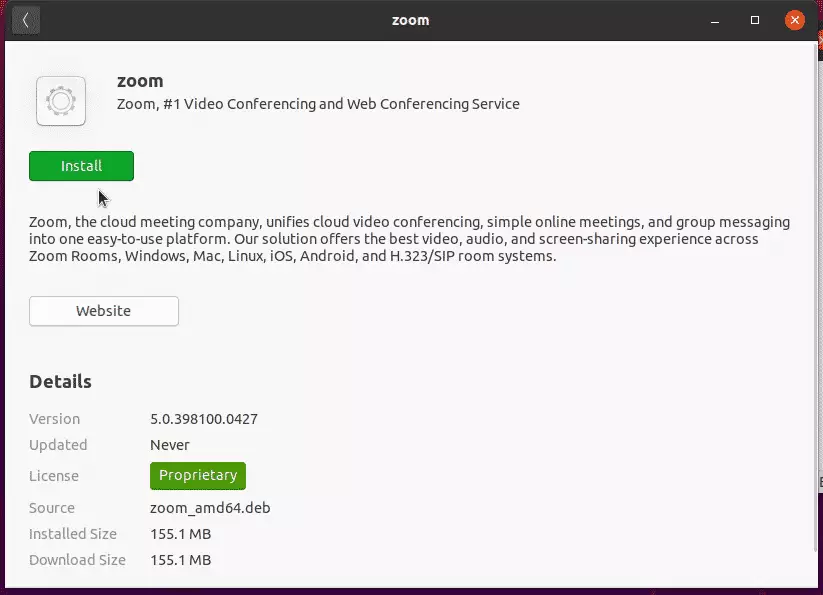
When Ubuntu Software opens, click Install to begin the installation.
That should prompt you to type and confirm your password before the installation can continue. When you’re done, Zoom should be installed and ready to use.
To launch it, go to the Activities Overview, search Zoom, and launch it.
That’s it!
Conclusion:
Installing the Zoom client on Ubuntu Linux is straightforward and can be accomplished through various methods. Here are some key takeaways:
- Zoom provides cross-platform video communication tools accessible on multiple operating systems, including Linux.
- The command line method allows for a quick installation using simple commands.
- Alternatively, users can download the DEB package using the browser and install it via the Software Center.
- Once installed, users can quickly join meetings and webinars and provide remote support using Zoom’s full features.
- The installation process is user-friendly, requiring minimal technical knowledge to get started.
Following these steps, you can utilize Zoom on your Ubuntu system for all your communication needs.
Leave a Reply