
This article explains how to enable or disable Microsoft Defender SmartScreen Phishing Protection in Windows 11.
Microsoft Defender SmartScreen protects against phishing or malware websites and applications, and the downloading of potentially malicious files.
This protection is built into Windows and works with Microsoft Defender Endpoint to protect your device and the cloud. Additionally, protection such as Controlled folder access, Real-time protection, Tamper protection, and Ransomware protection is included with Microsoft Security.
When you enable Microsoft Defender SmartScreen, websites and pages you visit online will be analyzed for suspicious behavior. If Microsoft Defender SmartScreen determines that a page is suspicious, it will show a warning page to advise caution.
The same is also true for downloaded apps and application installers. Downloaded apps and installer files are checked against a list of reported malicious software sites and programs known to be unsafe. If it finds a match, Microsoft Defender SmartScreen shows a warning to let the user know that the site might be malicious.
Enable or disable Microsoft Defender SmartScreen Phishing protection in Windows 11
As mentioned above, Microsoft Defender SmartScreen protects against phishing or malware websites and applications, and the downloading of potentially malicious files.
Below is how to turn periodic scanning on or off with Microsoft Defender.
Turn on SmartScreen Phishing Protection:
In the search box on the taskbar, type Windows Security and select Windows Security in the results list.

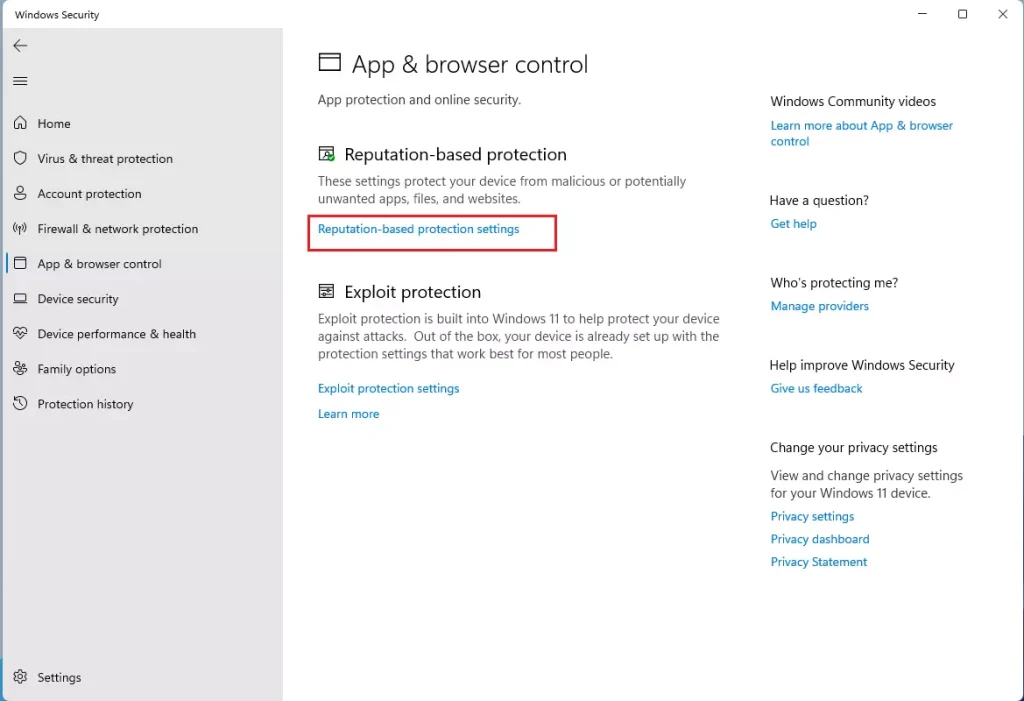
Select the App & browser control tile in Windows Security, as highlighted in the image below.

On the App & browser control settings page, under Reputation-based protection, click the Reputation-based protection settings link as highlighted below.
On the Reputation-based protection settings page, under Phishing protection, toggle the button to On or Off to enable or disable Phishing protection with Microsoft Defender.

When you enable Phishing protection, you can selectively turn on malicious apps and sites, password reuse, and unsafe password storage warnings.

That should do it!
Conclusion:
- Microsoft Defender SmartScreen is a crucial feature in Windows 11 that protects against phishing and malware.
- Enabling SmartScreen Phishing Protection involves navigating through Windows Security settings and turning on the feature under Reputation-based protection.
- Once enabled, SmartScreen will analyze websites and apps for suspicious behavior and provide warnings as necessary.
- Users can also selectively enable warnings for malicious apps, sites, password reuse, and unsafe password storage.
Leave a Reply