How to Turn On or off HDR Video Streaming in Windows 11

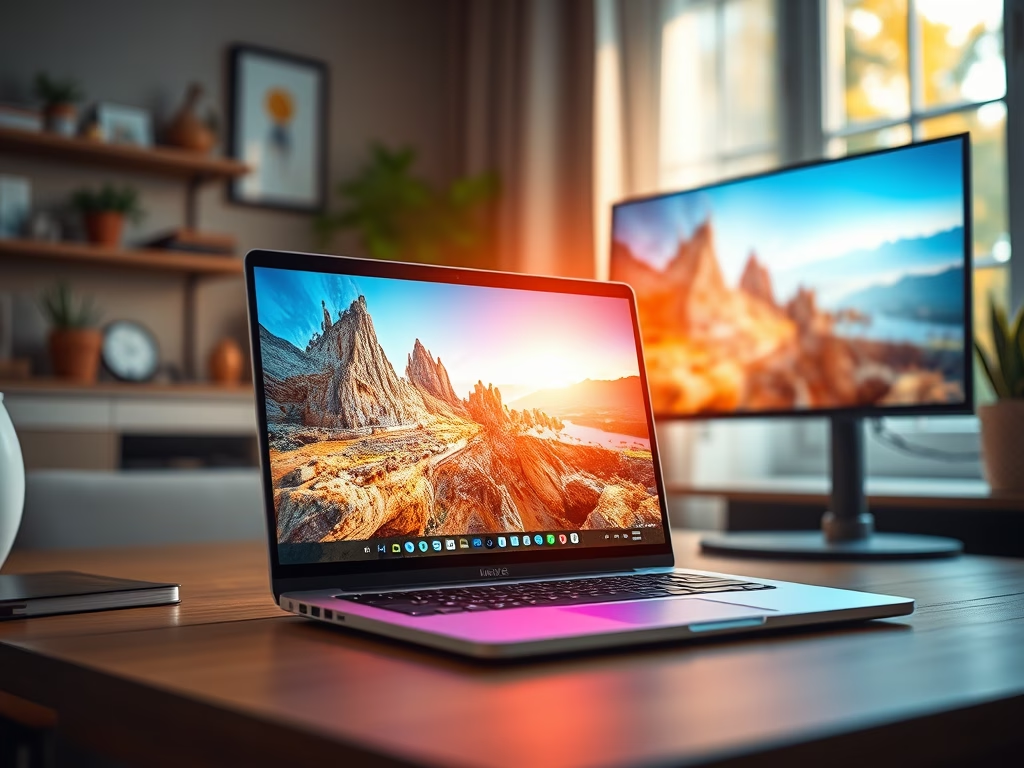
HDR (high dynamic range) video streaming lets your Windows 11 display show brighter highlights and deeper shadows at the same time.
Access HDR settings by right-clicking your desktop and selecting Display settings. Toggle the “Use HDR” switch to enable or disable HDR video streaming based on your display’s capabilities.
What is HDR Video?
HDR content offers better brightness and color capabilities compared to traditional content (sometimes called standard dynamic range [SDR] content). Standard video formats force a compromise, capturing either bright windows or dark shadows without showing detail in both.
HDR displays reproduce a wider spectrum of color and light while preserving details across extreme tones. Visuals appear far more vivid and distinct. Furthermore, bright regions shine with greater intensity while dark sections deepen without clipping shadow details.
What You Need
Playback requires a Windows PC equipped with a display that’s optimized for HDR video alongside active HDR streaming settings.
Important Things to Know
Display compatibility: Hardware limitations mean not every panel supports HDR video natively. Moving playback to a non-compatible display automatically falls back to standard dynamic range (SDR) streams once new content begins. Restarting the video application forces immediate playback on the target HDR display.
Battery saver mode: Battery saver impact: Windows dims your display to save power, which interferes with HDR playback; disabling Lower screen brightness when using battery saver restores peak illumination. You need peak screen brightness for proper HDR rendering.
Battery power: HDR playback draws substantial power, disabling default HDR streaming while operating on battery. Navigate to Settings Display HDR or Use HDR to override this behavior. Choose Battery options, then check the Allow streaming HDR video on battery check box or the Allow HDR games, videos, and apps on battery check box.
Full screen required: Video players running in windowed modes cannot output HDR streams.
How to Turn On or Off HDR Video Streaming
- Open Settings by pressing
Win+I. - Click on System on the left side, and then click on Display on the right side.
- Click on HDR or Use HDR on the right side.
- If you have multiple displays connected to your PC, choose the HDR-capable display you want to apply this to in the Select a display to view or change its settings drop-down menu.
- Turn On (default) or Off HDR video streaming (if available) for what you want.
- You can now close Settings if you like.
Summary
HDR video streaming transforms standard footage with richer color depth and dynamic lighting. Activating this capability requires compatible hardware and an active toggle inside system settings. Access Settings, proceed to System Display HDR, and enable the feature for the target monitor. High dynamic range playback consumes extra battery resources and requires full-screen application windows to function correctly. Multi-monitor setups require assigning media playback to the designated HDR-compatible display.
Was this guide helpful?

About the Author
Richard
Tech Writer, IT Professional
Richard is a writer at Geek Rewind who turns complex IT tasks into clear, step-by-step guides. He draws on years of hands-on experience in system administration and enterprise IT operations, focusing on Windows, Linux and WordPress: the problems people actually run into, and the fixes that work. His server and WordPress guides come from systems he runs himself. Richard builds and maintains the platform behind Geek Rewind, from its Ubuntu servers and Nginx configuration to its custom WordPress plugins. Many new tutorials start with readers' questions, and he's always glad to answer them in the comments.

No comments yet — be the first to share your thoughts!