
This post shows students and new users how to install VMware Workstation Pro on Windows 11 to run independent virtual machines.
VMware Workstations Pro is probably the most popular x64 virtualization software or hosted hypervisor today. It allows power users or advanced system administrators to simultaneously set up independent virtual machines on a single physical computer.
When you install VMware Workstation Pro in Windows, you can create multiple independent guest computers, each running its operating system without additional physical hardware or support.
This software is great for system admins and users who want to run multiple guest OS without adding new devices.
For example, when you install VMware Workstation Pro in Windows 11, power users can create additional virtual computers inside VMware to run Mac OS, Linux, and Windows 10 without needing three separate computers.
VMware Workstation Pro isn’t free, but it is affordable enough for the average user to purchase and use at home or in a business environment.
How to Install and enable VMware Workstation in Windows 11
VMware Workstation requires that the host machine has Hardware Visualization enabled. Most computers today will have this feature. However, it might be turned off in the BIOS. You may have to reboot the system BIOS and enable Virtualization Technology (VTx) in the system BIOS settings.
Once you enable hardware virtualization, log back into Windows and go to the link below to download the latest VMware Workstation Pro for Windows.
https://www.vmware.com/go/getworkstation-win
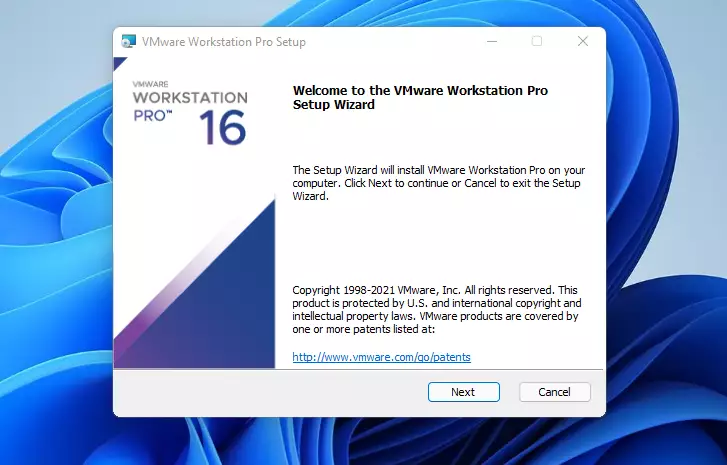
After downloading the installer, run it. You’ll be prompted with an installation wizard welcome screen. Click Next to begin the installation.
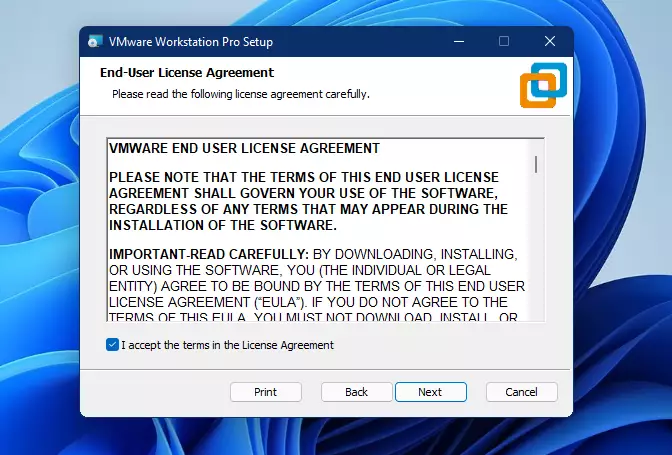
You’ll be prompted with the End-User License Agreement on the next screen. You must accept the terms in the License Agreement before continuing with the installation.
Once accepted, click Next to go to the next screen.
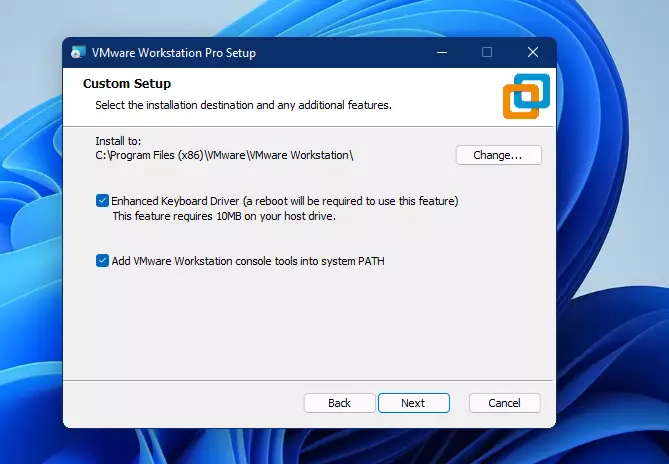
On the next screen, you can accept the default installation path in the C:\Program Files (x86)VMware folder or change it to a custom path.
You’ll want to check the box next to Enhanced Keyboard Driver to integrate the keyboard properly. Also, check the box so that additional console tools can be installed into the system PATH.
Click Next to continue.
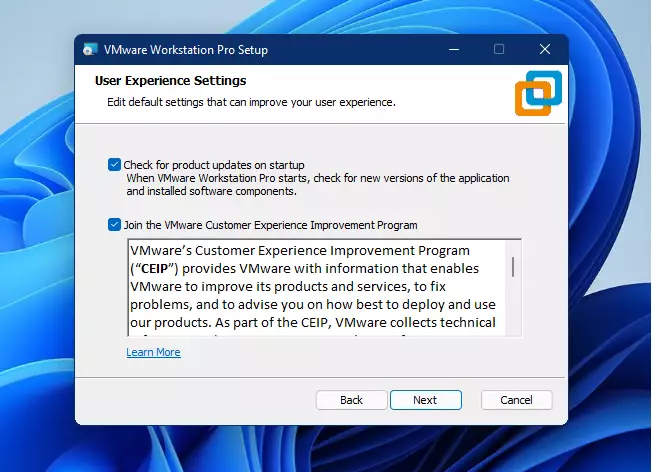
On the next screen, check both boxes to enable check for product updates on startup and also the customer experience improvement program.
When you’re done, click Next.
On the screen, click the Install button to begin the installation.

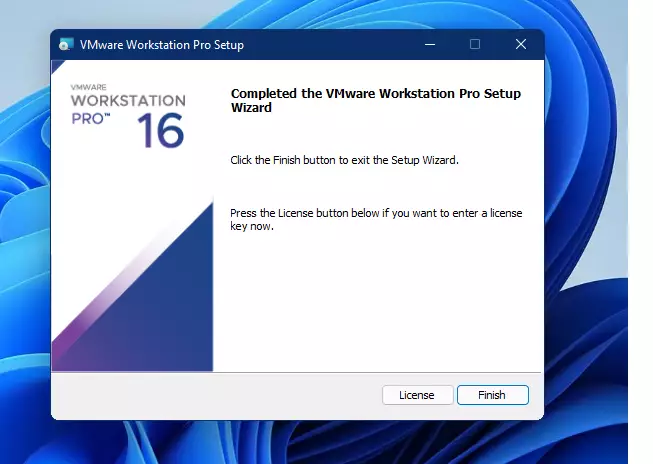
After a brief moment, the VMware Workstation Pro setup wizard should be completed. Click on the Finish button to complete the setup.
If you have a license for your copy of VMware Workstation Pro, click the License button to add a license key.
After that, you may be prompted to reboot your machine. Reboot, then log back in.
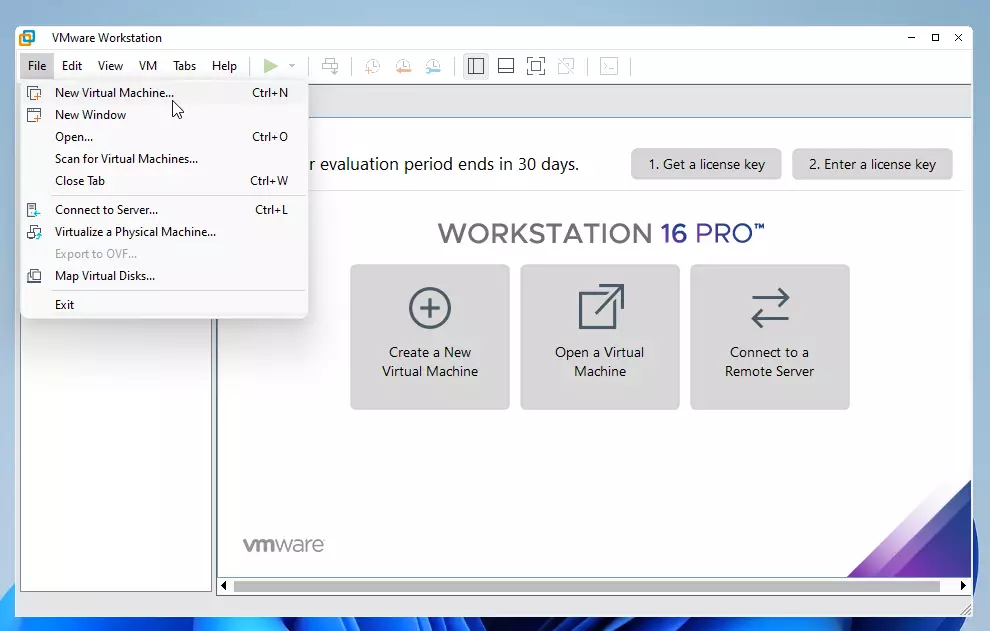
Once you log back in, open the VMware Workstation Pro icon on your desktop to open. The software is ready to be used to create new virtual machines.
That should do it!
Conclusion:
- VMware Workstation Pro is a powerful tool for running multiple operating systems on a single machine.
- It is user-friendly and suitable for both home and business environments.
- Installation is straightforward, requiring hardware virtualization to be enabled.
- Users can easily manage and create virtual machines for various operating systems.
- Ensuring proper installation and configuration will enhance the virtual computing experience.
- With VMware Workstation Pro, you can maximize your system’s capabilities and improve productivity by seamlessly running different OS environments.
Leave a Reply