Install Visual Studio Code on Ubuntu: Step-by-Step Guide


Visual Studio Code on Ubuntu is a free source-code editor made by Microsoft that lets you write, test, and debug software projects. Setting up the official software repository method on Ubuntu 22.04 or 24.04 means system updates run automatically, so you always have access to the newest version.
The editor runs natively on Linux alongside Windows and macOS. It includes syntax highlighting, smart code completion, and integrated debugging. You can install it on your Ubuntu machine in a few minutes using the terminal and a handful of standard commands. You need a user account with sudo rights and a working internet connection.
Visual Studio Code on Ubuntu installs in a few minutes from the terminal. Press Ctrl+Alt+T and run sudo snap install code –classic, which installs the snap version and keeps it updated automatically on Ubuntu 22.04 and 24.04. Your account needs sudo rights and an internet connection. Use only one method, because installing both the snap and the APT package creates two copies that update separately.
How to install VS Code on Ubuntu Linux
You can install VS Code using one of the two methods below. Most users prefer the first method, because it is a single command. The second method takes a few more steps, but it uses Microsoft’s own APT repository and the standard apt tooling.
Installing the snap and the APT package side by side gives you two copies of VS Code that update separately, which causes confusion.
Method 1Installing via Snap (Recommended)
The Snap Store is the easiest way to get the code editor on Ubuntu. Snap is already included in Ubuntu 22.04 and 24.04, so you do not need to install anything first. The snap keeps VS Code updated in the background, and you never have to check for updates by hand. The steps below set it up in a few seconds.
- Open your terminal. The quickest way is to press Ctrl+Alt+T, or you can search for Terminal in the Activities overview. A window with a command prompt should now open.
- Run this command:
sudo snap install code --classic. Enter your password if Ubuntu asks for it. The terminal will not show any characters as you type, which is normal. The download takes a minute or two, depending on your connection. When the prompt returns with a message saying VS Code was installed, the install is finished and you can open it from the application menu.
Method 2Installing via APT Repository
The APT repository is a reliable alternative that works with your standard system updates. This approach adds the Microsoft software repository to your computer, so new features and security fixes arrive with your regular updates. You will run a short series of commands in the terminal. Run them in order and wait for each one to finish before you start the next.
First, check your system architecture to make sure the package supports your computer. Run dpkg --print-architecture and read the result. Most modern systems use amd64. If your output is something different, check that Microsoft publishes a package for it before you continue.
Install the necessary helper tools. These let your system download files securely and work with the repository and its signing key. Run the command below and enter your password if you are asked.
sudo apt update && sudo apt install wget gpgNow, import the Microsoft GPG key to your keyring folder. APT uses this key to check that the packages really come from Microsoft. If the command finishes without an error message, the key is in place.
wget -qO- https://packages.microsoft.com/keys/microsoft.asc | gpg --dearmor > packages.microsoft.gpg

sudo install -D -o root -g root -m 644 packages.microsoft.gpg /etc/apt/keyrings/packages.microsoft.gpg
This tells APT where to find VS Code and which key to trust for it. Copy the command exactly as shown, because a typo in the file can cause errors the next time you run an update.
echo "deb [arch=amd64 signed-by=/etc/apt/keyrings/packages.microsoft.gpg] https://packages.microsoft.com/repos/code stable main" | sudo tee /etc/apt/sources.list.d/vscode.list > /dev/nullFinally, update your package list and install the editor. The update step makes APT read the new Microsoft repository, and the install step downloads VS Code. A long stream of text is normal while the package downloads and unpacks. When the prompt comes back, the install is done.
sudo apt update && sudo apt install codeVS Code is now installed. You can find it in your application menu: open Activities, type Code into the search box, and click the icon. From now on, VS Code updates along with the rest of your system whenever you install updates, either through Software Updater or in the terminal.
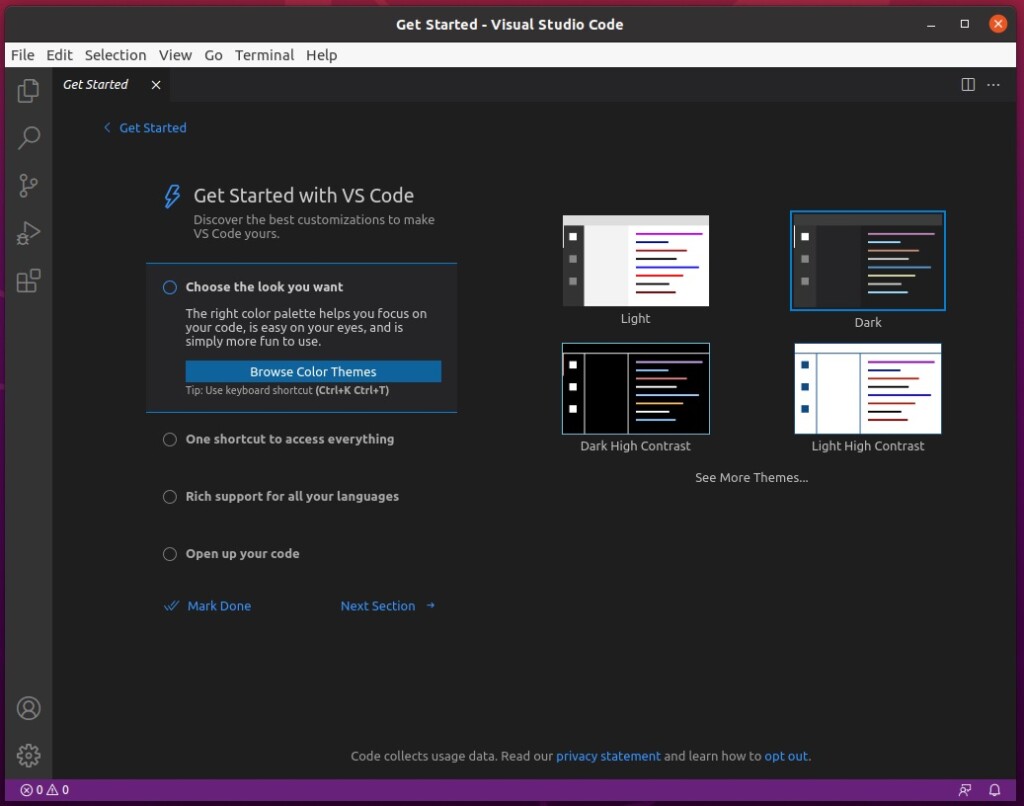
Post-Installation
After you install Visual Studio Code on Ubuntu, extensions add new features and can improve your workflow a lot. To install one, click the Extensions icon in the Activity Bar on the left, or press Ctrl+Shift+X. Type the name in the search box, select the extension in the results, and click Install. Most extensions work straight away, though a few ask you to reload the window. These two are good places to start:
- Remote Development pack: Allows you to code on remote machines or inside containers. It lets you work over SSH or in a container, with the editing done on your own desktop. Working in containers needs a container runtime such as Docker on the machine.
- GitHub Copilot: Uses AI to help you write code faster. It suggests code as you type. You need to sign in with a GitHub account, and the plan you are on decides how much you can use it.
Conclusion
Visual Studio Code is a versatile, feature-rich code editor that runs on several platforms. Git control, syntax highlighting, and code completion are among the features it supports. With either install method above, you have a working editor on Ubuntu that keeps itself up to date, and you can add extensions as your projects need them.
Was this guide helpful?

About the Author
Richard
Tech Writer, IT Professional
Richard is a writer at Geek Rewind who turns complex IT tasks into clear, step-by-step guides. He draws on years of hands-on experience in system administration and enterprise IT operations, focusing on Windows, Linux and WordPress: the problems people actually run into, and the fixes that work. His server and WordPress guides come from systems he runs himself. Richard builds and maintains the platform behind Geek Rewind, from its Ubuntu servers and Nginx configuration to its custom WordPress plugins. Many new tutorials start with readers' questions, and he's always glad to answer them in the comments.




No comments yet — be the first to share your thoughts!