
This post shows students and new users how to install and use Telnet when using Windows 11. Telnet is a network protocol that provides access to a command-line interface on a remote host. It has since been replaced by a more secure SSH protocol on most systems.
However, Telnet isn’t dead. Although the protocol is insecure and very old, there are some use cases for Telnet, especially in test situations. It can be used to test remote SQL connections and firewall connectivity.
If you’re working in a test environment and quickly want to use Telnet to test connectivity, then use the steps below to learn how to install Telnet on Windows 11.
To start installing Telnet on Windows 11, follow the steps below.
How to enable Telnet on Windows 11
As mentioned above, Telnet is still useful in limited situations. If you quickly want to test connectivity, you can use Telnet.
The steps below show you how to enable it on Windows 11.
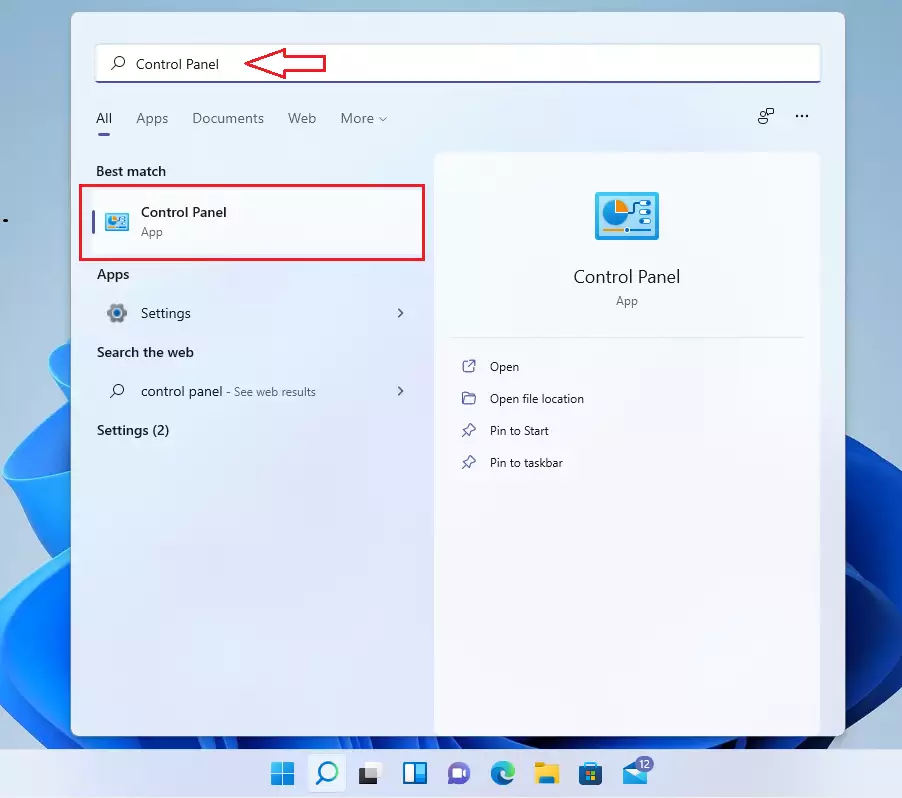
First, go to the Start Menu, then search for and open the Control Panel app, as shown below.
When the app opens, click on the Programs category, as highlighted below.

Next, click the link for Turn Windows features on or off, as shown below.

On the Windows features list, click Telnet Client as highlighted to install. Click OK to begin the installation.

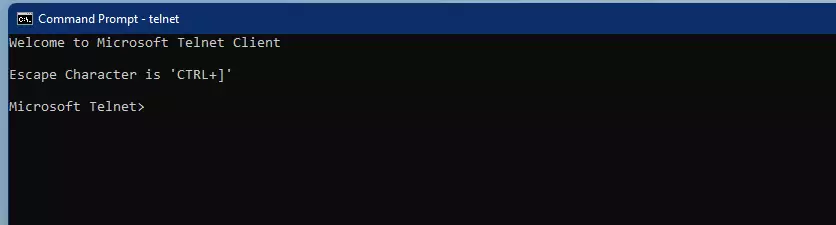
After a brief moment, Windows should install Telnet. Once installed, open the command prompt and begin using it.
How to install Telnet via Command Prompt
You can also install Telnet using the Command Prompt on Windows 11. To do that, click the Start menu and search for Command Prompt. Right-click the Command Prompt app and select Run as administrator.

When the Command Prompt app opens, run the commands below to install Telnet.
dism /online /Enable-Feature /FeatureName:TelnetClient
How to install Telnet via PowerShell
You can also use PowerShell to install Telnet. As with the Command Prompt, search for PowerShell, right-click it, and Run as administrator.
When the PowerShell app opens, run the commands below to install Telnet.
Install-WindowsFeature -name Telnet-Client
That should do it!
Conclusion:
This post showed you how to install and use Telnet when using Windows 11. Please use the comment form below if you find any errors above or have something to add.

Leave a Reply