
This brief tutorial shows students and new users how to install Postleaf CMS on Ubuntu with an Nginx proxy.
Postleaf is a lightweight, simple, open-source content management system (CMS) based on Node.Js for the modern publisher who wants to leverage modern technologies.
With its minimal admin panel, you’ll create content in no time. Postleaf also has a beautifully designed backend, supports inline editing, and semantic markups, provides simple backup, and more.
When looking for a flat-file open-source CMS to power your content and websites, you might want to consider Postleaf. It has features and speed that other platforms can’t provide or match.
For more about Postleaf, please check its homepage.
To get started with installing Postleaf, please continue below:
Install Dependencies
To prepare your system for Postleaf, you must install some dependencies. Run the commands below to do that.
sudo apt update
sudo apt-get install git curl sqlite3 graphicsmagick
After installing all required dependencies, continue below to install Postleaf.
Install Node.Js
Postleaf runs on Node, specifically Node.Js 7 or 8. To install Node.js on Ubuntu from its LTS repository, run the commands below to install:
curl -sL https://deb.nodesource.com/setup_8.x | sudo -E bash -
sudo apt install nodejs
After that, Node.js should be installed and ready to use.
Download Postleaf Content
To get Postleaf, you’ll want to clone it from GitHub to the web server’s root directory. To do that, run the commands below.
cd /var/www/
sudo git clone https://github.com/Postleaf/postleaf.git
sudo git clone https://github.com/Postleaf/empower-theme.git postleaf/themes/empower-theme
After downloading Postleaf content, create a new .env file. This file contains the basic settings that Postleaf needs to run. We’ll use the .env.example file to create our new environment file.
cd /var/www/postleaf
sudo cp .env.example .env
Next, open the .env file we just created by running the commands below:
sudo nano .env
The file should look similar to the one below: Edit the highlighted lines and save.
# App
NODE_ENV=production
APP_URL=http://example.com/
APP_PORT=3000
APP_HOST=127.0.0.1

# Slugs
APP_ADMIN_SLUG=admin
APP_AUTHOR_SLUG=author
APP_API_SLUG=api
APP_BLOG_SLUG=blog
APP_FEED_SLUG=feed
APP_PAGE_SLUG=page
APP_SEARCH_SLUG=search
APP_TAG_SLUG=tag

# Security
AUTH_LIFETIME=180
AUTH_SECRET=rdzuvobtnxysgqtgpwfitwbunwixlfyx

# SMTP
SMTP_HOST=smtp.example.com
SMTP_USERNAME=username
SMTP_PASSWORD=********
SMTP_PORT=587
SMTP_SECURE=false
SMTP_FROM_NAME=Your Name
[email protected]
If you have a domain, change the value of APP_URL to reference your domain name.
Next, change AUTH_SECRET to a random string. You can use a password generator if you like. Just make sure it’s reasonably long and random.
You can also configure your mail server settings if you have one.
After that, save the file and exit.
Install and Configure Nginx Proxy
To use a web proxy, you will need a web server, and the Nginx HTTP server is probably the second most popular open-source web server available today…
To install the Nginx server, run the commands below:
sudo apt update
sudo apt install nginx
After installing Nginx, the commands below can be used to stop, start and enable the Nginx service to always start up with the server boots…
sudo systemctl stop nginx.service
sudo systemctl start nginx.service
sudo systemctl enable nginx.service
Now that Nginx is installed…. to test whether the web server is working, open your browser and browse to the URL below…
http://localhost
If you see the page above, then Nginx is successfully installed…
Finally, configure the Nginx site configuration file for Postleaf. This file will control how users access Postleaf content. Run the commands below to create a new configuration file called postleaf
sudo nano /etc/nginx/sites-available/postleaf
Then copy and paste the content below into the file and save it. Replace the highlighted line with your domain name and directory root location.
server {
  listen 80;
  server_name example.com;

  # Max upload size for proxy
  client_max_body_size 100m;

  location / {
    proxy_set_header X-Real-IP $remote_addr;
    proxy_set_header X-Forwarded-For $proxy_add_x_forwarded_for;
    proxy_set_header X-NginX-Proxy true;
    proxy_pass http://localhost:3000/;
    proxy_set_header Host $http_host;
    proxy_cache_bypass $http_upgrade;
    proxy_redirect off;
  }
}
Save the file and exit.
Enable the site by running the commands below:
sudo ln -s /etc/nginx/sites-available/postleaf /etc/nginx/sites-enabled/
sudo systemctl restart nginx.service
After running the commands above, run these to complete the setup
cd /var/www/postleaf
sudo npm install --only=prod
sudo npm install -g pm2
pm2 start app.js
sudo pm2 startup systemd
After that, wait for the server to get started. It will automatically install all dependencies and will start running.
Next, run the commands below to change Postleaf directory permission to enable Nginx to operate correctly.
sudo chown -R www-data:www-data /var/www/postleaf/
sudo chmod -R 755 /var/www/postleaf/
At this point, Postleaf should be installed and ready.
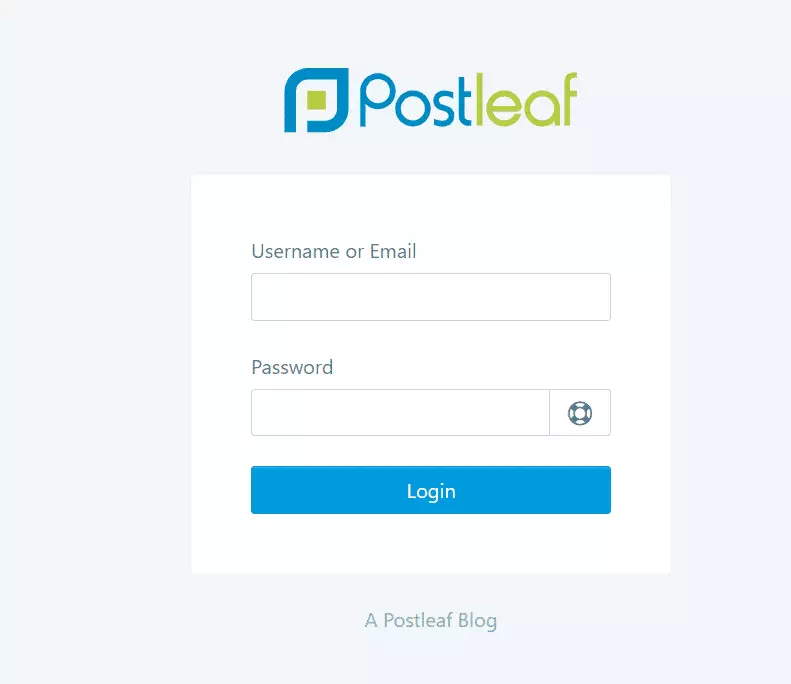
Open your browser, browse the host domain name, and build your site!
http://example.com
You should see the Postleaf home page.
Congratulations! You have successfully installed Postleaf CMS on Ubuntu 16.04 | 18.04
You may also like the post below:
Leave a Reply