
This brief tutorial shows students and new users how to install Metabase on Ubuntu 18.04 | 16.04 server.
Installing Metabase Server on Ubuntu Linux can be a great way to quickly summarize and visualize large data sets without writing SQL queries.
Metabase is a free, open-source platform designed to help businesses and companies search their databases and filter data sets to find precisely what they need.
It is written in Java, making it highly compatible with Ubuntu, and requires a database server to store its content.
Following the steps outlined in the tutorial, users can easily install Metabase and begin using it to manage their data.
For more about Metabase, please visit its homepage.
When you’re ready to install Metabase, follow the steps below:
Install Java
Metabase is written in Java, so you’ll need Java installed to run it. The open-source Java works great with Metabase. To install the open-source version of Java, run the commands below:
sudo apt update
sudo apt-get install default-jre
After installing Java, the commands below can be used to verify whether Java is installed.
java -version
You should see a similar output as below:
Output:
openjdk version "11.0.5" 2019-10-15
OpenJDK Runtime Environment (build 11.0.5+10-post-Ubuntu-0ubuntu1.118.04)
OpenJDK 64-Bit Server VM (build 11.0.5+10-post-Ubuntu-0ubuntu1.118.04, mixed mode, sharing)
Install MariaDB Database Server
Metabase also requires a database server to store its content. MariaDB is a great place to start if you’re looking for a truly open-source database server.
To install MariaDB, run the commands below:
sudo apt-get install mariadb-server mariadb-client
After installing MariaDB, the commands below can stop, start, and enable the service to start when the server boots.
Run these on Ubuntu 16.04 LTS
sudo systemctl stop mysql.service
sudo systemctl start mysql.service
sudo systemctl enable mysql.service
Run these on Ubuntu 18.10 and 18.04 LTS
sudo systemctl stop mariadb.service
sudo systemctl start mariadb.service
sudo systemctl enable mariadb.service
Next, run the commands below to secure the database server with a root password if you were not prompted to do so during the installation.
sudo mysql_secure_installation
When prompted, answer the questions below by following the guide.
- Enter current password for root (enter for none): Just press the Enter
- Set root password? [Y/n]: Y
- New password: Enter password
- Re-enter new password: Repeat password
- Remove anonymous users? [Y/n]: Y
- Disallow root login remotely? [Y/n]: Y
- Remove test database and access to it. [Y/n]: Y
- Reload privilege tables now? [Y/n]: Y
Once MariaDB is installed, run the commands below to test whether the database server was installed.
sudo mysql -u root -p
Type the root password when prompted.

The server was successfully installed if you see a similar screen.
Create Metabase Database
Now that you’ve installed all the packages required for Metabase to function, continue below to start configuring the servers. First, run the commands below to create a blank Metabase database.
To log on to the MariaDB database server, run the commands below.
sudo mysql -u root -p
Then, create a database called metabase
CREATE DATABASE metabase;
Create a database user called metabaseuser with a new password
CREATE USER 'metabaseuser'@'localhost' IDENTIFIED BY 'new_password_here';
Then, grant the user full access to the database.
GRANT ALL ON metabase.* TO 'metabaseuser'@'localhost' WITH GRANT OPTION;
Finally, save your changes and exit.
FLUSH PRIVILEGES;
EXIT;
Install Metabase
After installing Java, run the commands below to download Metabase from its official package repository. At the time of this writing, the current version was 0.34.1.
After downloading, move the Metabase Java app to its new home directory at /opt/Metabase.
cd /tmp
wget http://downloads.metabase.com/v0.34.1/metabase.jar
sudo mkdir /opt/metabase
sudo mv metabase.jar /opt/metabase
You’ll want to create dedicated user and group accounts to run Metabase effectively. Simply run the commands below to create a username metabase and a group name.
sudo addgroup --quiet --system metabase
sudo adduser --quiet --system --ingroup metabase --no-create-home --disabled-password metabase
Next, change the ownership of the /opt/metabase directory so the user can fully control the content.
sudo chown -R metabase:metabase /opt/metabase
sudo touch /var/log/metabase.log
sudo chown metabase:metabase /var/log/metabase.log
sudo touch /etc/default/metabase
sudo chmod 640 /etc/default/metabase
After that, you will also want to create a Metabase systemd service so you can control starting, stopping, and enabling its service. To do that, simply run the commands below to create a service file.
sudo nano /etc/systemd/system/metabase.service
Then, copy the content below into the file and save it.
[Unit]
Description=Metabase server
After=syslog.target
After=network.target

[Service]
WorkingDirectory=/opt/metabase/
ExecStart=/usr/bin/java -jar /opt/metabase/metabase.jar
EnvironmentFile=/etc/default/metabase
User=metabase
Type=simple
StandardOutput=syslog
StandardError=syslog
SyslogIdentifier=metabase
SuccessExitStatus=143
TimeoutStopSec=120
Restart=always

[Install]
WantedBy=multi-user.target
After saving it, run the commands below to enable the service.
sudo systemctl daemon-reload
sudo systemctl start metabase
sudo systemctl enable metabase
To verify if the service is functioning, run the commands below to check it.
sudo systemctl status metabase
You should see a similar output as below:
Output:
metabase.service - Metabase server
   Loaded: loaded (/etc/systemd/system/metabase.service; enabled; vendor preset: enabled)
   Active: active (running) since Wed 2020-01-15 12:18:51 CST; 15s ago
 Main PID: 5416 (java)
    Tasks: 21 (limit: 4674)
   CGroup: /system.slice/metabase.service
           └─5416 /usr/bin/java -jar /opt/metabase/metabase.jar

Jan 15 12:18:51 ubuntu1804 systemd[1]: Started Metabase server.
Jan 15 12:18:54 ubuntu1804 metabase[5416]: 01-15 12:18:54 DEBUG plugins.classloader :: Using NEWLY CREATED classloader as shared context classloader: clojure.lang.DynamicClassLoader@6a937336
Jan 15 12:18:54 ubuntu1804 metabase[5416]: 01-15 12:18:54 INFO metabase.util :: Loading Metabase.
Next, you need to create a syslog conf to ensure the systemd can handle the logs properly.
Run the commands below to create a Syslog config file.
sudo nano /etc/rsyslog.d/metabase.conf
Then copy and paste the lines below into the file and save.
if $programname == 'metabase' then /var/log/metabase.log
& stop
After that, restart the Metabase service by running the commands below:
sudo systemctl restart metabase
Finally, open your browser and browse to the server hostname or IP address followed by port #3000
http://example.com:3000
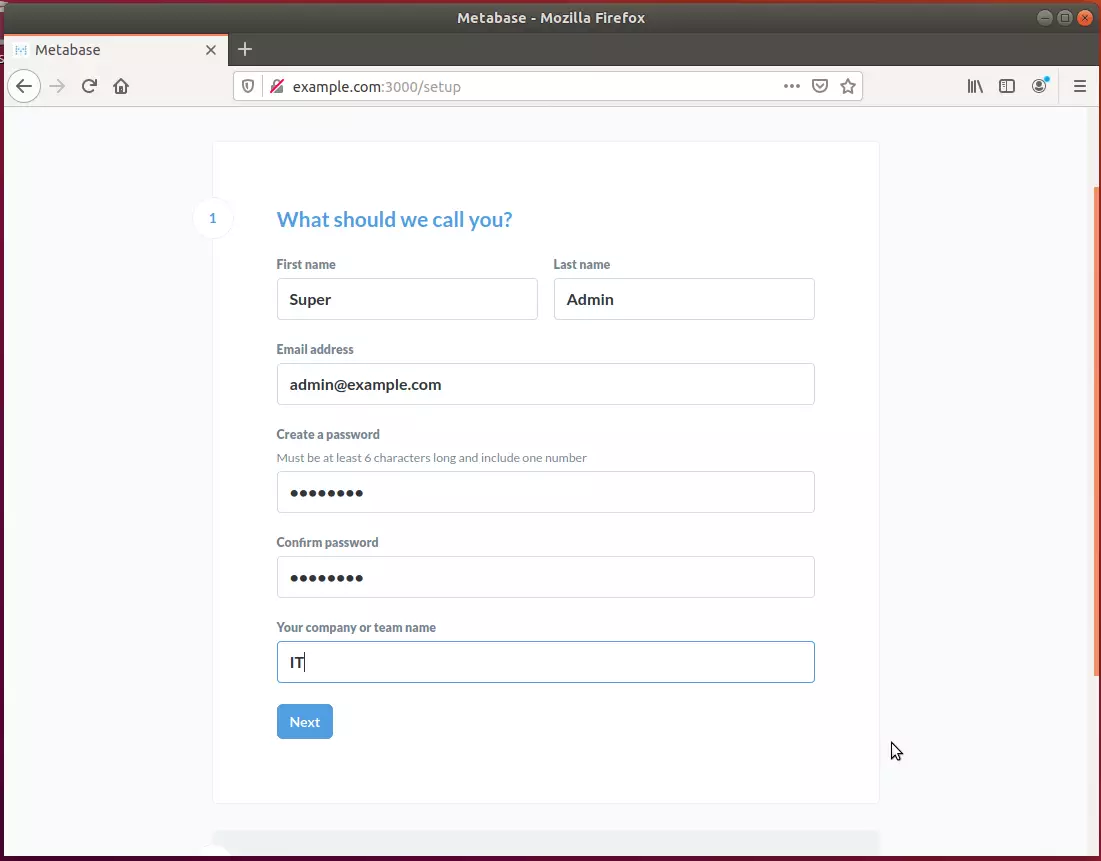
You should see the Metabase setup wizard.
 Click the button to get started and continue.
First, create an admin account with a password to continue.
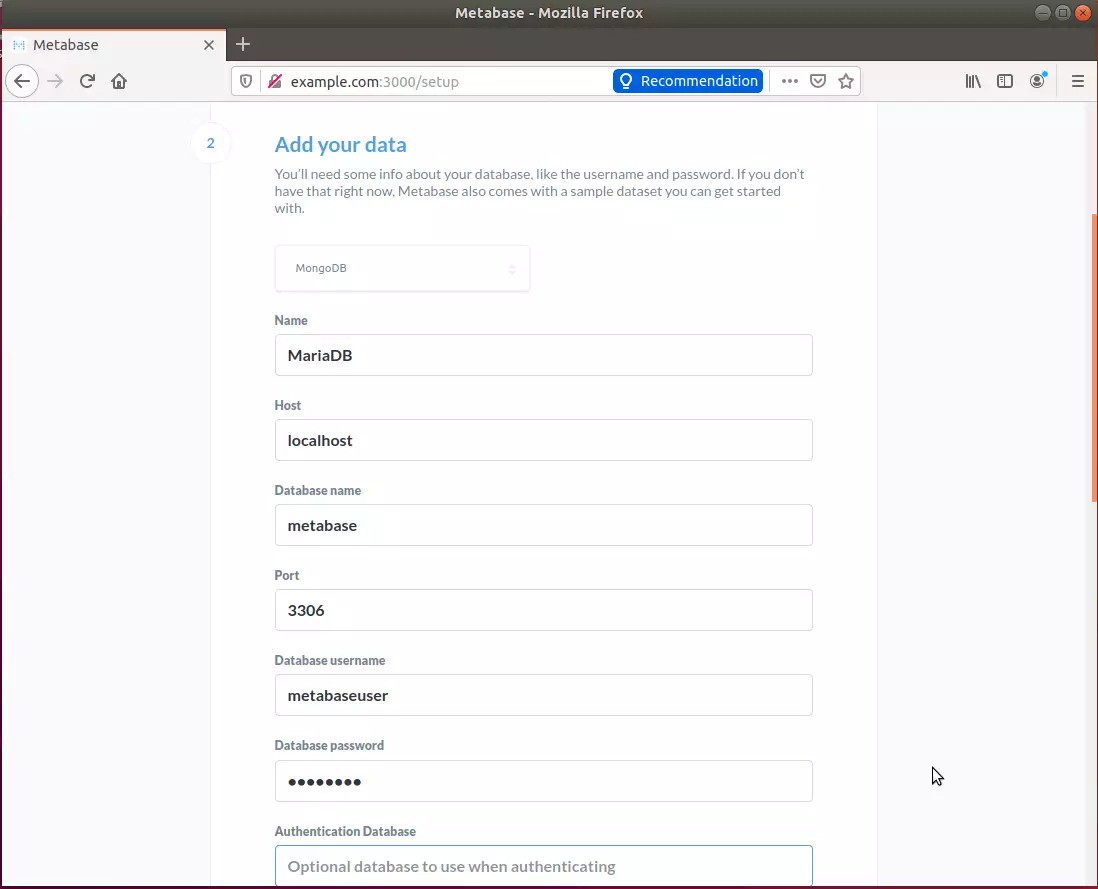
Then, choose to add a database. For this tutorial, we’re using MySQL or MariaDB. Type in the database information created above and continue with the setup.
After that, finish the setup and begin using your platform.
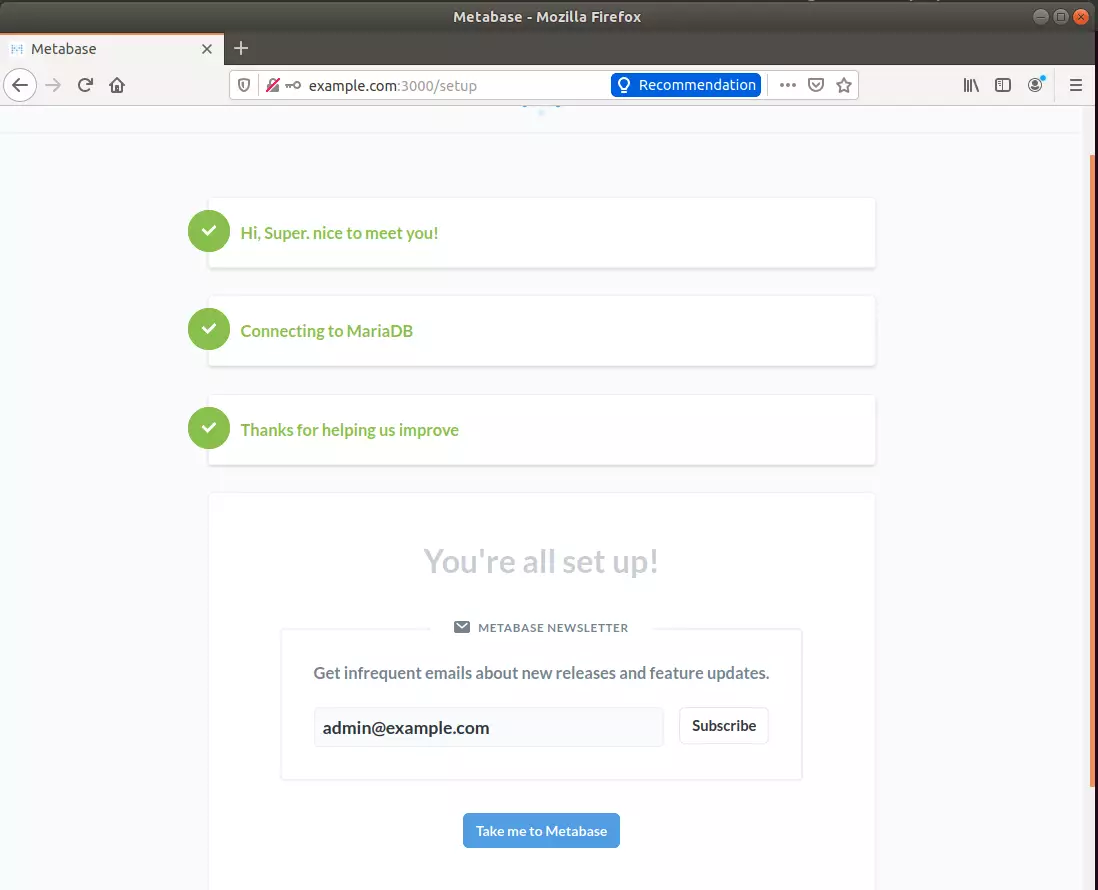
Log in and begin setting up your environment,
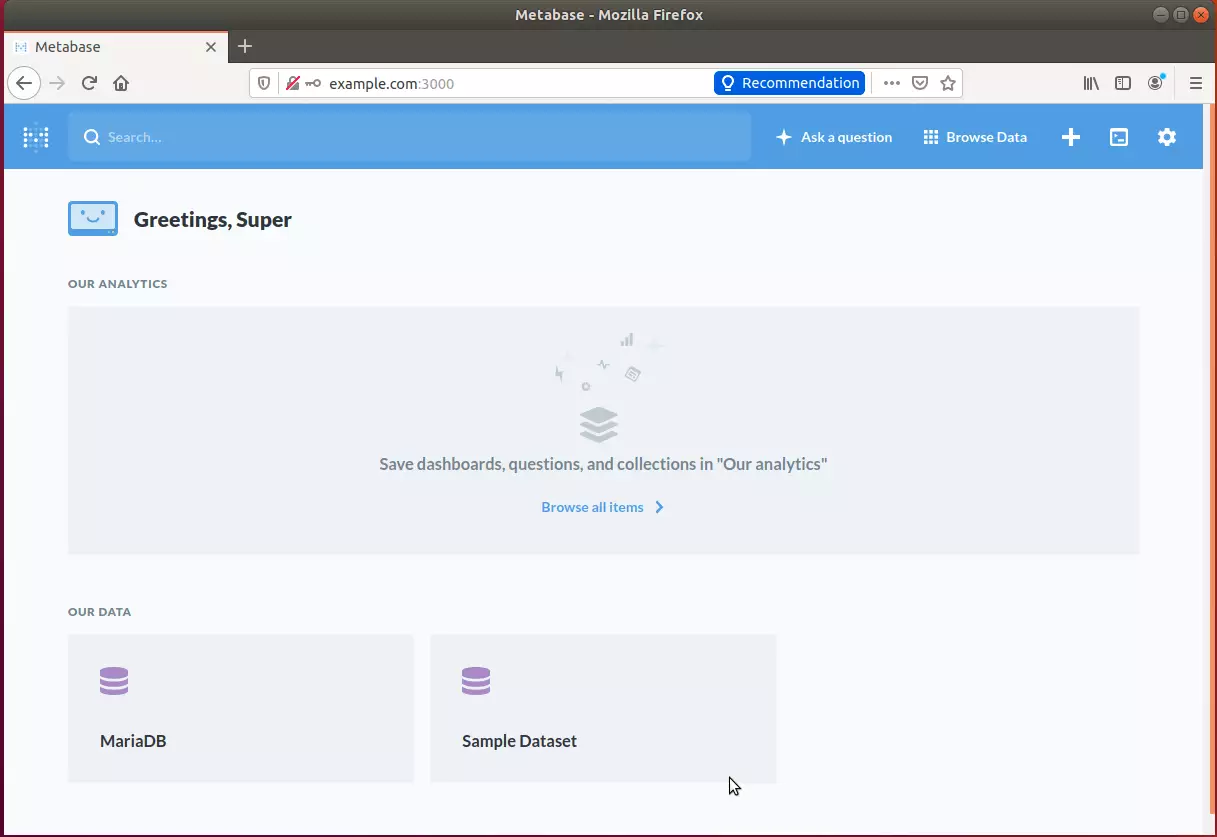
That should do it!
Conclusion:
This post shows you how to install Metabase Server on Ubuntu 18.04 | 16.04. If you find any errors, please report them in the comment form below.
You may also like the post below:
Leave a Reply